Recent Posts

Can You Kayak While Pregnant? Is It Safe?


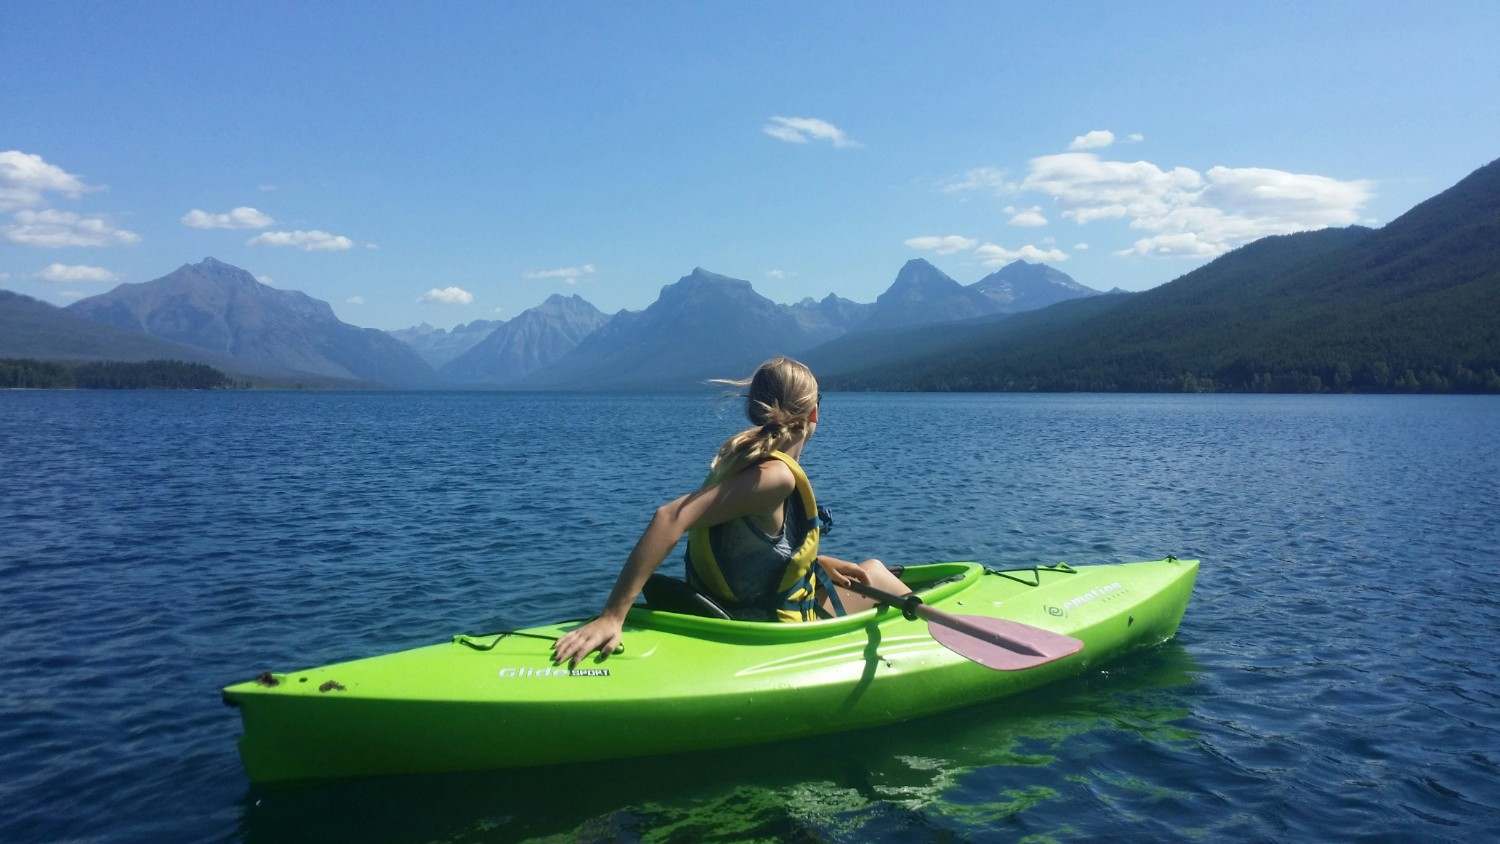
Woman wearing a life jacket kayaking on a calm mountain lake

Yes, some pregnant women may be able to continue kayaking, particularly if they were already experienced paddlers before pregnancy and their pregnancy is uncomplicated.

But there’s a big distinction between kayaking and low-risk pregnancy exercises such as walking or swimming. A kayak can capsize. You can lose your balance getting in or out. Rough water can throw you against the boat, paddle, or shoreline.

That’s why I wouldn’t give a blanket “yes” or “no.”

Your pregnancy, kayaking experience, water conditions, kayak stability, and stage of pregnancy all matter. Before continuing or starting kayaking, talk with your obstetrician or midwife about whether it’s appropriate for you. ACOG recommends discussing exercise during pregnancy with your obstetric clinician, especially when an activity carries a risk of falling or injury.

The Biggest Risk Isn’t the Paddling Motion

Here’s the part people often miss.

The paddling itself may feel easy. The bigger concern is what can happen around the paddling.

Getting into a kayak from a slippery shoreline can be awkward. Stepping out can be worse. A sudden wake can rock the boat. Strong wind can push you sideways. A capsize can turn a calm outing into an unexpected swim.

Pregnancy also changes your body. As the abdomen grows, your center of gravity shifts, and balance can become more difficult. ACOG notes that pregnancy can increase the likelihood of losing balance and falling.

That changes how I would approach kayaking.

The goal isn’t to prove you can handle difficult water. It’s to remove as many unnecessary risks as possible.That mindset also matters when practicing getting into a kayak, because learning the right technique in calm, shallow water gives you more confidence without adding unnecessary risk.

Who May Be Able to Continue Kayaking?

Someone who already kayaked regularly before pregnancy may have a very different situation from someone who has never been in a kayak.

An experienced paddler already understands:

  • How their kayak behaves
  • How to enter and exit safely
  • How to control the boat in mild wind
  • How to recognize changing water conditions
  • How tiring a particular route can become
  • What to do if the kayak becomes unstable

Smiling woman paddling a kayak on calm water wearing a life jacket

That familiarity matters.

If you’ve never kayaked before, pregnancy isn’t the time I’d recommend learning on moving water, taking a long trip, or experimenting with a narrow, unstable kayak.

Don’t use pregnancy as the time to start a high-risk version of a sport you’ve never done before.

Why Pregnancy Changes Your Normal Kayaking Routine

A route that felt effortless six months ago may feel completely different during pregnancy.

Your balance can change as your center of gravity shifts. Your joints and ligaments also become more relaxed during pregnancy, which can affect stability and injury risk.

You may also tire sooner or find certain positions uncomfortable.

That means your old benchmark—”I paddled this route every weekend before pregnancy”—isn’t necessarily a good reason to repeat it now.

Listen to what your body is telling you.

If something feels unstable, uncomfortable, unusually tiring, or simply wrong, turn around early. There is no prize for finishing the route.

The Safest Kayaking Conditions Are the Boring Ones

This is one situation where boring is good.

If your healthcare provider has cleared you for the activity, choose conditions that minimize the chance of a capsize or difficult rescue.

Look for:

  • Calm, sheltered water
  • Mild weather
  • Little or no wind
  • Easy shoreline access
  • Short paddling distances
  • Familiar launch points
  • Someone nearby who knows you’re pregnant
  • A route where you can return quickly
Woman wearing a life jacket kayaking on calm sheltered water surrounded by trees

Avoid conditions that turn a recreational paddle into a survival exercise.

That means staying away from strong currents, rough water, heavy boat traffic, thunderstorms, and remote routes where getting help would be difficult.

Choose the easiest water available, not the most exciting.That approach becomes even more important when learning how to kayak safely in the ocean, where starting in sheltered conditions gives you time to understand wind, waves, currents, and your kayak before taking on more challenging water.

Your Kayak Matters More Than You Might Think

A very narrow performance kayak may feel wonderful to an experienced paddler under normal circumstances.

During pregnancy, stability becomes more valuable.

A wider recreational kayak with predictable stability may be a better choice than a narrow, twitchy boat. The exact choice depends on your experience and the water you’re paddling.
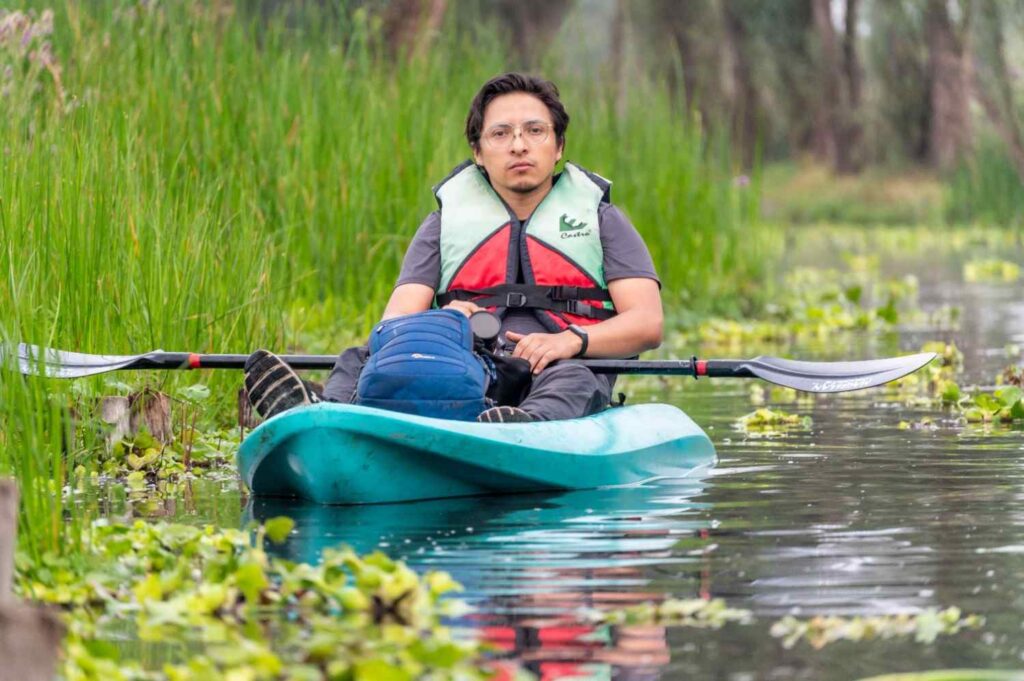
Man sitting in a wide, stable kayak wearing a life jacket on calm water

Sit in the kayak before committing to a trip.

Can you get in without twisting awkwardly? Can you sit comfortably? Can you exit without struggling? Does your abdomen have enough room? Can you reach your paddle naturally?

If the answer to any of those questions is no, change the setup.

Getting In and Out Is a Critical Moment

I’ve seen plenty of paddlers think about safety once they’re on the water and completely forget that launching and landing can be the trickiest parts.

A slippery bank can cause a fall before the kayak even reaches the water.

Take your time.

Use a stable launch point whenever possible. Avoid jumping into the kayak from an awkward position. Don’t let someone rush you because other paddlers are waiting behind you.

Two women preparing to launch kayaks from a stable dock while wearing life jackets

If the launch requires climbing over rocks, balancing on a steep bank, or stepping through slippery mud, choose another launch point.

The extra five minutes can be worth it.

Always Wear a Properly Fitted Life Jacket

This isn’t optional.

A properly fitted personal flotation device (PFD) should be worn throughout the paddle. Pregnancy can change how a PFD fits, so check that it doesn’t create uncomfortable pressure or restrict your breathing.

Woman paddling a kayak while wearing a bright yellow life jacket

Don’t simply assume the PFD you wore before pregnancy still fits correctly.

Try it on while wearing the clothing you’ll actually use on the water. Sit down, move your arms, and check the fit.

If your current PFD becomes uncomfortable as pregnancy progresses, speak with your paddling outfitter about an appropriate replacement rather than loosening it excessively.

A PFD that isn’t fitted correctly isn’t a problem to ignore.That’s why choosing the best kayak life jacket for women means looking beyond appearance and making sure the PFD fits securely, stays in place, and allows comfortable movement while paddling.

Don’t Paddle Alone

Solo kayaking already has additional considerations. Pregnancy makes self-rescue and getting help more important.

A paddling partner can help with:

  • Launching and landing
  • Carrying the kayak
  • Watching changing weather
  • Getting help if you feel unwell
  • Assisting after a capsize
  • Calling emergency services if necessary
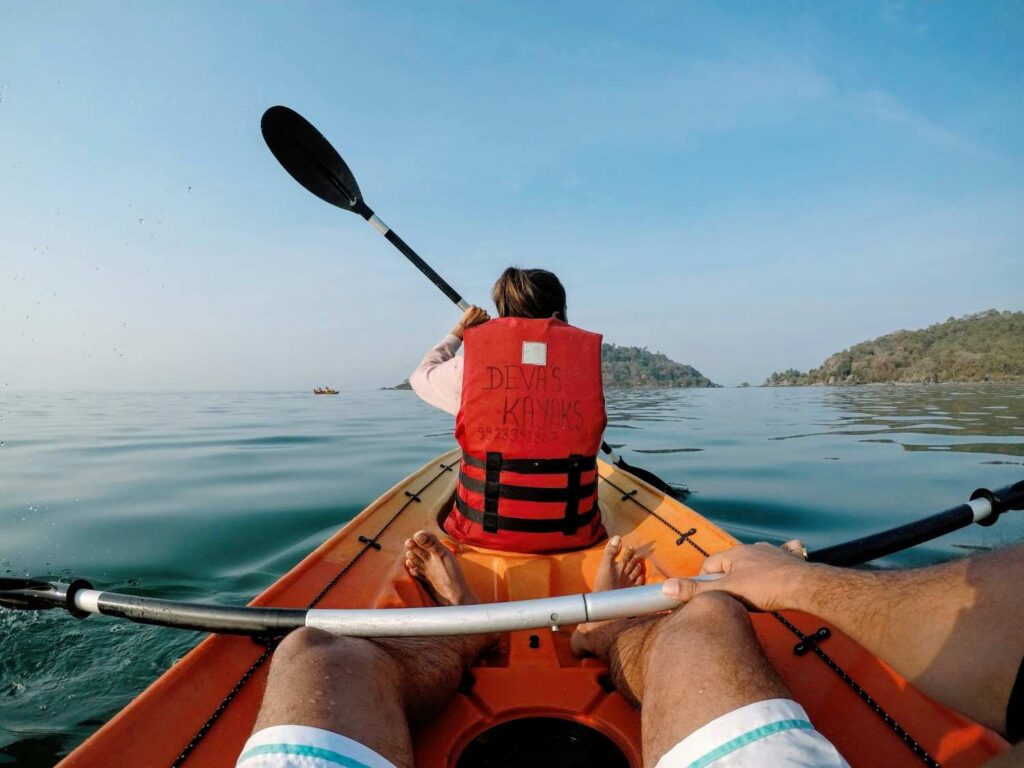
Two adults kayaking together on calm water, one wearing a red life jacket

Tell your companion you’re pregnant and explain any limitations your clinician has given you.

There’s no need to make a dramatic announcement. When considering is kayaking safe for non swimmers, your paddling partner simply needs to know enough to make sensible decisions if something goes wrong.

What About Kayaking During the First Trimester?

The first trimester doesn’t automatically make exercise unsafe. For healthy pregnancies, regular physical activity is generally encouraged, and ACOG says exercise does not increase the risk of miscarriage, low birth weight, or early delivery in uncomplicated pregnancies.

That doesn’t mean every activity is appropriate.

Kayaking still carries the possibility of falling, capsizing, or abdominal impact. So the question isn’t simply, “Am I in my first trimester?”

A better question is:

Is this particular kayaking situation low enough risk for my pregnancy and my experience level?

Your obstetric clinician can help answer that.

What About the Second and Third Trimesters?

As pregnancy progresses, your body changes more noticeably.

A growing abdomen can affect balance and comfort. Getting into a kayak may become harder. Sitting in one position for a long time may become uncomfortable. Your usual paddling technique may also need adjustment.

ACOG notes that the shift in center of gravity during pregnancy can increase the risk of losing balance and falling.

For some women, that means modifying kayaking substantially or stopping altogether.

Don’t wait until you’re struggling to get back to shore.

If entering, exiting, sitting, paddling, or maintaining balance becomes difficult, that’s a strong signal to stop kayaking and choose a safer form of exercise.

When You Should Skip the Kayak

There are situations where kayaking simply isn’t worth the risk.

Your healthcare provider may advise against exercise or specific activities depending on your pregnancy and medical history.

You should also stop exercising and contact your obstetric clinician if you experience warning signs such as vaginal bleeding, dizziness or fainting, chest pain, significant shortness of breath, muscle weakness, calf pain or swelling, regular painful contractions, or fluid leaking from the vagina. ACOG specifically lists these as warning signs requiring exercise to stop and medical advice.

Don’t try to “paddle through” symptoms.

Your body isn’t giving you a challenge to overcome. It’s giving you information.

What to Pack for a Pregnancy Kayaking Trip

Keep the gear simple.

Bring:

  • Properly fitted PFD
  • Plenty of drinking water
  • Weather-appropriate clothing
  • Sun protection
  • Phone in a waterproof case
  • Emergency contact information
  • Basic first-aid supplies
  • Easy snacks
  • Dry clothing
  • A way to communicate with your paddling partner

Water bottle and backpack on the beach at sunset for a kayaking trip

Water is particularly important. ACOG recommends adequate hydration before, during, and after exercise during pregnancy.

Don’t wait until you’re thirsty to discover that your only water bottle is empty.Keeping essentials protected and organized in the best kayak dry bag makes it easier to carry water, snacks, and other supplies where you can reach them when you need them.

Heat and Sun Need Extra Attention

A calm summer lake can look perfect from the shore.

The problem is heat.

Pregnancy guidance recommends avoiding overheating, particularly in hot or humid conditions, and staying well hydrated.

If the forecast calls for extreme heat, change the plan.

An early-morning paddle may be more comfortable than an afternoon trip. Better yet, choose an indoor or shaded activity if conditions are excessive.

There is nothing wrong with cancelling a paddle because the weather isn’t cooperating.

Can You Kayak After a Previous Pregnancy?

A previous pregnancy doesn’t automatically tell you what you’ll be able to do during another one.

Every pregnancy can be different.

Your previous experience may give you confidence with the kayak, but your current pregnancy is what matters. Follow the advice of your current healthcare provider rather than assuming your previous routine is still appropriate.

Safer Alternatives If Kayaking Doesn’t Feel Right

Sometimes the smartest kayaking decision is to leave the kayak at home.

Walking and swimming are commonly recommended pregnancy activities. Water-based exercise can also be comfortable because the water supports your body.

Other options may include:

  • Walking
  • Swimming
  • Prenatal exercise classes
  • Modified prenatal yoga
  • Stationary cycling
  • Other activities approved by your healthcare provider

Woman floating peacefully in a pool as a low-impact exercise alternative

You don’t lose anything by switching activities for a few months.

The kayak will still be waiting.

A Simple Risk Check Before Launching

Before you put the kayak in the water, ask yourself five questions:

QuestionGood SignWarning Sign
Is my pregnancy uncomplicated and cleared for exercise?YesUnsure or advised otherwise
Is the water calm?Sheltered and predictableWindy, rough, strong current
Can I enter and exit easily?Stable accessSlippery or awkward launch
Do I feel physically comfortable?ComfortablePain, dizziness, unusual fatigue
Is someone with me?Reliable paddling partnerGoing completely alone

One “warning sign” doesn’t automatically mean something is medically wrong. It means you should stop and reassess rather than pushing ahead.

Frequently Asked Questions

1. Can you kayak while pregnant safely?

Some women may be able to continue kayaking during an uncomplicated pregnancy, particularly if they were already experienced paddlers. However, kayaking carries fall and capsize risks, so you should discuss it with your obstetric clinician before continuing or starting the activity.

2. Is kayaking safe in early pregnancy?

Pregnancy itself doesn’t mean you must stop all exercise. For healthy pregnancies, regular physical activity is generally beneficial. However, kayaking still involves a risk of falling or abdominal impact, so the specific conditions and your medical situation matter.

3. Can you kayak while 8 months pregnant?

There isn’t a universal point in pregnancy when every woman must stop kayaking. However, later pregnancy can make balance, entering and exiting the kayak, and comfortable positioning more difficult. Because fall risk can increase as the center of gravity changes, this is something to discuss directly with your obstetric clinician.

4. Can you kayak in the first trimester?

An uncomplicated first trimester doesn’t automatically rule out exercise. Still, kayaking carries risks that walking or swimming generally don’t, particularly capsizing and falling. Get individual medical advice before paddling.

5. Should you kayak alone while pregnant?

I’d avoid solo kayaking during pregnancy. Having another person nearby provides practical help if you become tired, feel unwell, capsize, or need assistance getting back to shore.

6. Is a sit-on-top kayak better during pregnancy?

A stable sit-on-top kayak may be easier for some paddlers because entering and exiting can be simpler, but kayak design alone doesn’t make an activity safe. Stability, water conditions, your experience, and your ability to get in and out comfortably all matter.

7. What should you avoid while kayaking pregnant?

Avoid conditions that significantly increase the chance of falling, capsizing, or being struck. Rough water, strong currents, severe weather, heavy boat traffic, difficult launches, and remote routes are poor choices. Pregnancy guidance generally recommends avoiding activities with a substantial risk of falling or abdominal injury.

8. What should I do if I fall or capsize while pregnant?

Get to a safe location and seek medical advice, particularly if you experienced an impact, abdominal trauma, bleeding, pain, dizziness, contractions, or fluid leakage. Don’t assume that feeling fine immediately means an injury cannot have occurred.

9. Is swimming safer than kayaking during pregnancy?

Swimming and water-based exercise are commonly recommended because the water supports your body and reduces some impact and balance demands. That doesn’t mean swimming is automatically safe for every pregnancy, but it is generally a lower-risk option than an activity involving capsizing or falling.

10. When should I stop exercising during pregnancy?

Stop and contact your obstetric clinician if you develop warning signs such as vaginal bleeding, dizziness or fainting, chest pain, significant shortness of breath, muscle weakness, calf pain or swelling, regular painful contractions, or fluid leaking from the vagina.

11. What’s the safest approach if I’m unsure?

Ask your obstetrician or midwife before going out. Give them the actual details: how many weeks pregnant you are, how experienced you are with kayaking, what type of kayak you use, and what water conditions you plan to paddle in.

That’s much more useful than simply asking, “Can I exercise?”

The safest decision is the one that protects both you and your pregnancy without taking an unnecessary water-safety risk.

Final Thoughts

Kayaking during pregnancy isn’t a decision to make based on confidence alone. Your experience level, pregnancy, water conditions, kayak stability, and ability to get help all matter.
Kayaker paddling calmly on still water during sunset

If your healthcare provider says kayaking is reasonable for you, keep the trip easy, stable, and close to help. Avoid rough water, strong currents, remote areas, and situations where a capsize could become difficult to manage.If anything feels unusual or unsafe, get off the water. There will always be another day to kayak. Protecting yourself and your pregnancy comes first.


Best Kayak Gloves for Cold Water Paddling


Kayaker wearing dark gloves while paddling calm water with snow-capped mountains in the background

Cold water has a way of teaching lessons fast.

Most beginners think they’ll notice their hands getting cold and simply paddle back to shore. It rarely works that way. Hands usually lose strength gradually. First your grip weakens. Then simple tasks—adjusting a life jacket, opening a dry bag, or holding the paddle—start feeling harder than they should.

That’s why choosing the right gloves isn’t about comfort alone. It’s about maintaining control when the water temperature drops.

The best kayak gloves for cold water paddling keep your hands warm without making it difficult to grip the paddle.

Cold Water Doesn’t Have To Be Freezing

One mistake I see all the time is people judging conditions by the air temperature.

The water is what matters.

A sunny spring morning can feel comfortable while the lake is still cold enough to numb your fingers within minutes.

Pay attention to:

  • Water temperature
  • Wind speed
  • Rain or spray
  • Trip length
  • Distance from shore

A short paddle close to shore demands less insulation than an all-day trip across open water. Understanding what to wear kayaking in cold weather helps you match your clothing to both the water temperature and the length of your trip, rather than relying on the forecast alone.

Kayaker paddling across a misty, cool mountain lake on an overcast autumn day

Why Ordinary Winter Gloves Don’t Work

Many people already own insulated gloves and wonder if they can use those instead.

Technically, yes.

Practically, no.

Regular winter gloves absorb water quickly. Once soaked, they become heavy, cold, and uncomfortable. They also make gripping a paddle much harder.

Kayak gloves are built differently.

They’re designed to stay warm even when wet, dry faster, and provide enough flexibility for continuous paddling.

What Material Keeps Hands Warm?

Most cold-water kayak gloves are made from neoprene.

Neoprene traps a thin layer of water between the glove and your skin. Your body warms that water, creating insulation even while your hands are wet.

That’s why a wet neoprene glove often feels warmer than a dry cotton glove.

Kayakers paddling in icy polar waters, gloved hands visible while gripping the paddle near glaciers

Other materials also appear in quality gloves.

MaterialBest ForThings to Know
NeopreneCold water paddlingExcellent insulation even when wet
Fleece liningAdded warmthImproves comfort inside the glove
Synthetic fabricMild conditionsLightweight and breathable
Rubberized palmsBetter gripReduces paddle slipping

Choosing the Right Thickness

Thicker isn’t always better.

Very thick gloves can make it difficult to feel the paddle shaft.

A pair of black neoprene kayak gloves resting on the bow of a yellow kayak at sunset

A good balance looks like this:

Glove ThicknessBest Conditions
1–2 mmCool spring and fall days
3 mmMost cold-water paddling
5 mmVery cold water and winter trips

For most recreational paddlers, 3 mm neoprene gloves provide the best balance between warmth and control.

Grip Matters More Than Most Beginners Realize

Warm hands don’t help much if the paddle keeps slipping.

Look closely at the palm before buying.

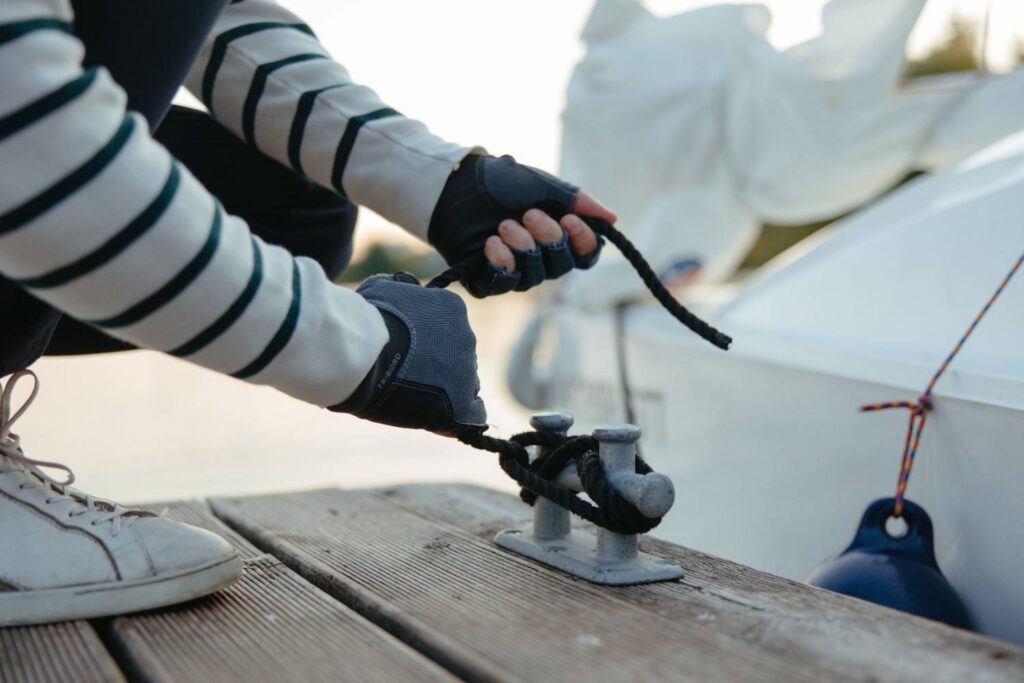
Close-up of a fingerless sailing glove gripping and tying a rope on a boat deck, showing textured grip design

Good kayak gloves usually include:

  • Textured rubber grip
  • Reinforced palm panels
  • Flexible finger joints
  • Strong stitching around high-wear areas

Smooth palms become slippery after hours of paddling.

Textured palms stay secure even when constantly wet.

One Feature Buyers Often Ignore

Try opening a zipper while wearing the gloves.

Seriously.

If you struggle with that simple task in the store, imagine trying it after an unexpected swim with cold hands.

Small everyday movements reveal a lot about how practical a glove really is.

Good kayaking gloves protect your hands without making ordinary tasks frustrating. The same principle applies when choosing the best kayak bilge pump for beginners—it should be simple to operate quickly, even with cold or wet hands, when every second counts.

Don’t Buy Gloves Based Only on Temperature Ratings

Manufacturers love advertising temperature numbers.

Treat them as rough guidelines.

Wind, water temperature, fitness level, circulation, and even how hard you’re paddling all affect how warm your hands actually feel.

That’s why two paddlers wearing the same gloves may have completely different experiences on the same lake.

Focus on overall construction and fit instead of chasing the lowest advertised temperature.

Getting the Right Fit

A loose glove traps extra water and reduces warmth.

An overly tight glove restricts circulation, which makes cold hands even colder.

The ideal fit feels snug without squeezing your fingers.

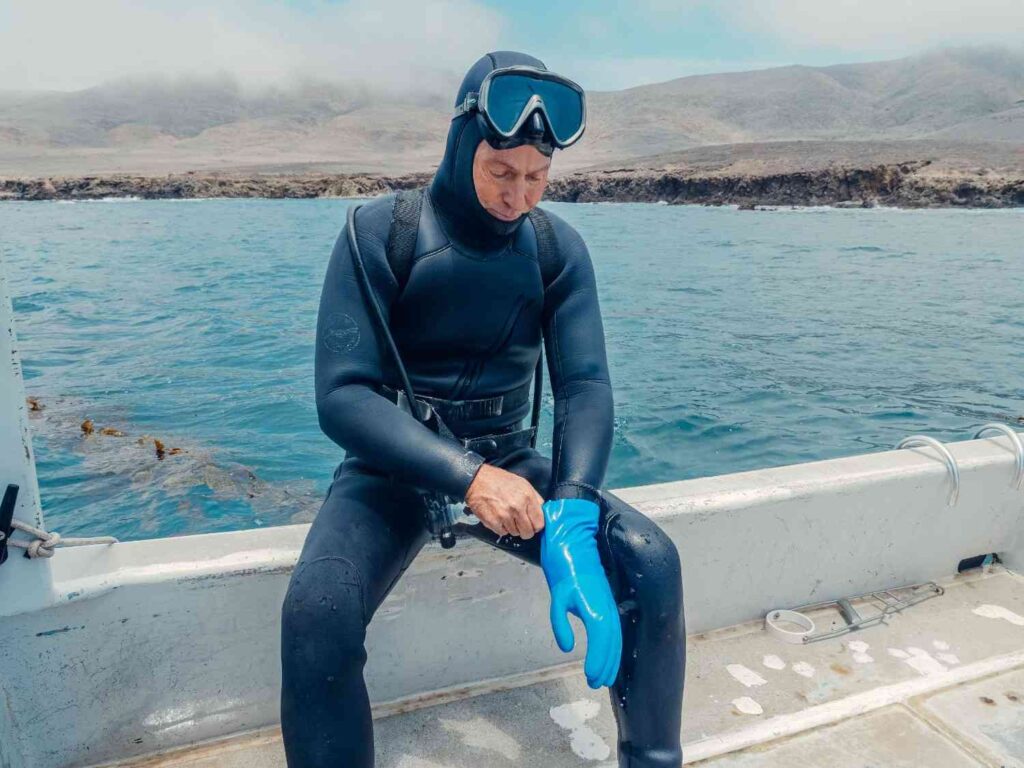
Person in a wetsuit pulling on a blue neoprene-style glove while sitting on a boat

Check these areas:

  • Fingers should bend naturally.
  • No large air pockets inside.
  • Wrist seals comfortably.
  • Full grip around the paddle feels natural.

A properly fitted glove almost disappears once you start paddling.

Common Mistakes That Leave Your Hands Freezing

I’ve watched beginners spend good money on quality gloves and still complain about cold hands. Almost every time, the problem wasn’t the glove. It was how they were using it.

Avoid these common mistakes:

  • Buying gloves that are too big because they feel comfortable in the store.
  • Wearing cotton liners that stay wet.
  • Ignoring the water temperature and only checking the air temperature.
  • Taking gloves off during breaks and putting them back on with cold, wet hands.
  • Choosing cheap gloves with weak stitching that split after a few trips.

One mistake stands out above the rest. People often underestimate cold water. A sunny spring morning may feel warm enough for a T-shirt, yet the lake can still be cold enough to numb your hands within minutes.

Cold Water Gloves vs. Pogies

Many new paddlers confuse gloves with pogies.

Pogies attach directly to the paddle shaft. Your hands slide inside them while gripping the paddle normally. They block wind and spray but leave your hands bare on the paddle.

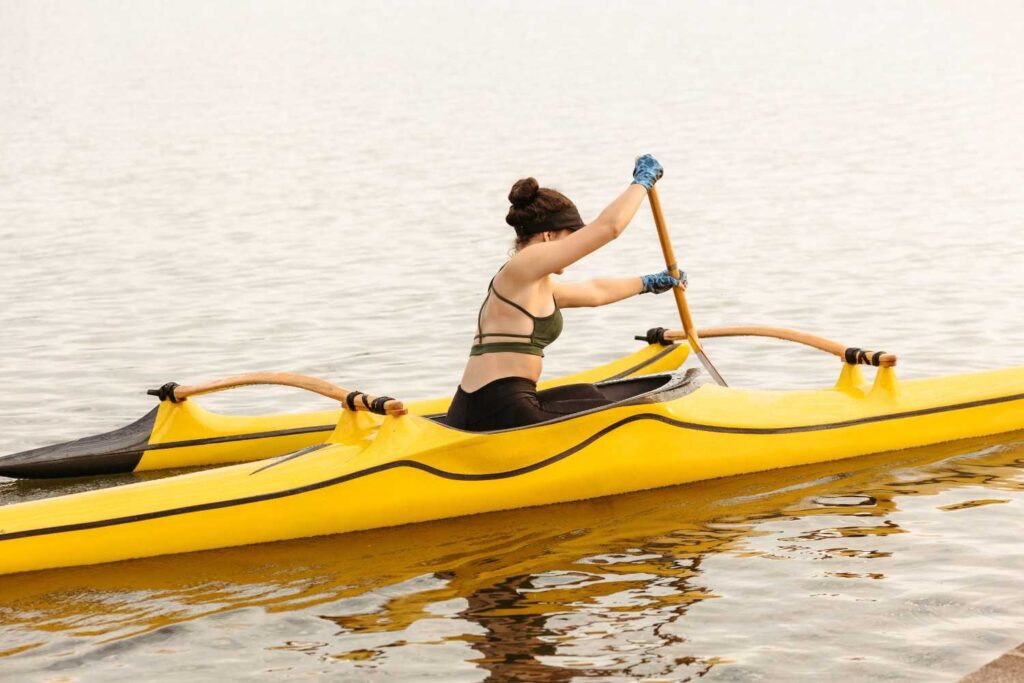
Paddler wearing blue gloves while paddling an outrigger canoe, hands fully covered on the paddle shaft

Gloves stay on your hands all the time.

Here’s how they compare.

FeatureCold Water GlovesPogies
WarmthExcellentExcellent in cool conditions
Paddle FeelSlightly reducedVery natural
Protection Off the PaddleYesNo
Easy for BeginnersYesTakes practice
Best UseCold water, launching, rescuesLong-distance paddling

Many experienced paddlers actually carry both. Gloves handle launching, landing, and emergency situations, while pogies provide outstanding comfort during long paddling sessions.

Caring for Your Gloves So They Last

Good gloves aren’t cheap. A little care can easily add several seasons to their life.

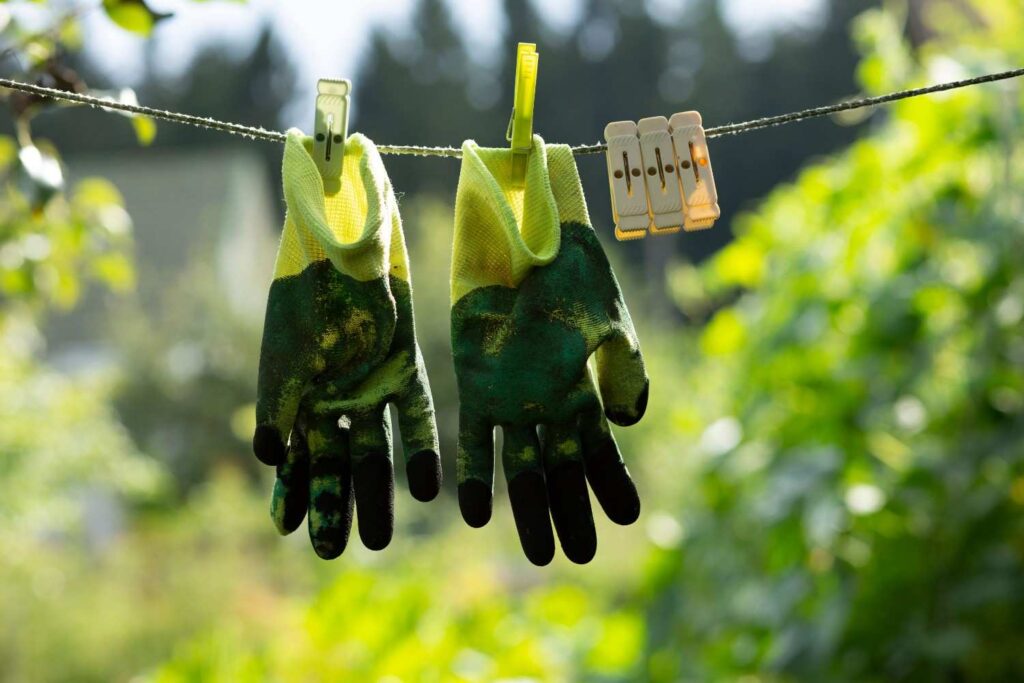
Textured gloves hanging to dry on a clothesline outdoors, illustrating proper post-use care

After every trip:

  • Rinse them with fresh water, especially after saltwater paddling.
  • Turn them inside out to dry completely.
  • Keep them away from direct sunlight for long periods.
  • Don’t leave them inside a hot vehicle.
  • Store them flat instead of folding them tightly.

The smell many people complain about usually comes from storing damp gloves before they’re fully dry. The same habit applies to how to store a kayak, because letting your gear and kayak dry completely before storage helps prevent odors, mold, and unnecessary wear over time.

A Lesson From One Very Cold Morning

Years ago, I joined a late autumn paddle with a group of beginners. One paddler proudly showed off brand-new expensive gloves.

About thirty minutes into the trip, he couldn’t stop shaking his hands.

The problem wasn’t the gloves.

He had bought them one size too large because they “felt more comfortable” in the store. Every paddle stroke pumped cold water through the loose fingertips. His hands never had a chance to warm up.

Group of kayakers paddling together through misty water at sunrise on a cold autumn morning

We swapped gloves with another paddler who had a properly fitted spare pair.

Within fifteen minutes, his hands felt noticeably warmer.

That morning reinforced something I’ve repeated ever since:

Fit matters just as much as insulation.The same attention to detail is essential when learning how to kayak safely in the ocean, because clothing that fits properly helps you stay comfortable, move freely, and respond more effectively if conditions suddenly change.

Are Expensive Gloves Always Better?

Not necessarily.

Higher-priced gloves often use premium neoprene, reinforced stitching, and better wrist seals. They usually last longer.

But a $60 glove that fits perfectly will outperform a poorly fitting $120 glove every time.

Spend your budget on:

  • Proper fit
  • Reliable stitching
  • Comfortable grip
  • Suitable thickness for your climate

Fancy marketing features rarely make much difference on the water.

Quick Buying Checklist

Before clicking “Buy Now,” make sure your gloves check these boxes.

FeatureRecommended
MaterialQuality neoprene
Thickness2–3 mm for cool water, 5 mm for very cold water
GripTextured palm
Wrist SealAdjustable or snug cuff
Finger MovementComfortable without stiffness
DurabilityReinforced seams
Drying TimeFast after rinsing
Beginner FriendlyYes

A glove that checks these boxes will serve most recreational paddlers for years.

Frequently Asked Questions

1. What thickness gloves are best for cold water kayaking?

For most paddlers, 2–3 mm neoprene gloves work well in cool water. When water temperatures approach freezing, 5 mm gloves provide much better insulation.

2. Should kayaking gloves be tight?

Yes. They should fit snugly but not tightly. Loose gloves allow cold water to circulate inside, while overly tight gloves reduce blood circulation.

3. Are fingerless gloves good for cold weather?

Not really. Fingerless gloves work well during warm-weather fishing but provide very little protection in cold water.

4. Can I use diving gloves for kayaking?

Yes. Many paddlers use neoprene diving gloves successfully, provided they offer good grip and enough flexibility for holding a paddle comfortably.

5. Do waterproof kayaking gloves exist?

Most cold-water kayaking gloves aren’t completely waterproof. Instead, neoprene traps a thin layer of water that your body warms, creating insulation.

6. What’s better: gloves or pogies?

Both work well. Gloves protect your hands all the time, while pogies offer excellent paddle feel during long trips. Many experienced paddlers carry both.

7. How long should kayaking gloves last?

With proper care, a quality pair often lasts three to five years, depending on how frequently you paddle and whether you use them in saltwater.

8. Can cold hands become dangerous while kayaking?

Yes. Extremely cold hands lose strength and coordination, making it harder to grip the paddle or perform a rescue. That’s one reason experienced paddlers never underestimate cold-water protection.

9. How do I stop my gloves from smelling?

Rinse them thoroughly after every trip, dry them completely inside and out, and never store them while damp.

10. Are expensive kayaking gloves worth the money?

Sometimes. Better materials and construction usually improve durability, but fit is still the biggest factor. A well-fitting mid-range glove often performs better than an expensive glove that doesn’t fit properly.

Final Thoughts

Cold hands can ruin an otherwise perfect kayaking trip.

The right gloves don’t simply keep your fingers warm—they help maintain grip strength, improve control, and reduce fatigue throughout the day. Beginners often focus on kayaks and paddles first, but quality gloves quickly become one of the pieces of gear they appreciate most.

Buy gloves that match the water temperature, fit snugly without restricting circulation, and feel comfortable after an hour of paddling—not just five minutes in a store.

Kayaker paddling calmly down a peaceful forest river, relaxed and confident on the water

Once you’ve experienced a cold morning on the water with warm, dry hands, you’ll never want to paddle without them again. Pair those gloves with the best kayak paddle for fishing under $100, and you’ll stay comfortable while enjoying efficient, fatigue-free paddling without overspending.

Best Kayak Bilge Pump for Beginners


Beginner kayaker paddling a recreational sit-inside kayak on a calm river

The first time someone asks me whether they really need a bilge pump, I already know what’s coming next.

Usually, they’ve watched a few kayaking videos, bought their first recreational kayak, and they’re trying to decide which gear is actually necessary. A bilge pump often ends up at the bottom of the shopping list because calm lakes don’t look dangerous.

Then one unexpected wave, a sloppy re-entry after falling in, or even heavy rain fills the cockpit with water.

That’s when everyone wishes they had spent a few extra dollars.

I’ve watched beginners make this mistake for years. The good news? Choosing the right bilge pump isn’t complicated once you know what actually matters.

The best kayak bilge pump for beginners is one that’s reliable, comfortable to use, easy to reach, and capable of moving plenty of water without exhausting you.

Why Every Beginner Should Carry a Bilge Pump

People often assume a bilge pump is only for sea kayakers.

That’s not true.

Water finds its way into kayaks more often than beginners expect.

Common situations include:

  • A capsize during practice
  • Waves washing over the bow
  • Heavy boat wakes
  • Rain collecting inside the cockpit
  • Splashing while launching from shore
  • An imperfect self-rescue

A few inches of water may not sound serious, but it changes how your kayak feels. The boat becomes heavier, less stable, and slower to paddle.

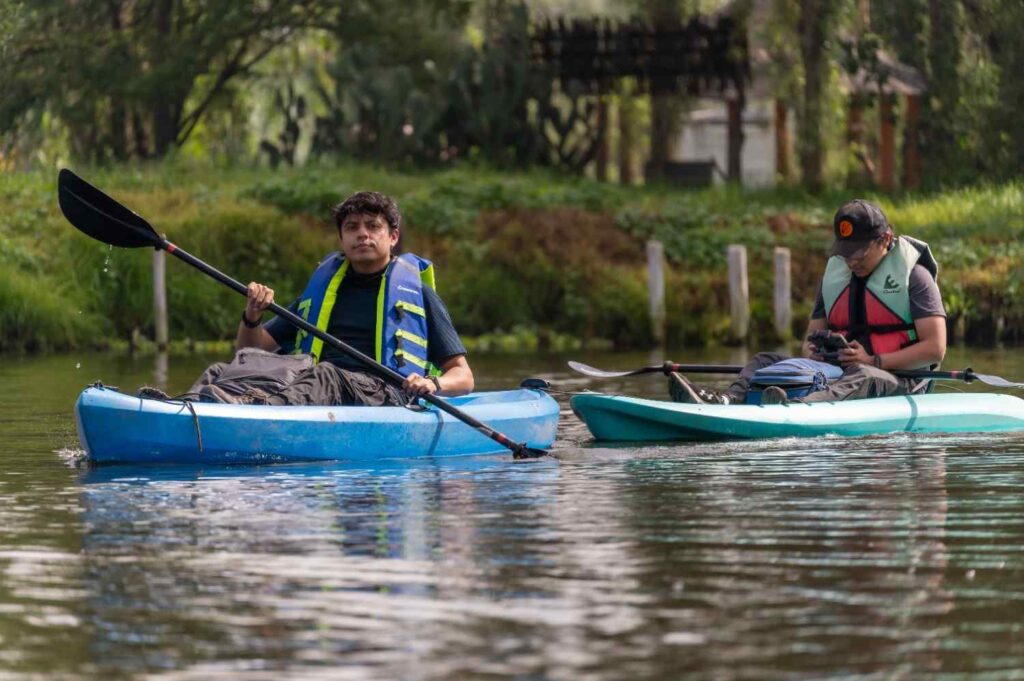
Multiple recreational kayaks paddling together down a calm river surrounded by trees

Removing that water quickly restores control.It’s also an important part of learning how to flip a kayak back over in water, since emptying excess water makes the kayak far easier to stabilize and re-enter safely.

What Exactly Is a Kayak Bilge Pump?

Think of a bilge pump like a giant hand-operated syringe.

One end pulls water from inside your kayak.

The other end pushes it back into the lake or river.

There’s no electricity involved. No batteries. No complicated setup.

Every push removes another load of water until your cockpit is mostly dry again.

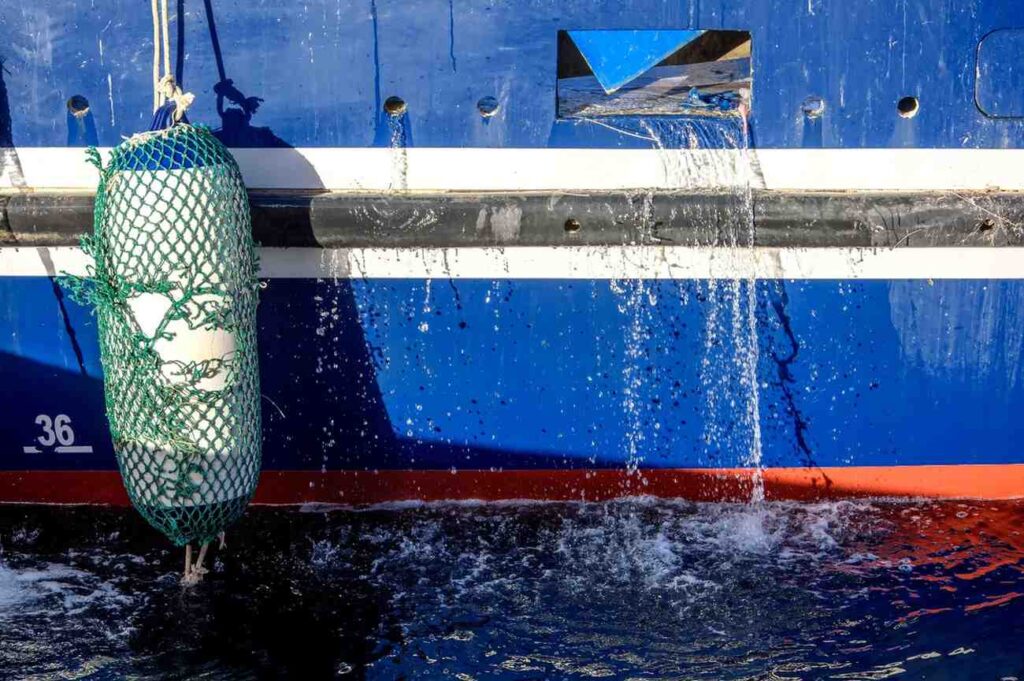
Close-up of water draining out through a boat hull opening, illustrating how a bilge pump discharges water

Simple tools often save the day because there’s very little that can fail.

The Features Beginners Should Never Ignore

Walk into an outdoor store and dozens of pumps may look almost identical.

They’re not.

Here’s what separates a dependable pump from one you’ll regret buying.

FeatureWhy It Matters
Large barrelRemoves more water with every stroke.
Comfortable handlePrevents sore hands during continuous pumping.
Bright colorEasier to spot if dropped in the water.
Floating designStops the pump from sinking if released accidentally.
Corrosion-resistant materialsBetter for saltwater and long-term durability.
Strong one-way valveKeeps water flowing out instead of back inside.

Notice what’s missing.

Fancy branding.

A famous logo doesn’t remove water any faster.

Bigger Isn’t Always Better

This surprises many first-time buyers.

Some assume the largest pump automatically performs best.

Not necessarily.

An oversized pump can become awkward inside smaller recreational kayaks. A tiny compact pump, on the other hand, often requires far more strokes to remove the same amount of water.

For most beginners, an 18- to 20-inch manual bilge pump offers the best balance between pumping speed and portability.

The Feature Everyone Forgets Until It’s Too Late

Ask experienced paddlers what they appreciate most after a real rescue.

Most won’t mention the barrel size.

They’ll talk about the handle.

Cold hands, wet gloves, and stress make small handles surprisingly difficult to grip.

A wide, non-slip handle allows longer pumping without fatigue.

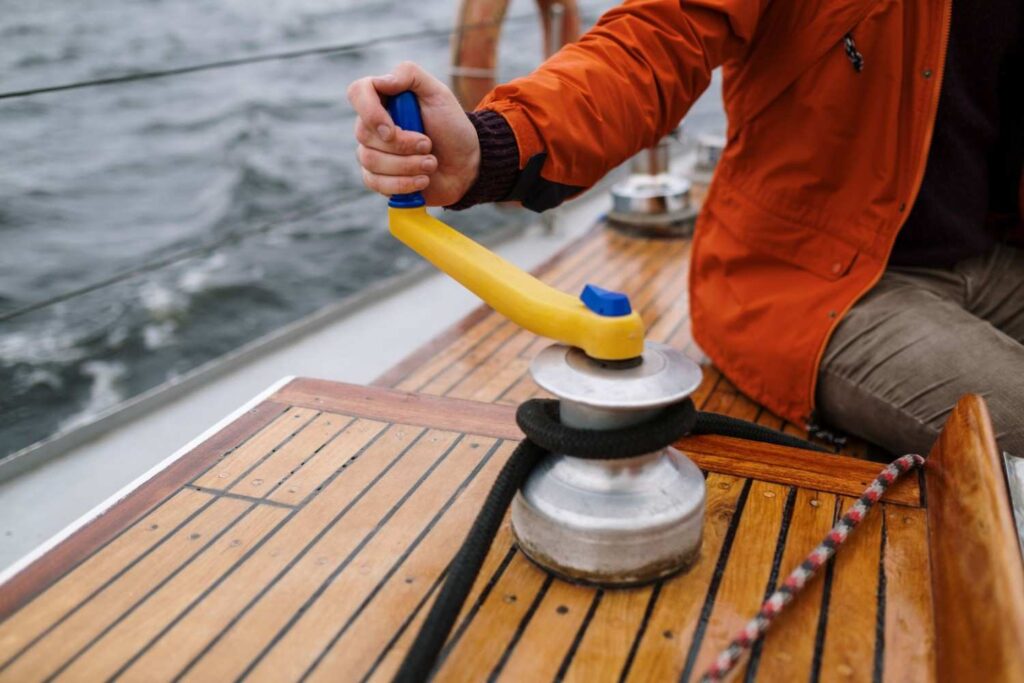
Hand gripping a wide, non-slip boat winch handle on deck, illustrating the importance of ergonomic grip design

It’s one of those details that seems unimportant in the store but becomes obvious on the water.

My First Lesson About Bilge Pumps

Years ago, I was helping a group of beginners on a quiet reservoir.

Everything looked perfect.

No wind.

Flat water.

Then a passing powerboat created a series of unexpected wakes.

One beginner stayed upright but took on several gallons of water through the cockpit.

The kayak didn’t sink.

It simply became sluggish and unstable.

We handed over a quality manual bilge pump, and within a couple of minutes the kayak felt almost normal again.

That paddler told me afterward, “I honestly thought these pumps were optional.”

Two kayakers paddling calmly across a lake near shoreline reeds and trees

After that afternoon, they never launched without one.It also reinforced an important lesson for anyone wondering is kayaking safe for non swimmers—the right safety equipment and good preparation make a significant difference every time you get on the water.

Which Type of Bilge Pump Makes the Most Sense?

Most new paddlers eventually compare manual and electric pumps.

Here’s the practical difference.

Manual Bilge PumpElectric Bilge Pump
Lower costMore expensive
No batteries requiredRequires power source
LightweightHeavier
Extremely reliableMore parts to maintain
Works anywhereDepends on battery condition
Ideal for beginnersBetter for advanced setups and fishing kayaks
Sit-inside recreational fishing kayak with visible deck gear and paddle, calm lake background

Unless you’re building a heavily equipped fishing kayak or planning long offshore trips, a quality manual pump is usually the smarter investment.

Safety Comes Before Any Pump

A bilge pump removes water.

It doesn’t replace safe decision-making.

Two paddlers in recreational kayaks wearing properly fitted life jackets on a calm waterway

Before every trip:

  • Wear a properly fitted life jacket.
  • Check the weather forecast.
  • Tell someone where you’re paddling.
  • Practice getting back into your kayak close to shore.
  • Keep your pump where you can reach it instantly.

The biggest mistake I see isn’t buying the wrong pump.It’s overlooking essentials like the best kayak life jacket for women, because the right safety gear will always have a bigger impact on your time on the water than any accessory ever will.

It’s storing the pump inside a sealed hatch that’s impossible to reach after a capsize.

A safety tool only helps if it’s accessible.

What Else Should Be in Your Safety Kit?

A bilge pump works best alongside a few other simple pieces of equipment.

I recommend carrying:

  • Paddle float
  • Bilge sponge
  • Whistle
  • Dry bag
  • Spare paddle for longer trips
  • Throw rope when paddling with partners

Each item solves a different problem.The best kayak dry bag, for example, protects your phone, keys, spare clothing, and other essentials from water, making it one of the most practical pieces of gear you can carry on every trip.

Together, they make self-rescue far easier than relying on one piece of gear alone.

Mistakes That Waste Money Before You Ever Reach the Water

I’ve seen beginners buy excellent kayaks and then try to save a few dollars on the one piece of emergency equipment they may actually need.

That’s backwards.

Avoid these common mistakes:

  • Buying the smallest pump because it takes up less space.
  • Choosing a pump with a slippery plastic handle.
  • Ignoring whether the pump floats.
  • Storing it inside a hatch instead of on the deck or beside the cockpit.
  • Assuming a sponge can replace a bilge pump.
  • Never practicing with the pump before the first trip.

Practice using your pump on a calm day. The middle of an emergency isn’t the time to learn how it works.

A Few Minutes of Practice Changes Everything

One habit separates confident beginners from nervous ones.

They practice.

Paddler sitting in a kayak on calm water, adjusting gear before practicing on the water

Launch in shallow water, deliberately splash water into the cockpit, and spend a few minutes pumping it out.

Notice how the water exits.

Try different hand positions.

See how quickly the cockpit empties.

Those five minutes build confidence that no product review ever will.

Taking Care of Your Bilge Pump

Fortunately, maintenance is simple.

After each trip:

  • Rinse the pump with clean fresh water.
  • Pump fresh water through the barrel several times.
  • Let it dry before storing it.
  • Check the piston for sand or debris.
  • Inspect the discharge hose for cracks.
  • Store it away from direct sunlight.

Saltwater paddlers should be especially careful. Salt left inside the pump slowly wears down seals and moving parts.

A quick rinse after every trip can add years to its life.

How Long Should a Good Bilge Pump Last?

People often expect to replace a bilge pump every couple of seasons.

That’s rarely necessary.

A quality manual bilge pump commonly lasts five to ten years, sometimes even longer.

Its lifespan depends on:

  • How often it’s used.
  • Whether it’s rinsed after saltwater trips.
  • Protection from prolonged sun exposure.
  • Storage conditions.
  • Overall build quality.

If pumping becomes noticeably harder or the seals begin leaking, it’s time to replace it.

One Afternoon I’ll Never Forget

One windy afternoon, I watched two kayakers capsize within minutes of each other.

Both had nearly identical recreational kayaks.

The difference wasn’t the kayak.

It was their preparation.

Kayaker paddling through a large breaking wave, helmet and gear visible amid heavy splash

One paddler reached for a sturdy manual bilge pump clipped beside the cockpit. Within a couple of minutes, most of the water was gone and they paddled back to shore without much trouble.

The second paddler had stored their pump inside a rear hatch.

Unfortunately, the hatch couldn’t be reached safely while sitting in the kayak.

That expensive pump might as well have stayed at home.

Since then, I’ve told every beginner the same thing.

The best safety gear is the gear you can reach immediately.The same principle applies to what to wear kayaking in cold weather, because wearing the right clothing from the start is far more effective than trying to stay warm after you’ve already become cold.

My Recommendation for First-Time Buyers

If someone asks me what I’d buy today for a first kayak, my answer is straightforward.

Choose a manual bilge pump with:

  • An 18- to 20-inch body.
  • A large, comfortable handle.
  • A floating design.
  • Bright, highly visible color.
  • Corrosion-resistant construction.
  • A dependable one-way valve.
  • Positive reviews for durability rather than fancy features.

You’ll probably use it only occasionally.

But if the day comes when your cockpit fills with water, you’ll be glad you chose reliability over gimmicks.

Frequently Asked Questions

1. Do I really need a bilge pump as a beginner?

Yes. Even calm lakes can surprise you with waves, boat wakes, or an unexpected capsize. A bilge pump removes water much faster than a sponge alone.

2. Can a sponge replace a bilge pump?

No. A sponge is excellent for removing the last small amount of water, but it’s far too slow after a flooded cockpit.

3. How much water can a manual bilge pump remove?

Most quality pumps move a significant amount of water with every stroke, allowing you to empty most recreational cockpits within a few minutes.

4. Should I buy a floating bilge pump?

Absolutely. Beginners occasionally drop equipment into the water. A floating pump is much easier to recover.

5. Can I use the same pump with different kayaks?

Yes. A manual bilge pump works with most recreational, touring, and sea kayaks.

6. Where should I keep my bilge pump?

Secure it beside the cockpit or on the deck where it can be reached immediately. Avoid storing it inside sealed compartments.

7. Do sit-on-top kayaks need a bilge pump?

Usually not. Sit-on-top kayaks drain water through scupper holes, while sit-inside kayaks benefit much more from carrying a bilge pump.

8. Is an electric bilge pump worth buying?

Most beginners don’t need one. A manual pump is lighter, simpler, less expensive, and highly dependable.

9. How often should I replace my bilge pump?

Replace it only if the seals wear out, cracks develop, or pumping performance noticeably declines.

10. What’s the single most important feature in a beginner’s bilge pump?

Reliability. A dependable pump that’s comfortable to use will always outperform a feature-packed model that fails when you need it most.

Final Thoughts

The best kayak bilge pump for beginners isn’t the one with the flashiest packaging or the longest list of features.

It’s the one that’s dependable, easy to operate with wet hands, and always within reach when conditions suddenly change.

Water has a way of reminding paddlers that small pieces of safety equipment often make the biggest difference. Buy a quality manual bilge pump, practice with it before your first real emergency, and make it part of every trip.

Relaxed kayaker smiling in a recreational fishing kayak on a calm, shaded river

When the unexpected happens, confidence doesn’t come from luck. It comes from being prepared.

Best Kayak Paddle for Fishing Under $100


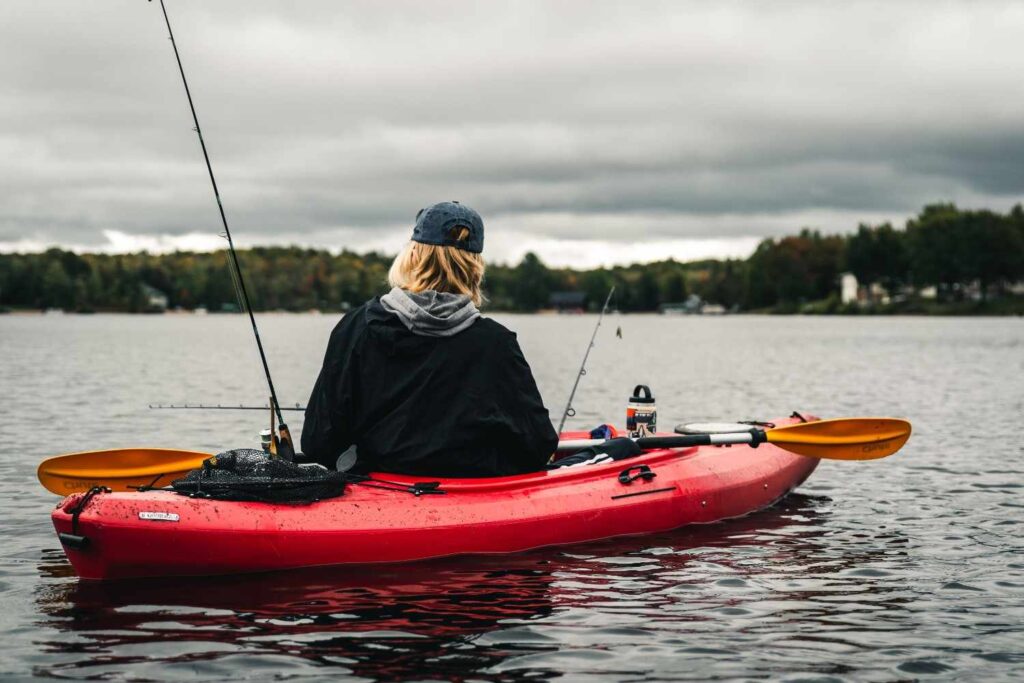
Angler paddling a red sit-on-top kayak while wearing a life jacket, holding a two-piece kayak paddle

Buying a fishing kayak is usually the expensive part. Then you start looking at paddles and suddenly realize a decent one can cost another $200 or more. That’s when most people grab the cheapest paddle they can find.

I’ve watched that mistake play out hundreds of times.

The kayak performs fine. The angler is excited. Two hours later, shoulders hurt, wrists ache, and every paddle stroke feels heavier than the last. Most people blame themselves. They shouldn’t.

A good fishing paddle doesn’t have to be expensive.

The trick is knowing which features actually matter and which ones are just marketing. I’ve spent years fishing from recreational kayaks, pedal kayaks, touring boats, and wide sit-on-top fishing platforms. Some of my favorite budget paddles cost well under $100 because they focused on the right things instead of flashy extras.

If you’re shopping on a budget, here’s what I’d tell a friend standing next to me in the paddle aisle.

Quick Answer

The best kayak paddle under $100 is one that fits your height, kayak width, and fishing style—not simply the lightest or cheapest model.

Look for these features before anything else:

FeatureWhat to Look For
Paddle LengthUsually 240–250 cm for fishing kayaks
Shaft MaterialFiberglass or lightweight aluminum
Blade MaterialReinforced polypropylene or fiberglass nylon
WeightUnder 35 ounces if possible
Feather AdjustmentAdjustable angles are ideal
Drip RingsYes
Comfortable GripEssential for long trips

A properly sized $90 paddle will outperform a poorly sized $250 paddle every single day.

The Biggest Mistake Budget Buyers Make

Here’s something that still surprises beginners.

They’ll spend weeks researching kayaks.

Then they’ll buy whatever paddle is hanging on the store rack.

That’s backwards.

Every paddle stroke travels through your hands, wrists, elbows, shoulders, and back. During a normal fishing day you’ll take thousands of strokes before loading the kayak back onto the truck.

A heavy paddle might only weigh eight or ten ounces more than a lighter one.

Doesn’t sound like much.

Multiply those extra ounces by several thousand strokes.

Now it matters.

I’ve watched anglers switch from a heavy bargain paddle to a lighter fiberglass model and immediately notice less shoulder fatigue before lunchtime.

That’s money well spent.

Why Fishing Paddles Are Different

Not every kayak paddle is designed for anglers.

Fishing kayaks are usually:

  • Wider
  • Heavier
  • Slower
  • Loaded with gear
  • Less responsive than touring kayaks

That changes everything.

A narrow touring paddle may feel great for speed but force awkward paddle angles on a 38-inch-wide fishing kayak.

Meanwhile, an oversized paddle blade can wear you out long before the fish start biting.

Balance matters more than brute force.The same principle applies when learning how to size a kayak paddle, because the right paddle length improves efficiency and control instead of forcing you to rely on extra effort.

Picking the Right Paddle Length

Length causes more problems than almost anything else.

Too short?

You’ll constantly splash yourself while striking the sides of the kayak.

Too long?

Every stroke feels awkward and inefficient.

Solo kayaker paddling across an open lake with a full-length paddle clearly visible

Here’s the guideline I’ve recommended for years.

Kayak WidthRecommended Paddle
Under 28 inches220–230 cm
28–32 inches230–240 cm
32–36 inches240 cm
Over 36 inches250–260 cm

Most modern fishing kayaks fall into the last two categories.

That’s why you’ll often see experienced anglers carrying 240 cm or 250 cm paddles.

Don’t Ignore Paddle Weight

Everyone notices paddle price.

Experienced paddlers notice paddle weight.

There’s a reason.

Imagine lifting a coffee mug.

Easy.

Now lift that mug several thousand times.

Suddenly every ounce matters.

Close-up of a lightweight kayak paddle blade held just above calm water, creating a small ripple

Here’s a practical comparison.

Paddle WeightHow It Feels During a Fishing Trip
Under 30 ozExcellent for long days
30–34 ozComfortable for most anglers
35–38 ozAcceptable for occasional trips
Above 38 ozFatigue builds quickly

Weight doesn’t matter much during the first ten minutes.

It absolutely matters after four hours.

Aluminum vs. Fiberglass Shafts

People often assume aluminum is automatically worse.

That’s not always true.

I’ve recommended aluminum paddles to plenty of beginners because they stretch the budget without sacrificing safety.

Still, each material has trade-offs.

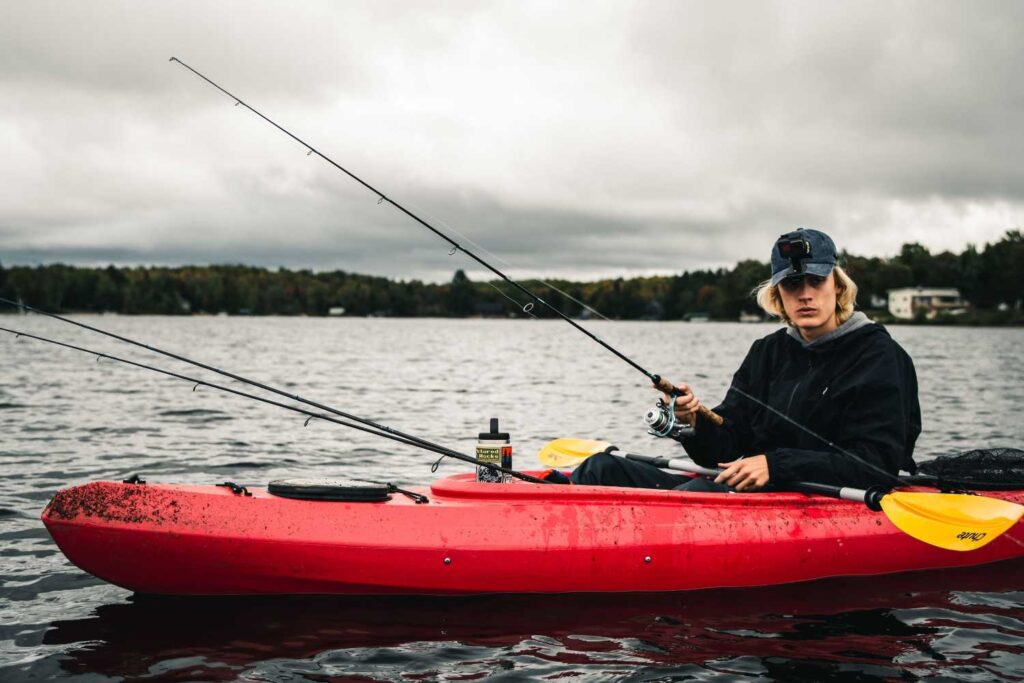
Close-up of an angler in a kayak gripping a paddle shaft with fishing rods mounted nearby
FeatureAluminum ShaftFiberglass Shaft
CostLowerModerate
WeightHeavierLighter
Cold Weather ComfortCan feel coldComfortable
DurabilityVery strongVery strong
Long-Day ComfortGoodExcellent

If your budget reaches around $80–100, I’d lean toward fiberglass every time.

Blade Shape Matters More Than Most People Realize

This catches beginners off guard.

They assume bigger blades create more power.

Technically, they do.

But there’s a catch.

Large blades also require more effort every single stroke.

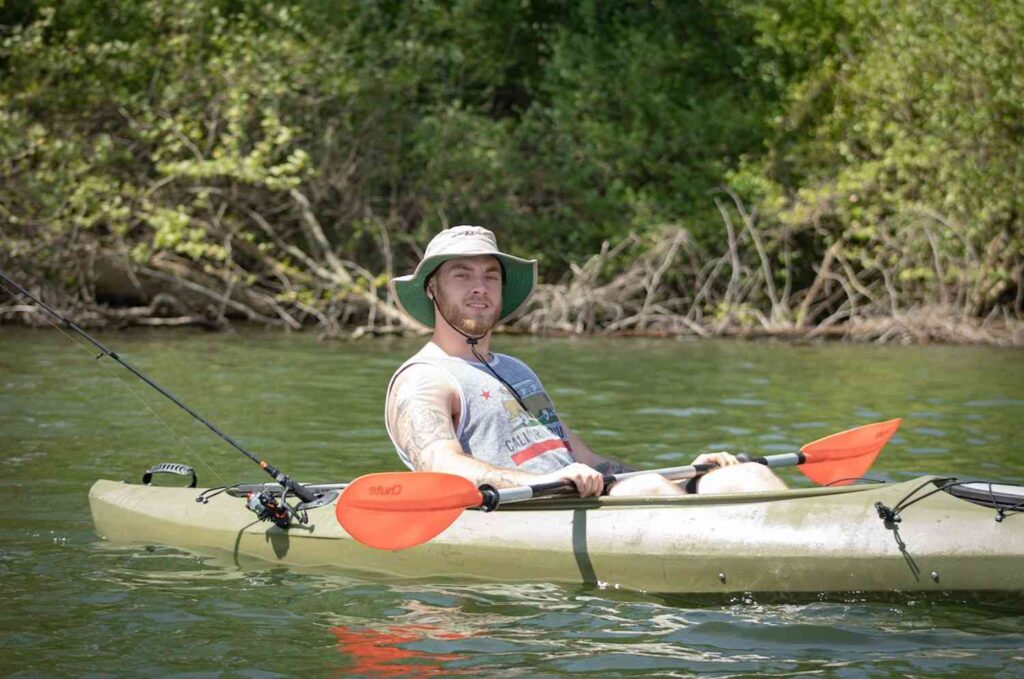
Angler in a fishing kayak holding a paddle with a clearly visible medium-sized orange blade

Fishing isn’t a sprint.

It’s hours of steady paddling with long breaks between casts.

For that reason, medium-sized blades usually make the most sense.

They deliver plenty of control without draining your energy.

Adjustable Feather Angles Are Worth Having

Many quality paddles under $100 now include adjustable feathering.

If you’ve never heard the term before, don’t worry.

Feathering simply means one blade sits at a slight angle compared to the other.

Why bother?

Because wind catches flat paddle blades surprisingly easily.

On breezy lakes or open bays, adjusting the blade angle can reduce wind resistance and make paddling feel smoother.

The nice part?

If you don’t like it, rotate the paddle back to a straight position.

You’re not locked into one setup.

Features I’d Pay For First

Budget shopping means making choices.

I’d spend money in this order.

  1. Correct paddle length
  2. Comfortable weight
  3. Adjustable ferrule system
  4. Durable blade construction
  5. Comfortable grip
  6. Attractive color

Notice what’s last.

Looks don’t catch fish.

Comfort keeps you on the water longer.

Features You Can Skip

Some accessories sound impressive but rarely matter for casual anglers.

Examples include:

  • Decorative carbon-look finishes
  • Bright graphics
  • Fancy carrying bags
  • Premium branding alone
  • Racing blade designs

Those upgrades often increase price more than performance.

Spend your money where you’ll actually feel the difference.

A Lesson From a Windy Afternoon

A client once showed up carrying a brand-new bargain paddle he’d found on clearance.

He couldn’t understand why paddling felt exhausting.

The kayak wasn’t overloaded.

His technique wasn’t terrible.

The paddle was simply too short.

Kayakers paddling near a rocky lake shoreline with water dripping off the paddle blade mid-stroke

Every stroke forced him to lean farther than necessary, sending water into his lap while wasting energy.

We swapped paddles for one that was just 20 centimeters longer.

Nothing else changed.

Within five minutes he looked back and laughed.

“I thought I was just out of shape.”

No.

He had the wrong tool.

That’s a lesson worth remembering every time you shop for paddle gear. Taking the time to choose the right kayak accessories ensures every piece of equipment works together, making your time on the water more comfortable, efficient, and enjoyable.

Matching the Paddle to Your Fishing Style

One paddle doesn’t suit every angler.

Someone drifting small creeks has different needs than someone crossing a windy reservoir before sunrise.

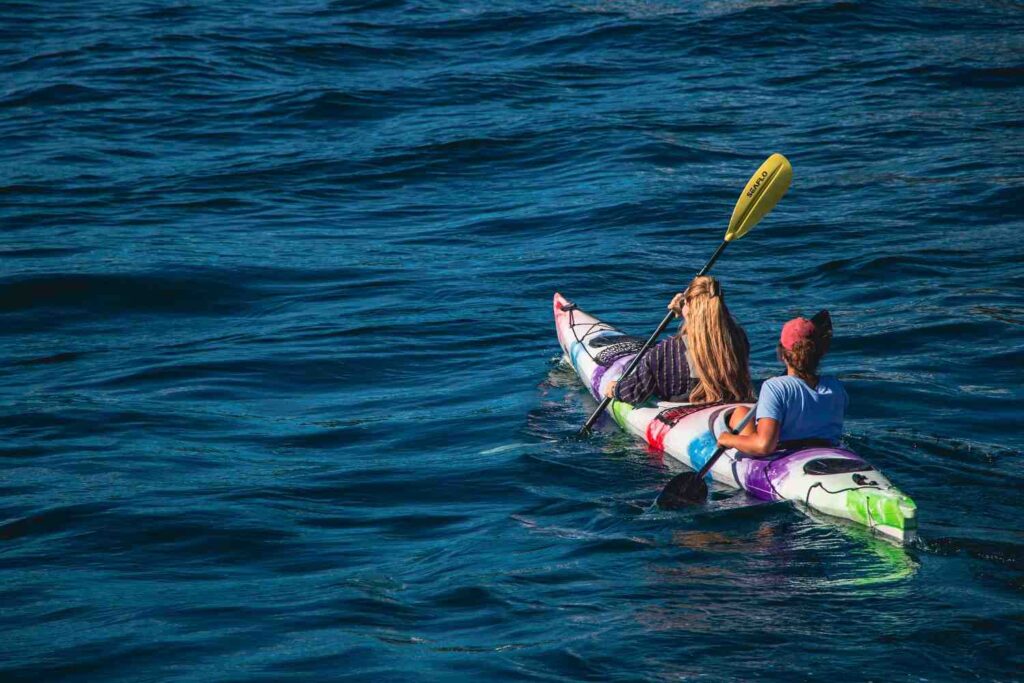
Two paddlers in a tandem kayak on open blue water, using a long touring-style paddle

Here’s a simple comparison.

Fishing StyleBest Paddle Choice
Small rivers and creeks230–240 cm, lightweight aluminum or fiberglass
Large lakes240–250 cm fiberglass
Coastal bays250 cm with adjustable feather angle
Weekend recreational fishingDurable aluminum shaft with reinforced blades
Frequent all-day tripsLightweight fiberglass shaft under 34 oz

Match the paddle to where you fish most often, not the one or two trips you take each year.

Don’t Forget the Kayak Width

Here’s something many online buying guides skip.

Two people can be exactly the same height and still need different paddle lengths.

Why?

Because kayak width changes everything.

A narrow touring kayak lets your paddle enter the water close to your body.

A wide fishing kayak pushes that stroke farther away.

That’s why anglers often need a longer paddle than recreational paddlers of the same height.

Always check your kayak’s width before ordering.

Simple Maintenance That Adds Years to Your Paddle

A budget paddle can last for many seasons if you take care of it.

I’ve seen inexpensive paddles survive nearly a decade because their owners spent five minutes cleaning them after each trip.

The routine is simple.

Kayak paddle resting securely on the kayak deck at the dock after a trip, ready for cleaning and storage
  • Rinse the paddle with fresh water after every outing.
  • Wash off sand, mud, and salt before storing it.
  • Separate the two pieces occasionally and clean the ferrule connection.
  • Let everything dry completely before putting it away.
  • Check for loose locking buttons or worn drip rings every few trips.

Saltwater doesn’t ruin paddles overnight. Leaving salt on them for weeks does.

Transporting Your Paddle Without Damaging It

People worry about scratching their kayak.

The paddle usually gets ignored.

I’ve watched paddles bounce around in truck beds, get slammed in tailgates, or spend months baking in direct sunlight.

Eventually something cracks.

During transport:

  • Store the paddle inside the vehicle whenever possible.
  • If it rides on the roof, secure it so it can’t vibrate at highway speed.
  • Don’t stack heavy coolers or tackle boxes on top of it.
  • Keep it out of direct sunlight when storing it for long periods.

Small habits prevent expensive replacements.The same mindset applies when choosing the best kayak cart for heavy kayaks, because using the right cart reduces unnecessary strain on both your kayak and your body over the long term.

Common Buying Mistakes I See Every Season

Some mistakes show up year after year.

Avoid these and you’ll already be ahead of many first-time buyers.

MistakeBetter Choice
Buying the cheapest paddle availableBuy the best paddle your budget allows under $100
Ignoring paddle lengthMatch the length to your kayak width and height
Choosing the heaviest modelLook for a lighter option if possible
Picking style over comfortPrioritize weight, grip, and balance
Never checking adjustment systemChoose a reliable two-piece adjustable paddle

What I’d Recommend to Different Anglers

If someone asked me for quick advice at the boat ramp, this is exactly what I’d say.

For complete beginners

Choose a 240 cm aluminum or fiberglass paddle with adjustable feathering. It’s forgiving, durable, and easy to learn with.

For anglers fishing every weekend

Spend closer to the $100 limit and get a lightweight fiberglass model. Your shoulders will thank you after a full season.

For large fishing kayaks

A 250 cm paddle usually provides better reach and cleaner strokes.

For smaller recreational kayaks

A 230–240 cm paddle often feels more natural.

Safety Matters More Than the Paddle

I’ve seen people obsess over paddle weight while forgetting basic safety gear.

That’s backwards.

Before launching, make sure you have:

Kayak angler wearing a bright orange life jacket while paddling with fishing rod mounted on the kayak
  • A properly fitted life jacket worn at all times.
  • A whistle or other sound-signaling device where required.
  • Drinking water, especially during summer trips.
  • A weather check before leaving home.
  • A spare paddle on long or remote trips if possible.

The best paddle in the world won’t help if poor planning puts you in trouble.That’s why investing in the best kayak life jacket for women or any properly fitted PFD is just as important as choosing the right paddle, because safety should always come before performance.

Frequently Asked Questions

1. What is the best kayak paddle length for a fishing kayak?

Most fishing kayaks perform best with a 240–250 cm paddle because they’re wider than recreational or touring kayaks. Always consider both your height and your kayak’s width before choosing.

2. Is a fiberglass paddle worth the extra money?

Yes. A fiberglass shaft is lighter than aluminum, which reduces fatigue during long fishing trips. If your budget is close to $100, it’s usually the better investment.

3. Can I use a regular recreational paddle for fishing?

You can, but it may not be ideal. Recreational paddles are often shorter and designed for narrower kayaks, making them less comfortable on wide fishing platforms.

4. How heavy should a fishing paddle be?

A paddle weighing under 35 ounces offers a good balance between durability and comfort. Lighter models reduce strain during long days on the water.

5. Does paddle length depend on my height?

Partly. Your height matters, but kayak width is just as important. A taller paddler in a narrow kayak may use the same paddle length as a shorter paddler in a very wide fishing kayak.

6. Are two-piece paddles strong enough?

Yes. Most quality two-piece paddles are very durable and much easier to transport and store. Just keep the locking mechanism clean and check it occasionally.

7. Do expensive paddles make you paddle faster?

Not necessarily. Proper technique and correct paddle size have a much bigger impact than price alone.

8. How long should a kayak paddle last?

With regular cleaning and proper storage, a good paddle can last many years. Freshwater paddlers often get even longer life with minimal maintenance.

9. Should I carry a spare paddle?

For short trips close to shore, it’s optional. For long lake crossings, coastal fishing, or remote rivers, carrying a spare paddle is a smart safety habit.

10. What’s the biggest mistake first-time buyers make?

Buying a paddle based only on price. Choosing the correct length, comfortable weight, and durable construction will improve every trip far more than saving a few extra dollars.

Final Verdict

People often ask which paddle I’d buy if I had exactly $100.

Honestly?

I’d stop looking at brand names first.

I’d check the paddle length.

Then the weight.

Then the shaft material.

Only after those three matched my kayak would I care about the logo printed on the blade.

Kayaker paddling peacefully down a calm forest river wearing a life jacket

I’ve fished beside anglers carrying premium paddles that weren’t sized correctly. It’s a reminder that even the best freshwater kayak fishing tips start with efficient paddling, because wasting energy on every stroke leaves you with less focus for finding and catching fish. They worked harder than necessary all day.

I’ve also watched people using modest fiberglass paddles under $100 paddle comfortably from sunrise until the last cast because they chose the right size and balance.

That’s the lesson.

The best kayak paddle under $100 isn’t the one with the biggest marketing budget. It’s the one that fits your kayak, your body, and the way you fish. Get those three right, and you’ll enjoy every trip far more than someone who simply bought the most expensive paddle they could afford.

Best Kayak Cart for Heavy Kayaks: Expert Reviews


A wheeled cart frame positioned at the water's edge on a beach

Quick Answer

If your kayak weighs more than about 75 pounds, stop shopping based on price alone.

A heavy kayak needs a cart with a strong frame, wide tires, and a weight capacity that comfortably exceeds your fully loaded kayak.

I’ve watched paddlers spend thousands on premium fishing kayaks and then trust them to the cheapest cart they could find. That’s backwards. The cart carries every pound of that investment across gravel, sand, mud, and rough boat ramps.

Here’s the advice I give beginners.

Your SituationBest Cart Style
Heavy fishing kayakBunk-style cart
Soft plastic hullWide padded bunk cart
Mixed terrainBalloon-wheel cart
Mostly paved launchesSolid rubber wheels
Long walks to the waterLarge pneumatic tires

A good cart doesn’t just make transportation easier.

It protects your kayak—and your back.

Why Heavy Kayaks Break Cheap Carts

The first kayak cart I ever saw fail wasn’t carrying an oversized kayak.

It was carrying an average fishing kayak over rough gravel.

Halfway to the launch, one wheel bent sideways.

Multiple heavy kayaks stacked on a small trailer with a single wheel, illustrating the risk of overloading lightweight equipment

The paddler hadn’t overloaded it.

The frame simply wasn’t designed for repeated impacts.

That’s something many people overlook.

Manufacturers advertise maximum weight limits, but those numbers are usually measured under ideal conditions.

Real launches aren’t ideal.

You’ll encounter:

  • Rocks
  • Tree roots
  • Sand
  • Curbs
  • Uneven parking areas
  • Boat ramps

Each bump puts extra stress on the frame.

That’s why I tell people to choose a cart rated well above their kayak’s actual weight.

The extra capacity isn’t wasted.

It’s insurance.

Start by Knowing Your Real Kayak Weight

Many owners underestimate how much they’re actually moving.

They know the kayak weighs 90 pounds.

Then they add:

  • Fishing rods
  • Tackle crate
  • Battery
  • Fish finder
  • Anchor
  • Cooler
  • Safety gear

Suddenly that “90-pound kayak” weighs closer to 120 pounds.

Fishing kayak loaded with multiple rods, a cooler, and gear on the water

That’s the number your cart has to handle.It’s an especially important consideration for anyone using the best fishing kayak for big guys, since larger, heavier kayaks place much greater demands on both carts and transport equipment.

Always calculate your fully loaded weight—not just the manufacturer’s advertised weight.

Which Cart Design Works Best?

Every cart has strengths.

Every design has limitations.

Choosing the wrong style creates unnecessary frustration.

Cart TypeBest ForAdvantagesLimitations
Bunk-styleHeavy fishing kayaksExcellent hull supportSlightly larger to store
Scupper cartSit-on-top kayaksFast loadingNot suitable for every hull
Center cartRecreational kayaksCompact and versatileCan shift on rough terrain
Balloon-wheel cartSand and beachesRolls easily on soft groundMore expensive

I’ve used every style over the years.

For heavy fishing kayaks, bunk-style carts consistently provide the best support and stability.

They spread the load across a wider area instead of concentrating pressure on one point.

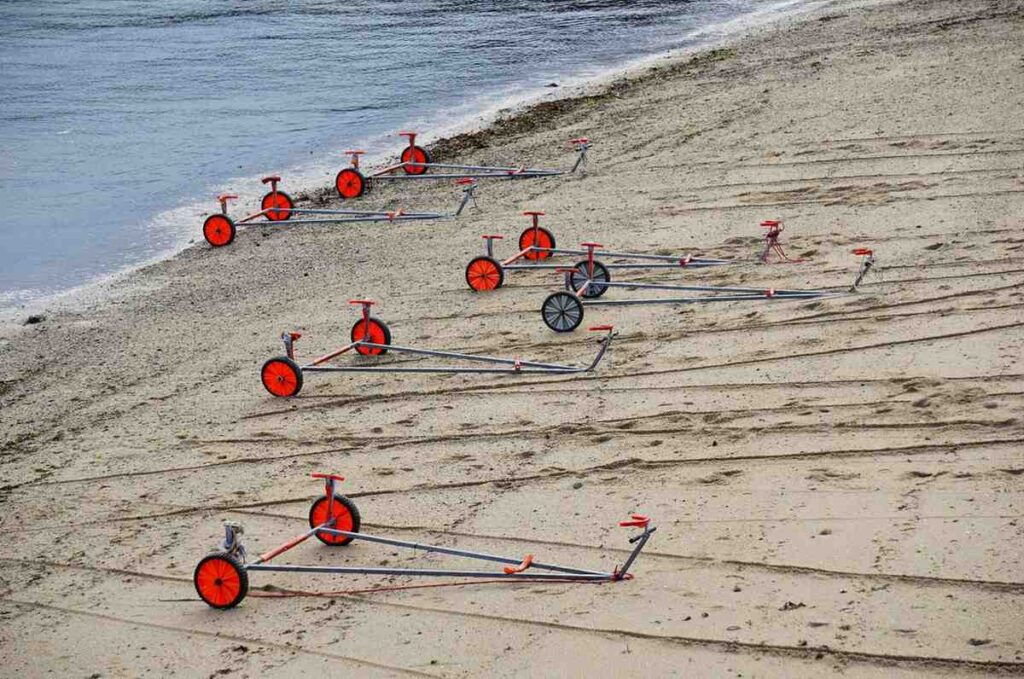
Several small wheeled launching trolleys lined up on a beach shoreline

Wheels Matter More Than Most People Realize

People spend hours comparing frames.

Then they ignore the wheels.

That’s backwards.

The wheels determine how much effort you’ll use getting from the parking lot to the water.

Here’s a simple comparison.

Wheel TypePerforms Best On
Solid rubberPavement and concrete
Pneumatic tiresGravel, grass, dirt
Balloon tiresSand and soft beaches
Foam-filled tiresMixed terrain with minimal maintenance

I’ve watched someone drag a 100-pound kayak through beach sand using small hard wheels.

It looked exhausting.

Five minutes later another paddler rolled a heavier kayak across the same sand using balloon tires with almost no effort.

Same beach.

Same distance.

Different wheels.

Huge difference.

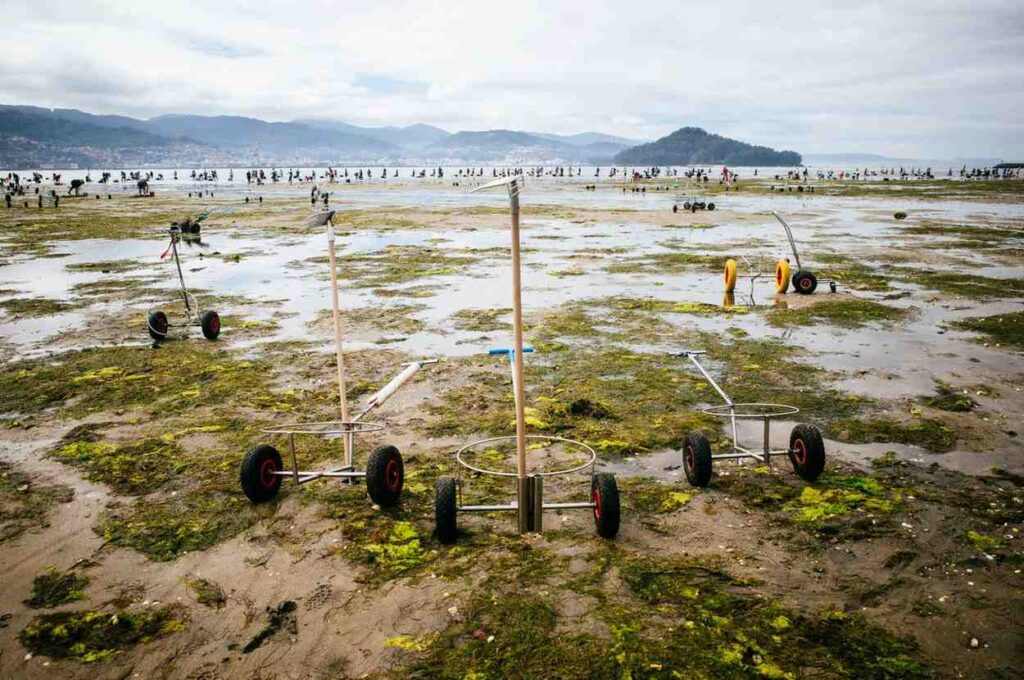
Multiple kayak carts with different wheel sizes and designs standing on a wet, muddy tidal flat near the water

The Biggest Loading Mistake Beginners Make

Many people place the kayak in the center of the cart without thinking about balance.

Sometimes that’s correct.

Often it isn’t.

If too much weight sits behind the wheels, the bow becomes difficult to control.

Too much weight in front and you’ll feel every pound in your arms.

The goal is balance—not perfection.

Once the cart is positioned correctly, you should be able to lift the front of the kayak without feeling like you’re deadlifting the entire boat.

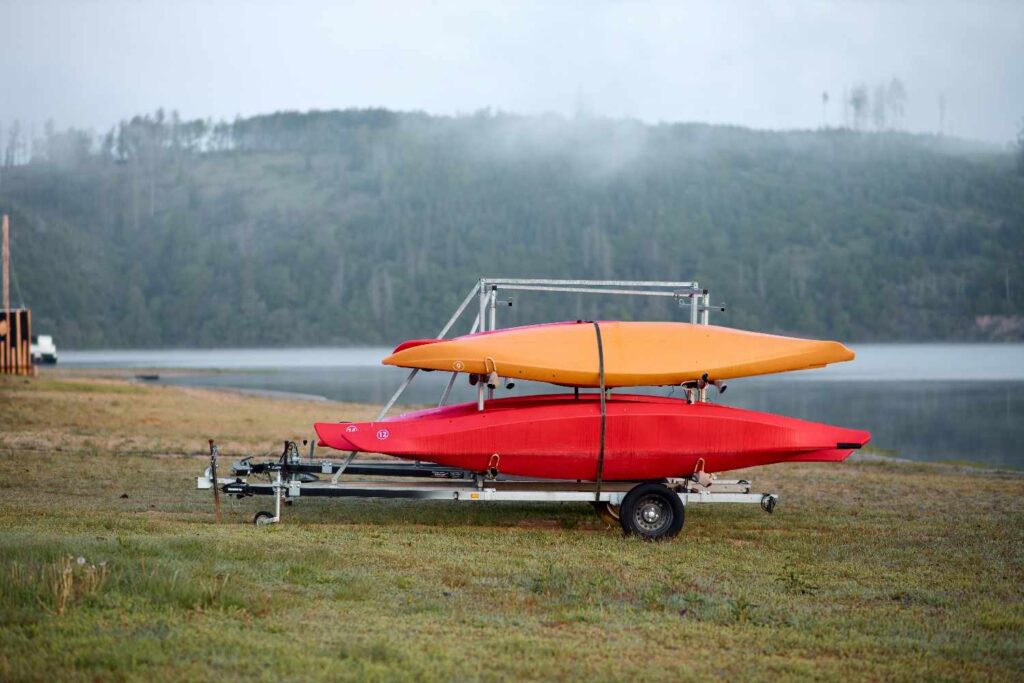
Red and orange kayaks secured on a multi-tier trailer rack near a foggy lake, showing proper loading setup

This usually takes a little trial and error during your first few outings.The same is true when learning how to transport a kayak, as you’ll quickly discover the loading and tie-down method that works best for your kayak, vehicle, and routine.

After that, loading becomes automatic.

The Straps Are Just as Important as the Cart

A strong frame won’t help if the kayak isn’t secured properly.

I’ve seen expensive carts tip over because someone rushed through the last thirty seconds of loading.

Usually the problem isn’t the cart.

It’s loose straps.

Before moving the kayak, check that:

  • The straps are snug but not crushing the hull.
  • The kayak sits centered on the cart.
  • Buckles aren’t pressing against the kayak.
  • Loose strap ends are tucked away so they can’t catch on branches or wheels.

The kayak should become part of the cart, not something simply resting on top of it.

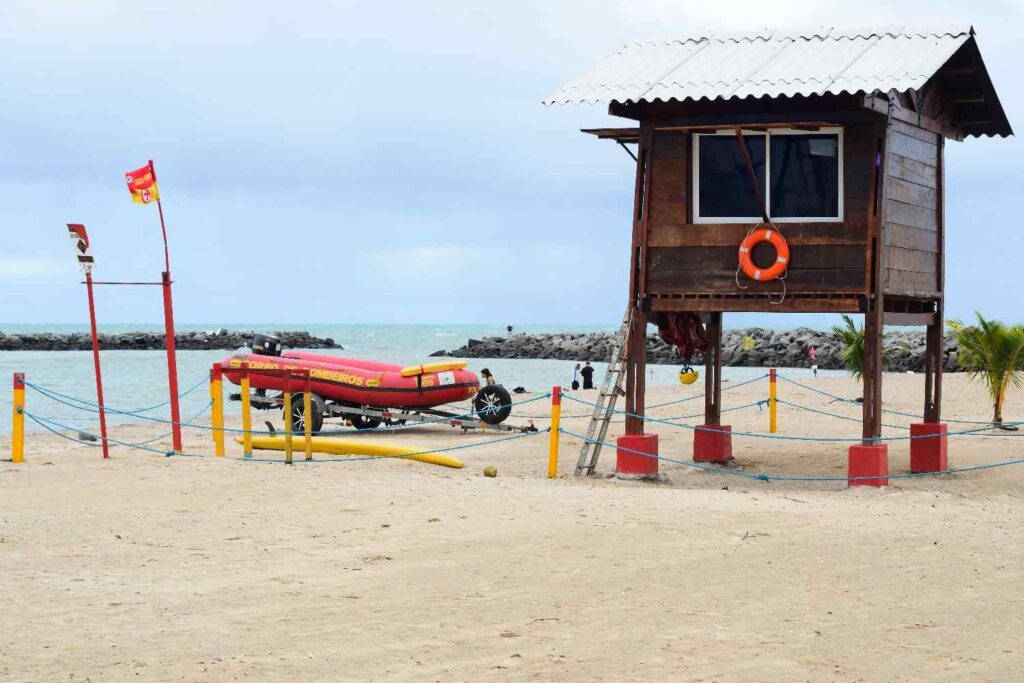
An inflatable boat secured with straps on a wheeled trailer at the beach

If it rocks side to side before you start walking, stop and adjust it.

One Lesson a Muddy Boat Ramp Taught Me

Several years ago I watched a paddler hauling a fully rigged fishing kayak down a muddy launch.

Everything looked fine until one wheel sank into a soft patch.

The cart twisted sideways, the kayak slipped, and the entire setup rolled onto its side.

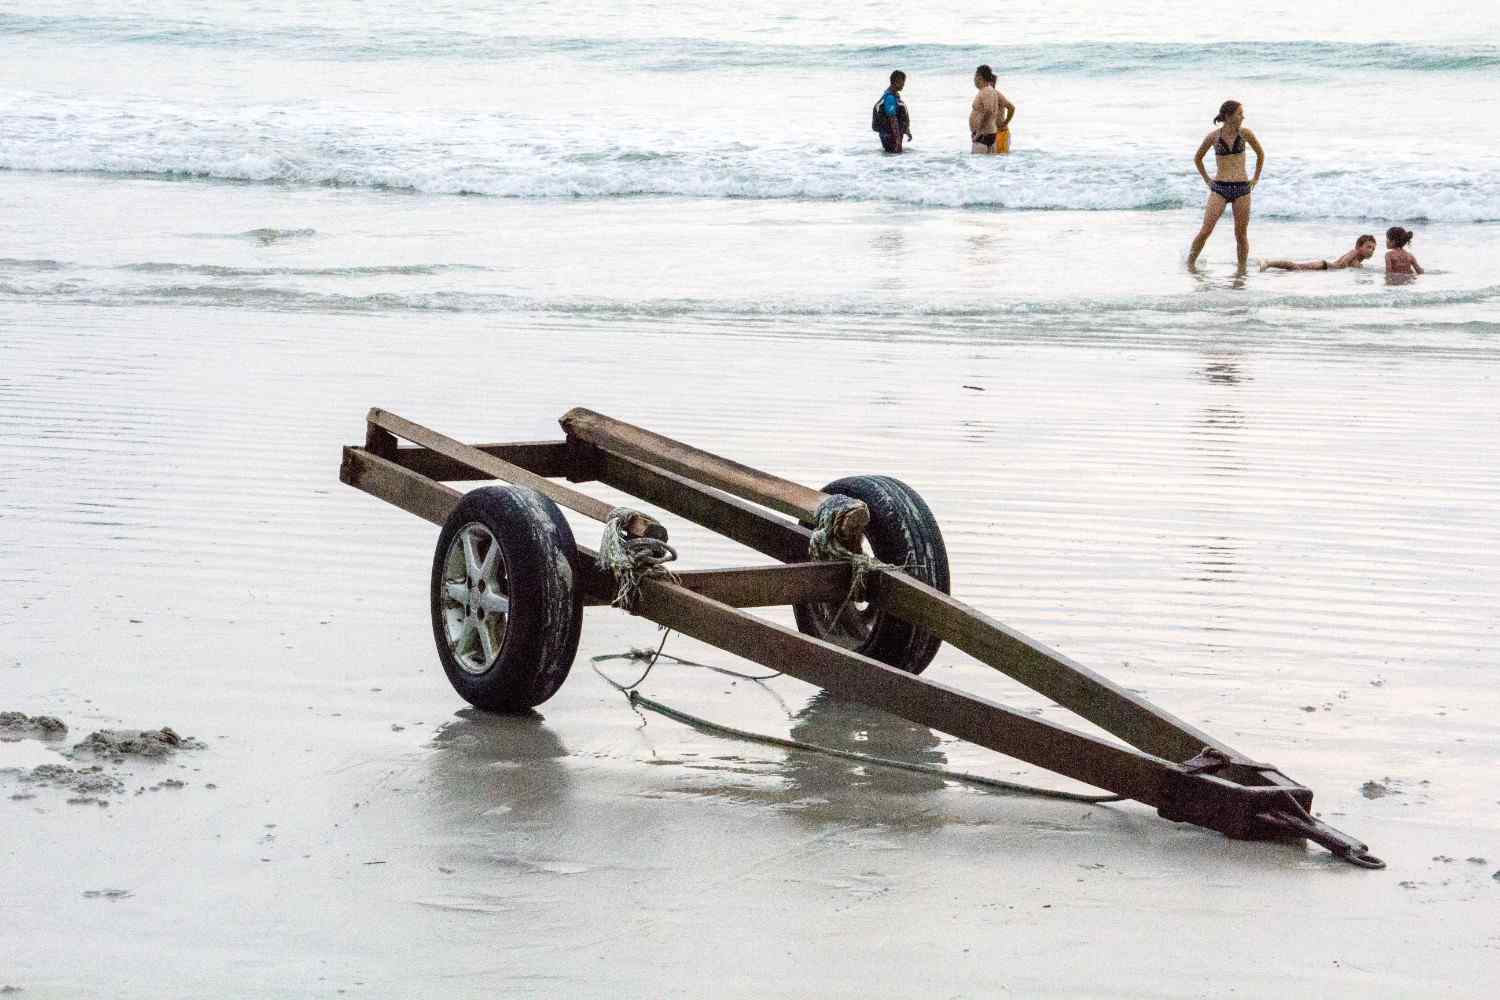
A wooden boat trailer partially submerged in calm water at a launch point

Nothing broke, but it easily could have.

The interesting part?

His cart wasn’t overloaded.

The wheels were simply too narrow for the conditions.

A few minutes later another angler rolled an even heavier kayak across the same muddy ramp using a cart with wide pneumatic tires.

No struggle.

No sinking.

No drama.

That morning reminded me that terrain often matters more than weight capacity.It’s a lesson you’ll quickly appreciate when learning how to launch a kayak from a rocky shore, where uneven footing and loose rocks often present a bigger challenge than the kayak’s weight itself.

Don’t Ignore Maintenance

A kayak cart doesn’t need much attention.

But it does need some.

Saltwater, sand, and mud slowly wear out moving parts if they’re never cleaned.

Two hands working on a wheel and chain axle mechanism during cart maintenance and repair

After each trip:

  • Rinse the frame with fresh water.
  • Wash sand from the axle.
  • Check wheel pins and clips.
  • Tighten loose hardware.
  • Inspect straps for cuts or fraying.

It takes less than ten minutes.

Those few minutes can add years to the cart’s life.The same attention to detail applies to how to store a kayak, since proper storage and routine care help extend the lifespan of all your paddling equipment.

Features Worth Paying Extra For

Not every premium feature is worth the money.

Some genuinely make life easier.

Here’s what I appreciate after years of hauling heavy kayaks.

FeatureWhy It Matters
Wide padded bunksBetter hull support
Large pneumatic wheelsEasier pulling on rough ground
Aluminum frameStrong without excessive weight
Adjustable widthFits different kayak hulls
Quick-release wheelsEasier storage and transport
Corrosion-resistant hardwareBetter durability around saltwater

Fancy colors don’t move a kayak.

Good engineering does.

When a Cart Isn’t the Right Tool

Sometimes the smartest decision is leaving the cart in the vehicle.

For example:

  • Extremely rocky trails with large boulders
  • Narrow forest paths with exposed roots
  • Steep stairways to the water
  • Deep marshes where wheels constantly sink

In places like these, a carrying partner or a shoulder carry may actually be safer.

Experience teaches you to choose the right tool for the launch—not force the cart into situations it wasn’t built for.

A One-Minute Check Before Every Trip

Before heading toward the water, pause for one quick inspection.

CheckWhat to Look For
WheelsSpin freely without wobbling
AxleSecure and straight
StrapsTight and undamaged
FrameNo cracks or bent sections
Kayak balanceEven weight distribution
Tire pressure (if pneumatic)Properly inflated

That one-minute habit catches most problems before they become expensive repairs.

Frequently Asked Questions

1. How much weight should a kayak cart support?

Choose a cart rated at least 20–30% higher than your kayak’s fully loaded weight to provide a comfortable safety margin.

2. What’s the best cart for a 100-pound fishing kayak?

A bunk-style cart with a heavy-duty aluminum frame and large pneumatic or balloon tires is usually the most dependable choice.

3. Are scupper carts safe for heavy kayaks?

Some are, but always check the kayak manufacturer’s guidance. Certain heavy kayaks aren’t designed to support their full weight through the scupper holes.

4. Which wheels work best on sand?

Balloon tires spread the load over a larger surface area, making them much easier to pull across soft sand.

5. Can I leave the cart attached while paddling?

No. Remove and store the cart before launching unless it’s specifically designed to remain attached.

6. How do I stop the kayak from sliding off the cart?

Center the kayak correctly, tighten the straps securely, and make sure the cart is positioned at the balance point.

7. Is aluminum better than steel?

For most paddlers, yes. Aluminum offers an excellent balance of strength, corrosion resistance, and lighter weight.

8. Do I need inflatable tires?

Not always. They’re excellent for gravel, grass, and uneven ground, but solid wheels work well if you mostly launch from paved ramps.

9. How long should a quality kayak cart last?

With regular cleaning and occasional hardware replacement, a well-built cart can last for many years of frequent use.

10. Can one person move a heavy fishing kayak with a cart?

Absolutely. A properly balanced kayak on the right cart allows one person to move surprisingly heavy boats with much less effort than carrying them by hand.

Final Thoughts

A heavy kayak doesn’t have to be difficult to transport.

The right cart changes everything.

Look for a model with a generous weight rating, a sturdy frame, wheels designed for the terrain you actually paddle, and enough support to protect the hull. Don’t judge a cart by its price tag alone. Judge it by how confidently it carries your kayak over the ground you use every weekend.

An empty wheeled cart frame silhouetted against the water at sunset

I’ve learned over the years that the best cart is the one you stop thinking about. The same idea applies when choosing the best kayak roof rack for SUV—a reliable setup quietly does its job, so you can focus on the adventure instead of your gear. It rolls smoothly, stays balanced, and lets you focus on the day’s paddle instead of fighting your equipment.

Choose carefully once, maintain it well, and it can serve you through many seasons of fishing, exploring, and long walks from the parking lot to the water.

Best Kayak Roof Rack for SUV: Top Picks for 2026


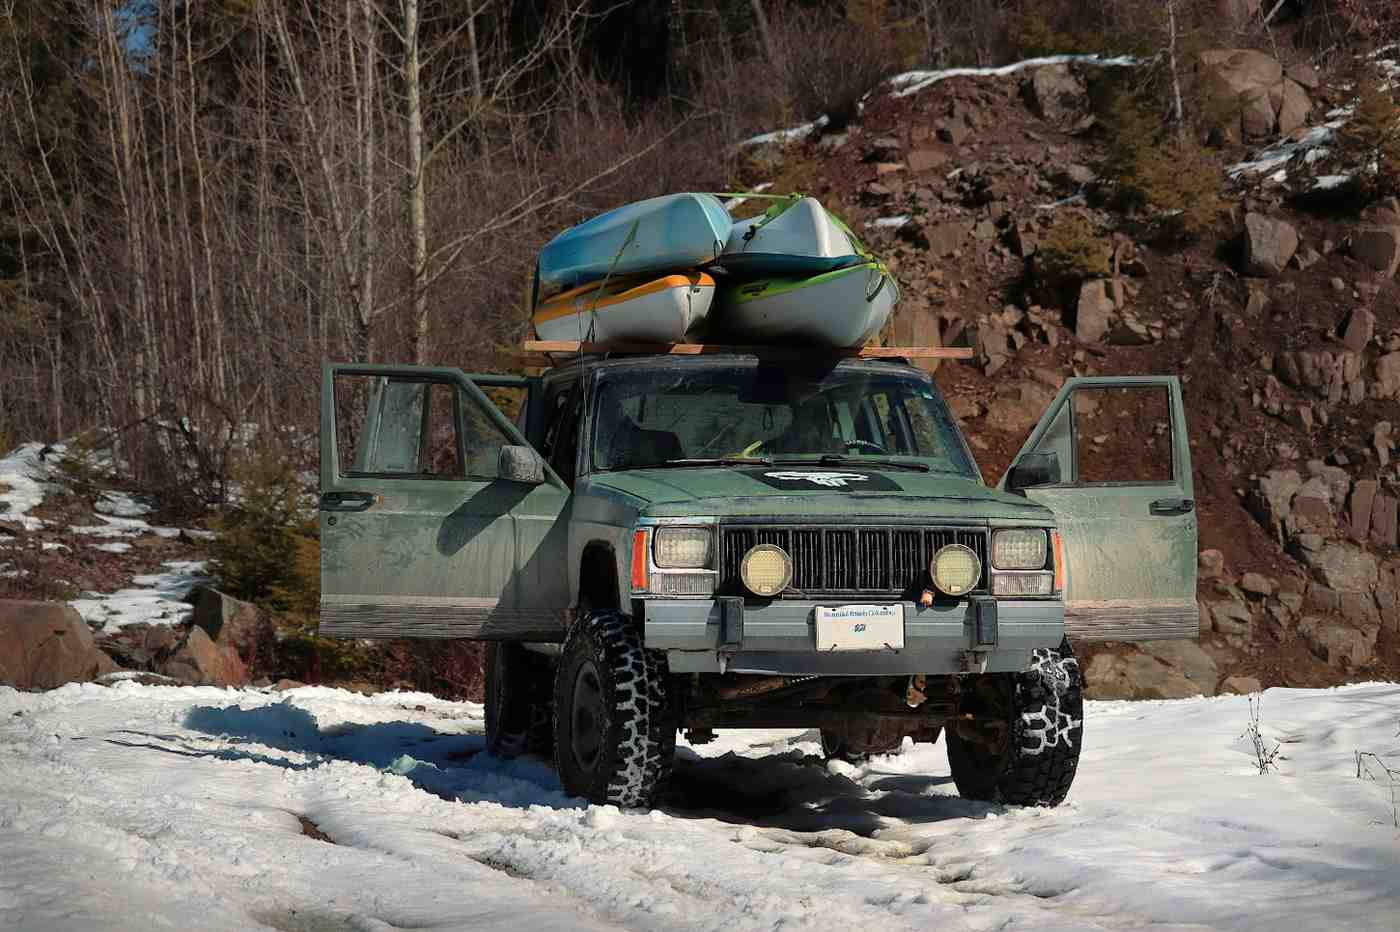
Jeep Cherokee SUV with two kayaks strapped to its roof rack, parked in a snowy mountain setting

Quick Answer

If you only remember one thing, remember this:

The best kayak roof rack is the one that matches both your SUV and your kayak—not the most expensive one on the shelf.

I’ve watched people spend hundreds of dollars on premium racks only to struggle every weekend because they bought the wrong style. Then I’ve seen paddlers use a mid-priced rack for ten years without a single problem because it fit their needs perfectly.

Here’s the simple rule I teach every beginner:

If You…Choose…
Carry one recreational or fishing kayakJ-cradle rack
Carry two kayaksFolding J-cradles or vertical stacker
Own a heavy fishing kayakSaddle-style rack or kayak loader
Paddle every weekendPremium rack with locking system
Paddle a few times each summerQuality budget rack with proper straps

Buying the rack is only half the job.

Loading it correctly matters even more.

The Mistake Nearly Every First-Time Buyer Makes

Years ago a customer arrived at the launch with a brand-new SUV and an expensive fishing kayak.

Everything looked perfect.

Until we noticed the kayak wobbling every time someone shut a door.

Small red hatchback with two kayaks loaded on its roof rack, doors open in a dirt clearing

The problem wasn’t the straps.

It wasn’t the rack.

His factory crossbars were rated for only 75 pounds.Understanding how to transport a kayak includes checking your vehicle’s roof rack weight limits before loading, helping you avoid damage and travel more safely.

The kayak weighed 68 pounds.

Add the rack itself, paddles, and a few accessories, and he’d already exceeded the roof’s weight limit before leaving his driveway.

That’s something many beginners never think about.

Before shopping, check these three numbers:

  • Your SUV’s roof load limit
  • Crossbar weight capacity
  • Fully loaded kayak weight

Ignore any one of them and you’re asking the rack to do something it wasn’t designed to handle.

Not Every SUV Is Ready for a Kayak Rack

This surprises people.

Owning an SUV doesn’t automatically mean you can mount a kayak tomorrow.

Some vehicles already have:

  • Raised roof rails
  • Flush roof rails
  • Factory crossbars

Others have nothing except a smooth roof.

That changes everything.

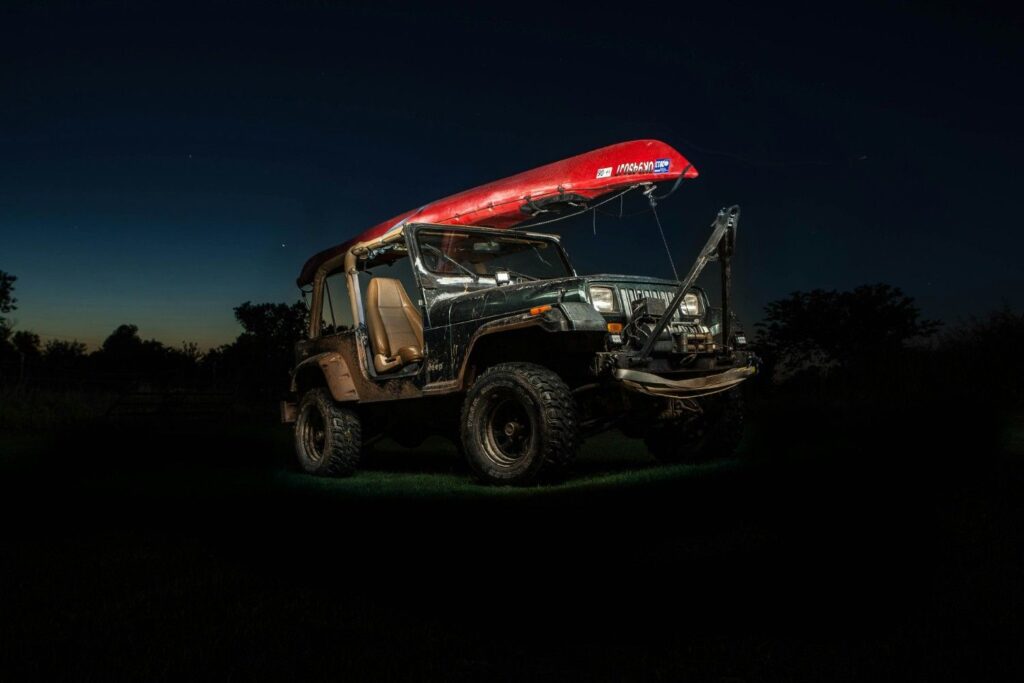
Jeep Wrangler with a kayak tied directly to its roll bar frame using ropes, without a proper crossbar rack system
Roof TypeInstallation DifficultyBest Option
Raised railsEasyMost aftermarket racks fit
Flush railsModerateVehicle-specific mounting kit
Factory crossbarsEasyAdd kayak carrier only
Bare roofHarderComplete roof rack system required

Spend five minutes identifying your roof style before buying anything.

It’ll save hours of frustration later.

J-Cradles, Saddles, or Foam Blocks?

People ask this almost every weekend.

There’s no universal winner.

Each design solves a different problem.

Two kayaks securely mounted side by side on a vehicle's roof rack with red straps
Rack StyleBest ForAdvantagesDrawbacks
J-CradleOne kayakEasy loading, saves roof spaceRequires lifting kayak higher
Saddle RackHeavy fishing kayaksExcellent support and stabilityCosts more
Foam BlocksOccasional useAffordable and portableNot ideal for frequent highway travel
Stacker RackTwo or more kayaksMaximum carrying capacityLoading takes more practice

I’ve used all four.

For most SUV owners carrying one recreational or fishing kayak, a quality J-cradle remains the easiest long-term solution.

It strikes the best balance between stability, price, and convenience.

Cheap Straps Cause More Problems Than Cheap Racks

Here’s something that doesn’t get talked about enough.

I’ve replaced far more straps than roof racks.

Sunlight weakens webbing.

Saltwater speeds up wear.

Metal buckles eventually rust if they’re never rinsed.

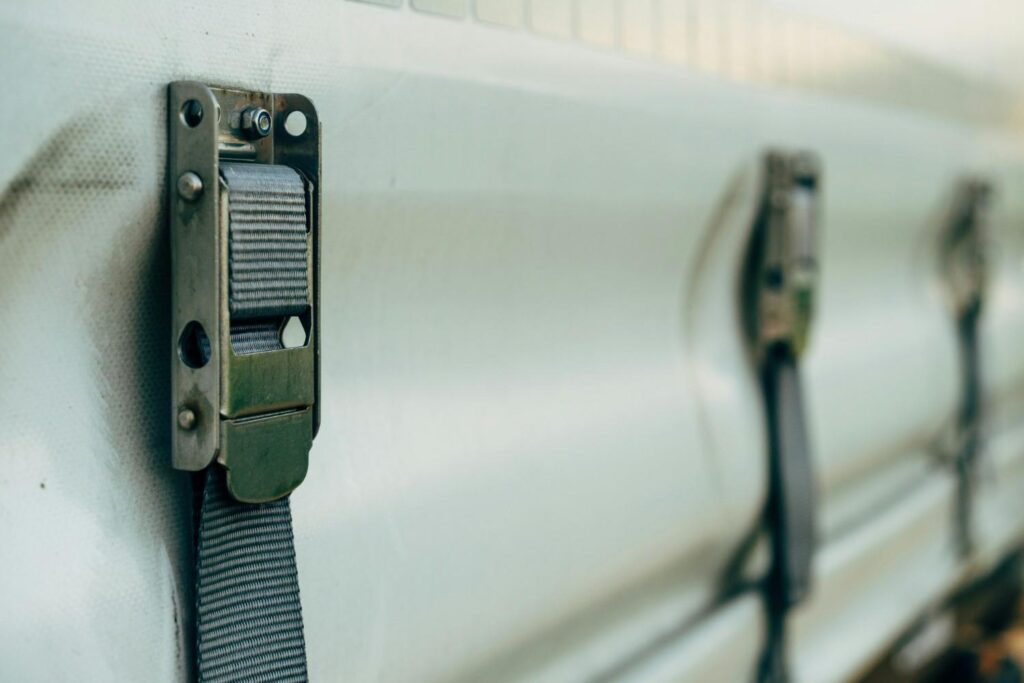
 Close-up of a weathered, rusted metal strap buckle mechanism

A rack can last ten years.

Straps often shouldn’t.Properly storing both your kayak and its gear matters just as much, so learning how to store a kayak helps extend the life of your equipment and keeps everything ready for your next trip.

Before every trip, check for:

  • Frayed edges
  • Cracked stitching
  • Bent buckles
  • UV damage
  • Loose cam mechanisms

A five-minute inspection beats watching a kayak slide sideways on the highway.

Never use ratchet straps on a composite or plastic kayak unless the manufacturer specifically recommends them. Cam straps provide secure tension without crushing the hull.

Loading Alone Doesn’t Have to Be a Workout

Heavy fishing kayaks intimidate a lot of beginners.

Understandably so.

Lifting seventy or eighty pounds above shoulder height isn’t fun.

An inflatable kayak leaning against the front of a van, ready to be loaded onto the roof rack

Fortunately, you don’t have to muscle it onto the roof.

Many experienced paddlers use simple loading techniques such as:

  • Sliding the kayak from the rear using a protective towel or roller
  • Side-loading with a lift assist
  • Portable kayak loading bars
  • Assisted loading systems for taller SUVs

The goal isn’t proving how strong you are.

The goal is protecting both your back and your kayak.Choosing the best lightweight kayak under 40 pounds can make lifting, carrying, and loading much easier while reducing strain every time you head to the water.

A scratched bumper heals your pride.

A back injury takes much longer.

Highway Travel Is Where Weak Setups Get Exposed

Everything can seem perfect in your driveway.

Then you hit 70 mph.

That’s when problems show up.

Wind creates forces that many beginners underestimate. A kayak doesn’t just sit on the roof. It acts like a giant wing trying to catch air from every direction.

Jeep Grand Cherokee SUV driving on the highway with a kayak securely mounted on its roof rack

I’ve seen setups survive local roads for months and then fail during a single highway trip.

Before any long drive, check:

  • Bow tie-downs
  • Stern tie-downs
  • Crossbar attachment points
  • Strap tension
  • Rack bolts
  • Locking mechanisms

If something moves in the driveway, it’ll move even more on the highway.

I stop after the first 10–15 minutes of driving and recheck every strap. That’s a habit worth keeping whether you’re hauling a hard-shell boat or inflatable kayaks, especially when extra gear is secured on your vehicle. Webbing often settles during the first few miles.

It’s a habit that has prevented countless problems.

The Rack I’d Recommend to My Own Family

People often ask for one “best” rack.

Realistically, the answer depends on the kayak and vehicle.

Still, after decades around paddlers, here’s the advice I’d give a family member.

SituationRecommended Rack Type
Beginner with one kayakFolding J-cradle
Heavy fishing kayak ownerSaddle-style carrier
Two kayaks on one SUVVertical stacker
Occasional summer paddlerBasic J-cradle system
Older paddler wanting easier loadingAssisted-loading rack

Notice something?

I’m recommending rack styles rather than specific brand names.

That’s intentional.

A rack that works perfectly on one SUV can be frustrating on another.

Fit matters more than logos.

The Weirdest Roof Rack Failure I’ve Ever Seen

One summer morning a paddler arrived at the launch convinced his rack was defective.

The kayak kept shifting during every trip.

He’d tightened the straps.

Checked the bolts.

Even replaced the rack.

Same problem.

A person reaching up to adjust and check equipment mounted on a vehicle's roof rack crossbars

The actual cause?

His crossbars had been installed backward.

That tiny mistake changed how the rack gripped the bars and created just enough movement to loosen everything over time.

It took less than five minutes to fix.

The lesson?

Always check the simple things first.
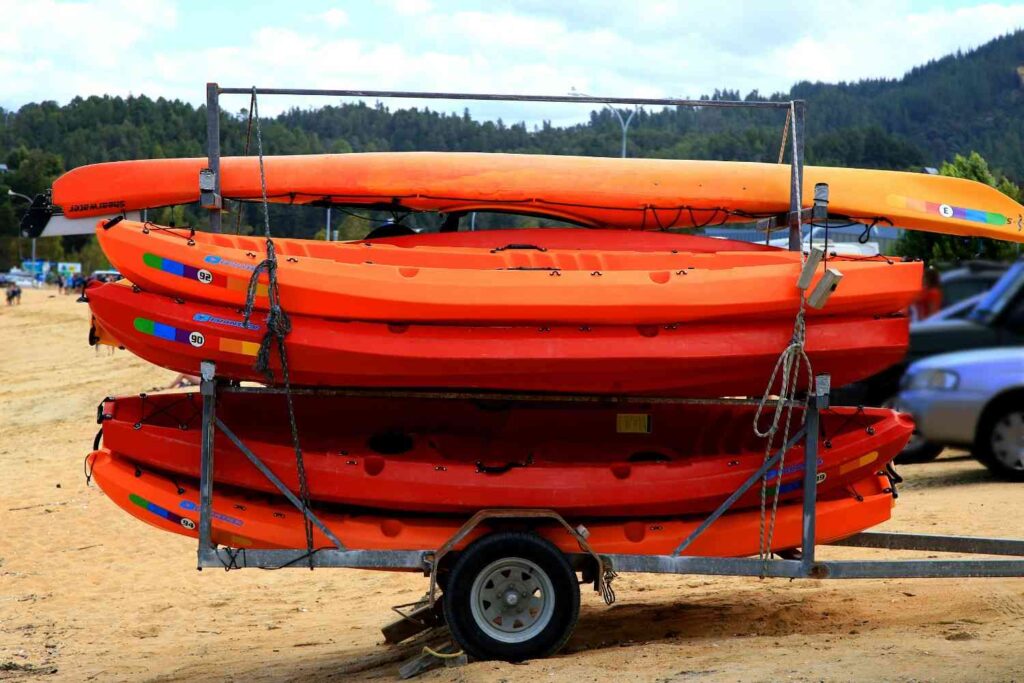
Most rack problems aren’t manufacturing defects.

They’re installation issues.

A Pre-Trip Check That Takes Less Than One Minute

Before leaving home, walk around the vehicle once.

That’s it.

Close-up of hands securing a rope to a roof rack crossbar holding a red kayak

Check these items:

ItemWhat You’re Looking For
CrossbarsNo looseness
Rack mountsSecure attachment
StrapsTight and untwisted
Bow lineFirm tension
Stern lineFirm tension
Kayak hullProperly seated
BucklesFully closed

Experienced paddlers do this automatically.
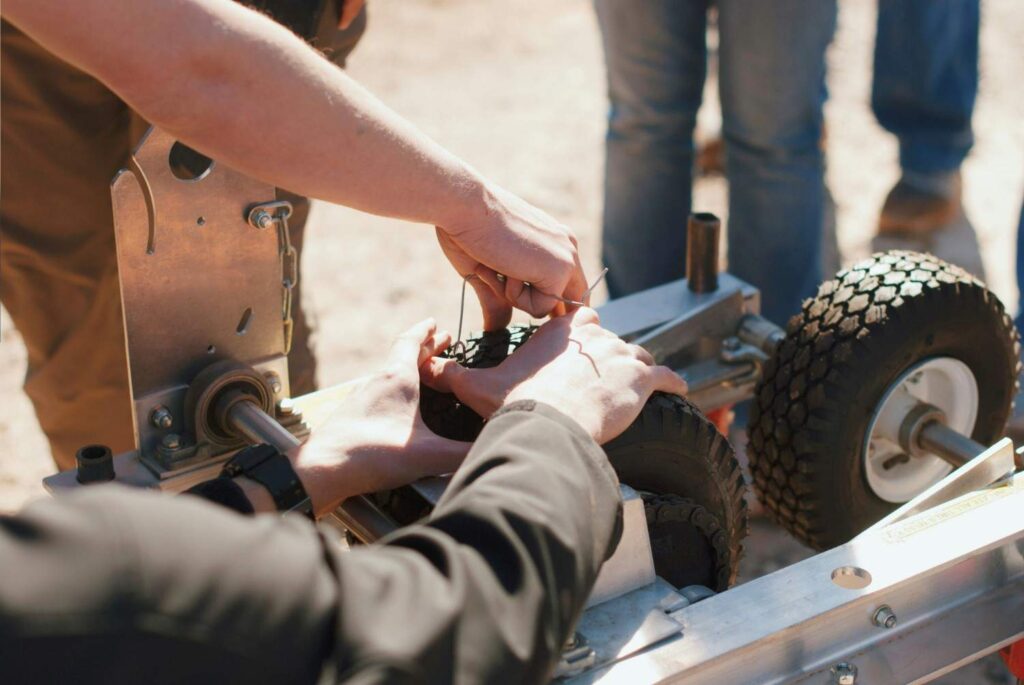
New paddlers should make it a habit.

One minute now can save hours of trouble later.

Safety Comes Before Convenience

I’ve watched people skip bow and stern lines because they were in a hurry.

I’ve seen others ignore loose straps because they were “only driving a few miles.”

That’s usually when problems happen.

A kayak should never rely on a single attachment point.

Think of your setup like a backup system.

If one component fails, another should still keep the kayak secure.

That’s why quality transport setups use:

  • Crossbars
  • Main straps
  • Bow tie-downs
  • Stern tie-downs

Multiple layers of security.

Exactly how it should be.

Frequently Asked Questions

1. Do I need crossbars before installing a kayak rack?

Usually, yes. Most kayak carriers attach to crossbars rather than directly to the roof.

2. Can I transport a kayak on factory roof rails alone?

In most cases, no. Roof rails normally require compatible crossbars before a kayak carrier can be installed safely.

3. What’s the safest rack for a heavy fishing kayak?

Saddle-style racks generally provide the best support because they distribute weight across a larger area of the hull.

4. Are foam block carriers safe?

They can work for occasional short trips, but they’re not my first choice for frequent highway travel.

5. Do I need bow and stern tie-downs?

Absolutely. They add stability and help prevent movement during sudden stops, strong winds, and highway driving.

6. How much weight can an SUV roof hold?

Every vehicle is different. Check your owner’s manual for the exact roof load rating before carrying a kayak.

7. Can one person load a kayak onto an SUV?

Yes. Many paddlers use loading rollers, lift assists, or rear-loading techniques to make solo loading easier.

8. How often should roof rack bolts be checked?

I recommend checking them before every major trip and after long highway drives.

9. Do kayak racks damage the kayak hull?

Not when they’re installed and adjusted correctly. Problems usually come from overtightened straps or poor support.

10. How long should a quality kayak roof rack last?

With proper care, cleaning, and occasional hardware replacement, a good rack system can easily last many years of regular use.

Final Thoughts

The best kayak roof rack for an SUV isn’t necessarily the most expensive model or the one with the most features.

It’s the rack that safely supports your kayak, fits your vehicle correctly, and makes loading easy enough that you’ll actually use it.

A kayak with paddle resting on the beach at sunset after a successful trip

Most beginners do best with a quality J-cradle. Owners of heavy fishing kayaks usually appreciate saddle-style systems. Families carrying multiple boats often benefit from stackers or folding carriers.

Whatever rack you choose, focus on proper installation, quality straps, and regular inspections.

A good rack should disappear into the background. You shouldn’t spend every mile worrying about the kayak above your head.

When everything is set up correctly, the drive becomes the easiest part of the adventure. That means you can arrive relaxed and ready for experiences like kayaking with a dog, instead of wasting energy dealing with loose gear or transportation problems.