Recent Posts

Fishing Kayak With Livewell: What Actually Works (And What Becomes a Headache Fast)


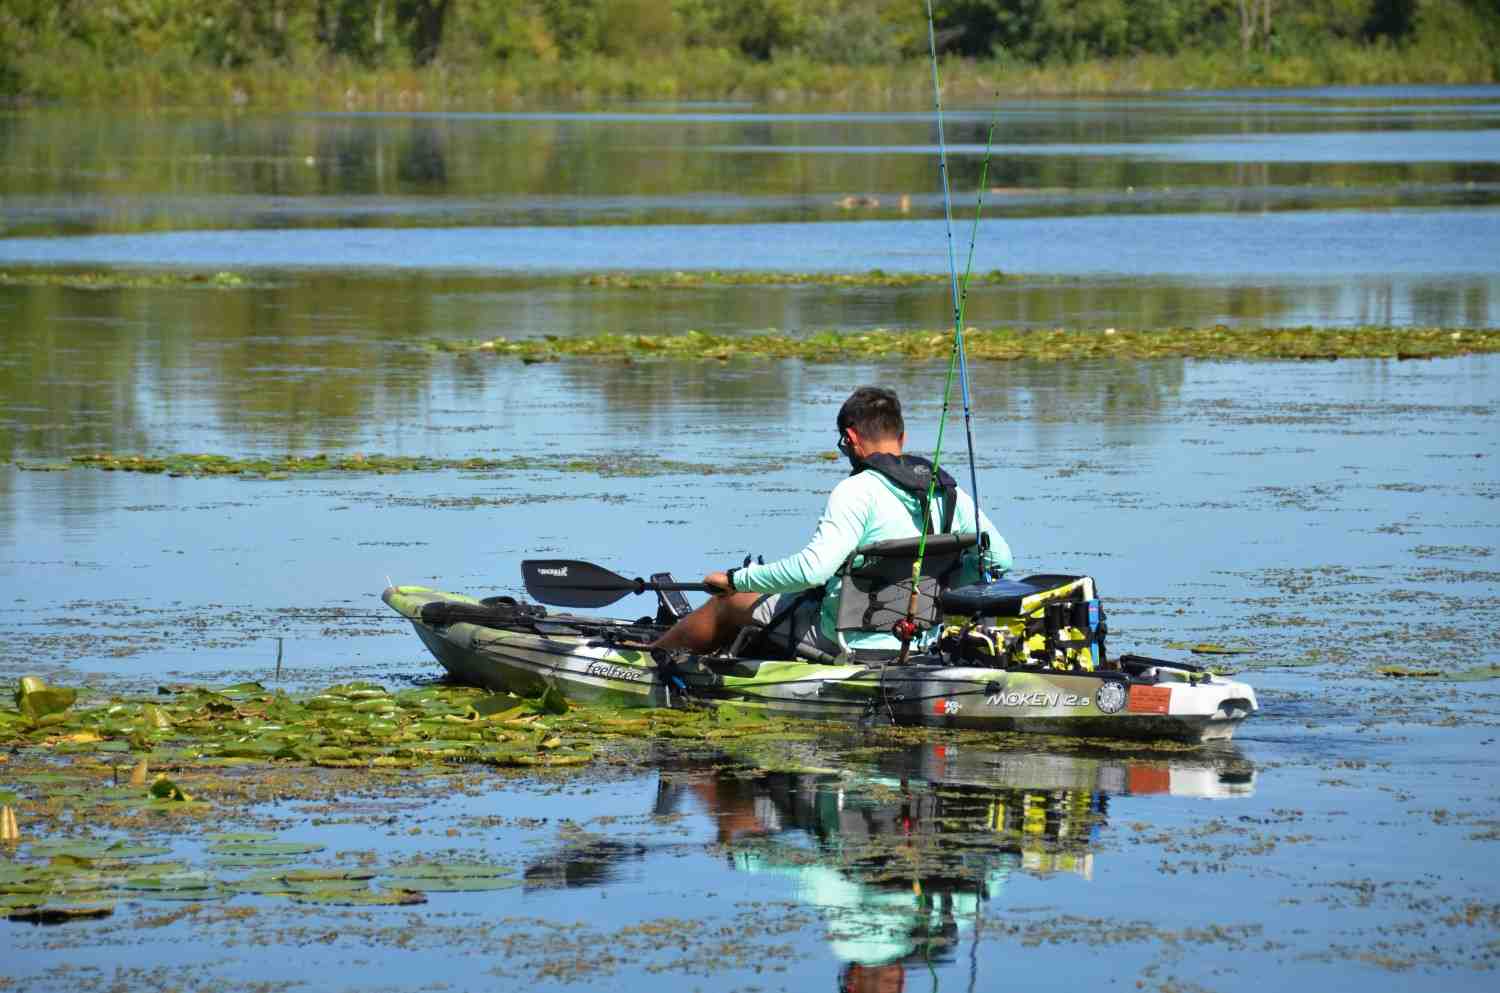
A man fishing from a fully rigged Feelfree Moken kayak on a calm lake covered with lily pads, with multiple fishing rods and full gear setup

People don’t usually struggle with the idea of a livewell.

They struggle with everything that comes after it.

Pumps. Batteries. Hoses. Space. Weight.

And the biggest one nobody talks about:

Maintenance on the water when something goes wrong.

Let’s break it properly.

First Thing First: What A Livewell Actually Is

A livewell is basically a controlled water tank that keeps bait or fish alive while you’re on the water.

Simple idea.

Complicated reality.

It usually includes:

  • water container or built-in tank
  • circulation pump
  • aerator (oxygen supply)
  • drain system
  • power source (battery)

Without oxygen flow, bait dies fast.

And dead bait changes everything about your fishing day.

A Second Story (This One Changed My Thinking)

I remember fishing on a small coastal inlet where a guy had a brand-new kayak setup.

Fully built livewell system.

Not DIY. Factory rig.
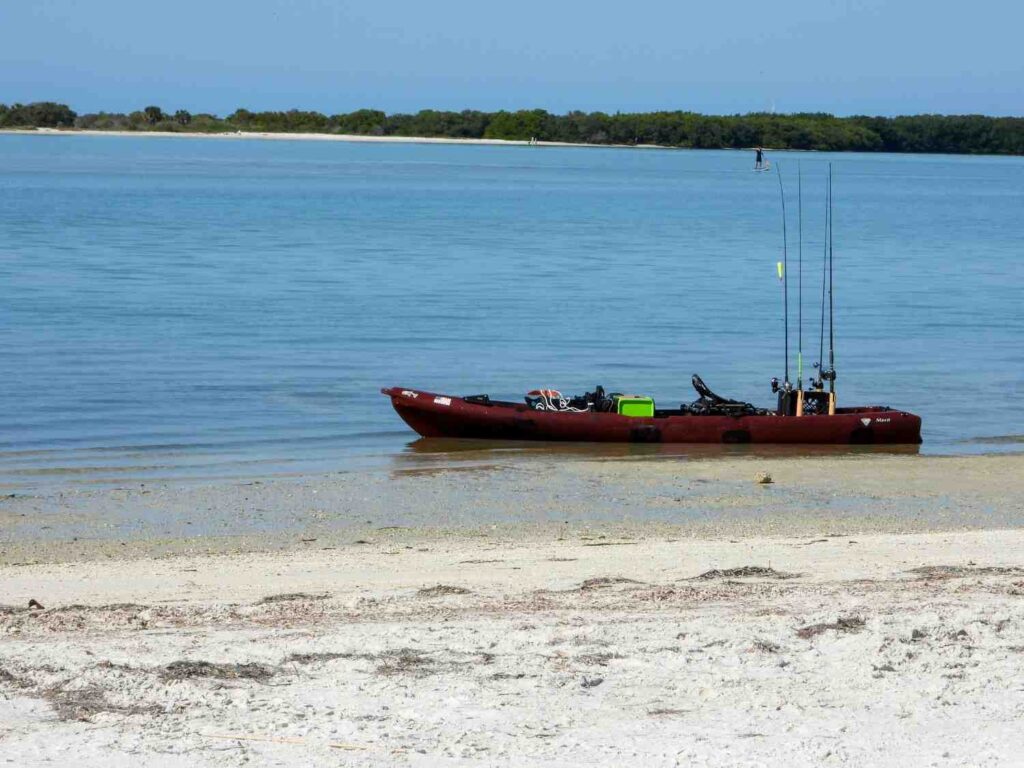
A dark red Maka fishing kayak resting on a sandy coastal beach fully loaded with multiple fishing rods, green gear crate, and equipment

First two hours were fine.

Then tide shifted slightly.

Water got rougher.

Nothing dramatic… just enough movement.

His pump mount loosened.

Battery slipped.

Tube disconnected.

Livewell turned into a dead box in under 20 minutes.

Meanwhile, an older angler nearby used a simple cooler with a cheap aerator.

No issues.

No stress.

Still catching bait fish.

That day made something very clear:

Complex systems don’t fail loudly. They fail quietly at the worst time.

Do You Even Need A Livewell?

You actually need one if:

  • you rely on live bait regularly
  • you fish tournaments
  • you stay on water for long sessions
  • you target species that require fresh bait

You don’t need one if:

  • you use artificial lures
  • you fish short trips
  • you prefer lightweight setups
  • storage simplicity matters more

A livewell is not a fishing upgrade.

It’s a fishing style choice.If you’re still figuring out what setup actually fits the way you fish, learning how to pick the perfect kayak for fishing can help you avoid building the wrong setup from the start.
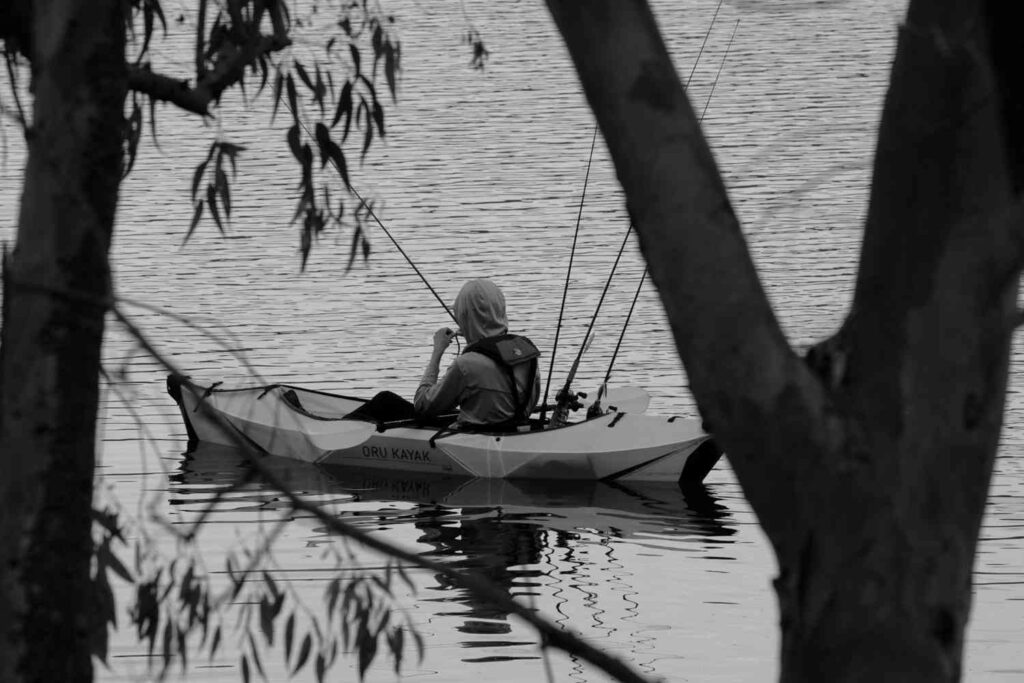
Black and white photo of a person fishing from an Oru Kayak on still water surrounded by overhanging tree branches

Built-In vs DIY vs Cooler Setup

TypeFeelRiskBest For
Built-inclean setupmedium-hightournament anglers
DIYflexiblemediumexperienced anglers
Cooler setupsimplelowbeginners

Simple wins more often than people expect.

Best Fishing Kayaks With Livewell

Bonafide P127

Price:$1,900–$2,400
Length:12’7″
Weight:~125 lbs
Capacity: ~500 lbs capacity

Serious fishing platform.

  • extremely stable
  • tons of rear storage
  • handles heavy livewell systems
  • built for long sessions
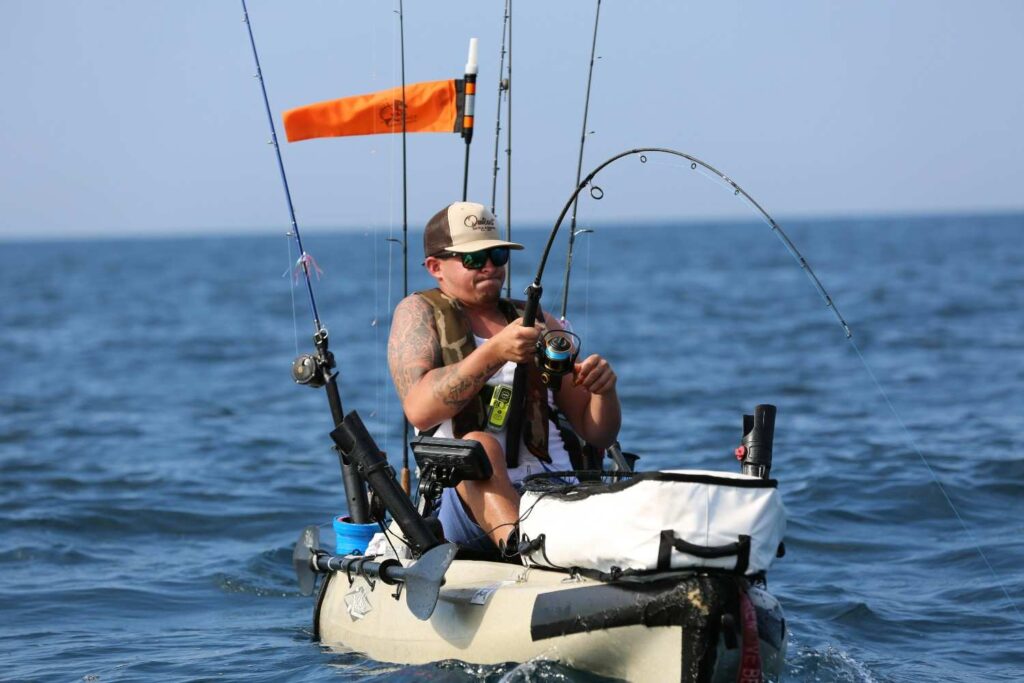
A man sitting in a heavily rigged tan pedal fishing kayak with multiple rods, orange gear crate, fish finder, and full tournament setup on a lake

But heavy. Transport is real work.

Best for tournament anglers.

Old Town Sportsman PDL 120

Price:$2,500–$3,200
Length: 12 ft
Weight: ~116 lbs
Capacity: ~500 lbs capacity

Pedal drive makes bait handling easier.

  • hands-free fishing
  • stable casting platform
  • great gear layout

Downside: heavy and expensive.

Best for serious frequent anglers.

Perception Outlaw 11.5 (Budget Livewell Platform)

Price: $900–$1,200
Length: 11’6″
Weight: ~77 lbs
Capacity: ~425 lbs

This is the entry point for most anglers who want livewell fishing without spending crazy money.

No built-in livewell system, but the rear tankwell space is exactly why people choose it.

It gives you room to build a simple cooler-based setup without fighting the kayak design.
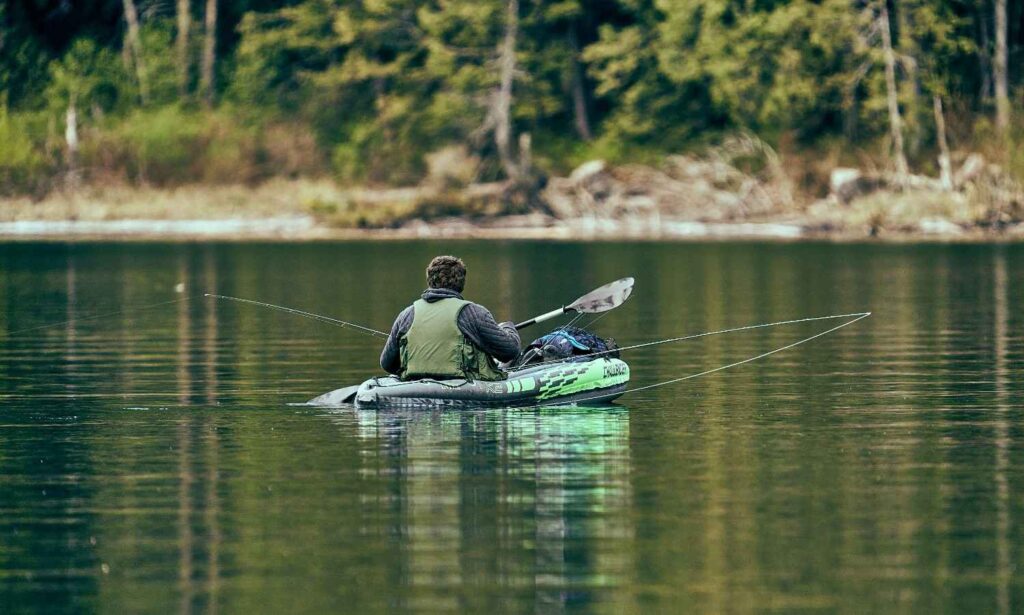
A man fishing from an inflatable Intex Challenger kayak on a calm green lake surrounded by forest with two fishing rods extended

Good stuff:

  • huge rear tankwell for DIY livewell
  • very stable fishing platform
  • beginner-friendly handling
  • strong budget value

Weak spots:

  • no factory livewell system
  • paddle-only (slower than pedal kayaks)
  • fully loaded setups feel heavy

Best for anglers starting livewell fishing on a budget.

Vibe Shearwater 125 (Expanded Reality Check)

Price: $1,500–$2,000
Length: 12’6″
Weight: ~82 lbs
Capacity: ~475 lbs

This kayak is misunderstood.

It’s not just mid-range — it’s a modular fishing platform.

That means you can change setup depending on fishing style:

  • livewell at rear
  • battery side mount
  • cooler center balance

But flexibility only works with discipline.

I’ve seen anglers overload similar kayaks.

Looked fine on shore.

On water?

Everything shifted.

Fishing turned into constant correction.

Flexibility without structure becomes chaos.

Strengths:

  • modular layout
  • strong livewell compatibility
  • stable standing platform
  • good electronics space

Weak points:

  • easy to overpack
  • setup complexity increases
  • transport harder when fully rigged

Best for controlled custom setups.

The Easiest Livewell Setup (Beginner Friendly)

Most beginners overcomplicate this.

You don’t need that.

You need reliability.
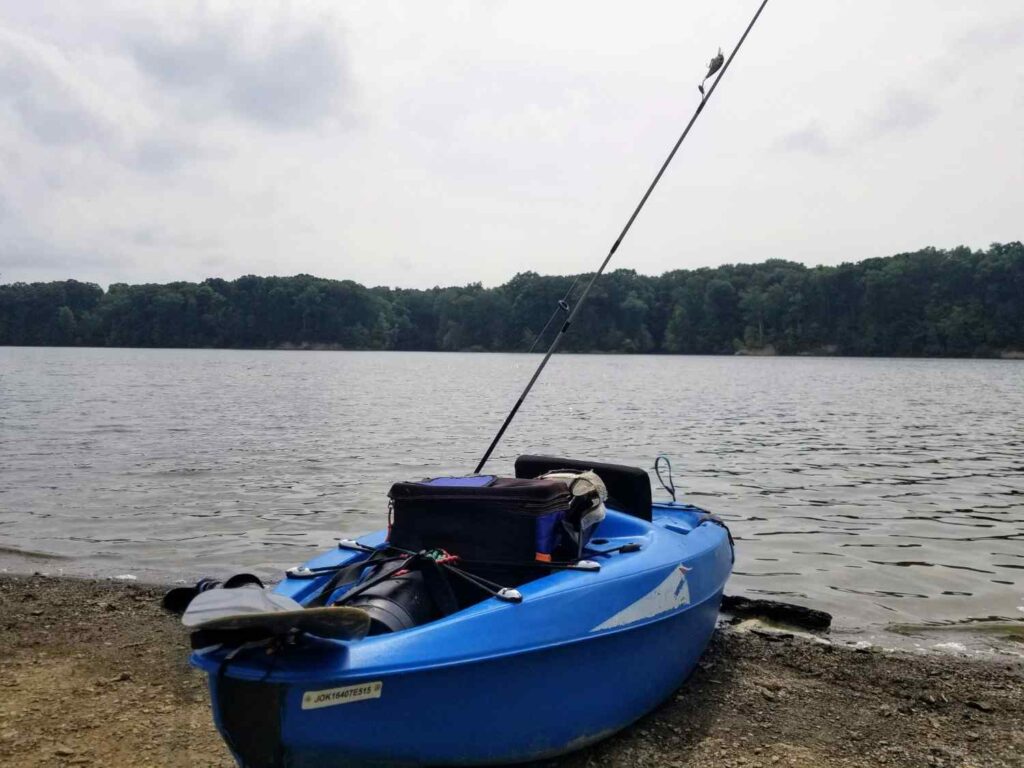
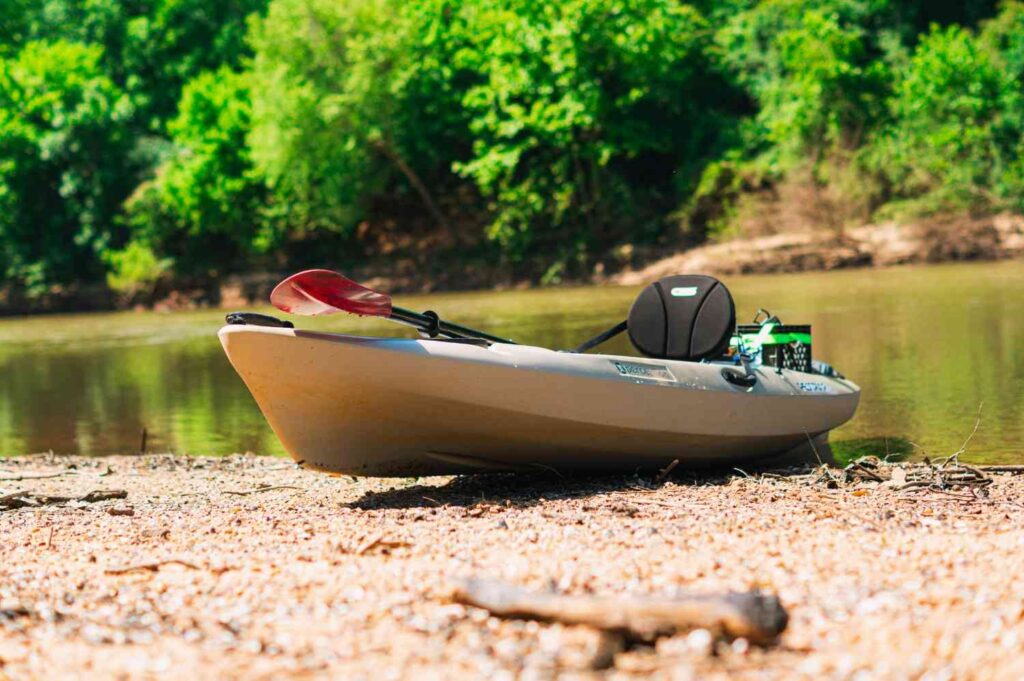
A blue fishing kayak resting on a muddy lake shore with a single fishing rod, tackle bag, and basic gear setup on a cloudy day

Step 1: Marine Cooler

Use 20–30 quart size.

Not too big. Not too small.

Step 2: Aerator Pump

Battery-powered oxygen pump.

Purpose is simple:

Keep water oxygen moving.

Step 3: Battery Power

Rechargeable pack.

Keep it stable and dry.If you’re planning to add more powered gear later, understanding a proper trolling motor setup can help you manage battery placement and balance more effectively.

Step 4: Secure Everything

Use straps or bungees.

Nothing should move while paddling.

Step 5: Test Before Water

Run it at home.

Check leaks.

Check battery life.

Simple habit saves frustration.

One More Reality About Livewells

Water is heavy.

A full system adds:

30–60+ lbs easily.

That extra weight is exactly why knowing how to transport a kayak properly becomes even more important once you start adding gear and accessories to your setup.
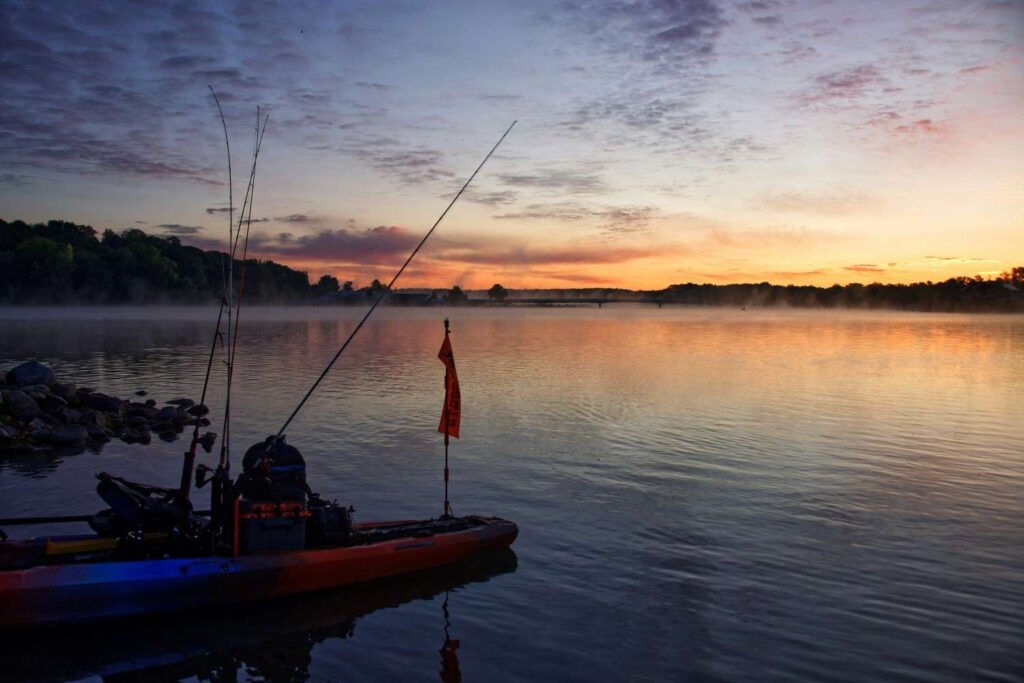
A heavily loaded fishing kayak with multiple rods, orange safety flag, and full gear setup resting at a rocky shoreline during a dramatic foggy sunrise

That changes:

  • stability
  • speed
  • transport effort

Most beginners underestimate this completely.

Common Mistakes

  • overcomplicated pump systems
  • no backup aeration
  • loose battery setup
  • overloading kayak rear
  • skipping test runs
  • thinking “more gear = better fishing”

Many beginners fall into this trap, but adding too much too soon usually creates clutter and extra weight. It’s smarter to prioritize the kayak accessories you actually need based on your fishing style.

FAQ

Do I really need a livewell for kayak fishing?

Not always. It depends on your fishing style. Live bait anglers benefit most.

Can I add a livewell to any kayak?

Most sit-on-top fishing kayaks can handle a DIY setup if weight capacity allows.If you’re planning to add electronics too, it helps to understand a proper fish finding setup so you can plan wiring, sonar placement, and battery space the right way.

How much weight does a livewell add?

Usually 30–60 lbs including water and battery.

Are DIY livewells safe?

Yes, often more reliable than complex built-in systems if secured properly.

What size livewell is best?

20–30 quart cooler size works best for kayak fishing balance.

What’s the biggest beginner mistake?

Treating livewell as an upgrade instead of a fishing style decision.

Final Thought

A good fishing kayak with a livewell is not about complexity.

It’s about control.

Stable platform.

Simple oxygen system.

Reliable setup you trust on water.

Because fishing doesn’t fail when gear is missing.

It fails when gear stops working at the wrong time.

Keep it simple enough to trust.
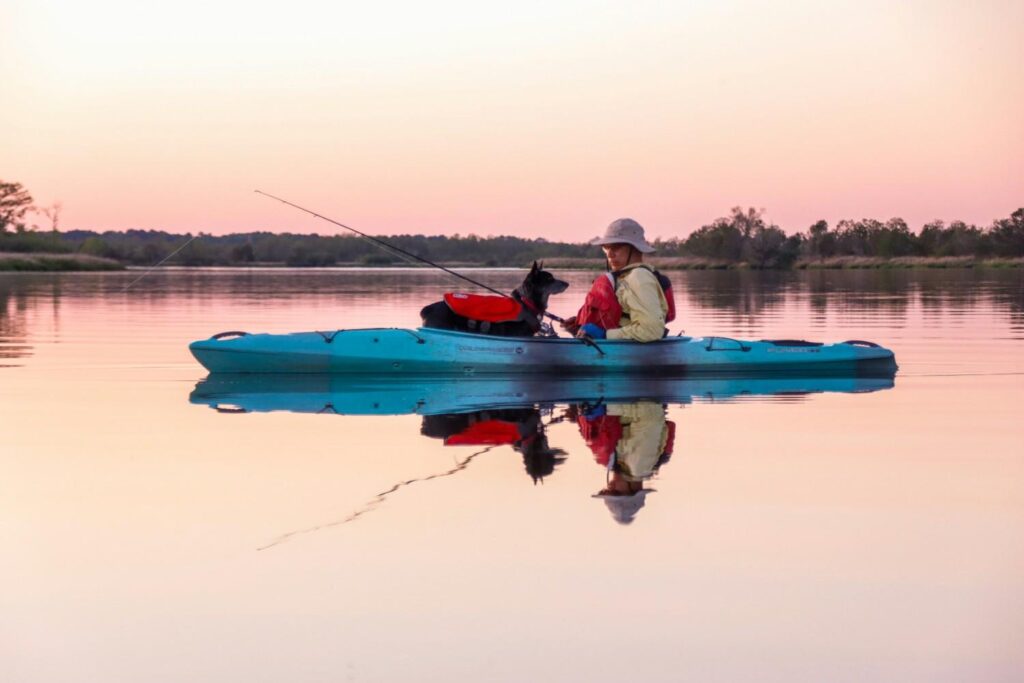
A woman with her dog on a blue fishing kayak on glassy calm water at sunset with a fishing rod, surrounded by beautiful pink sky reflection

Best Fishing Kayak Under $500 (What Actually Holds Up on the Water)


A man fishing from a fully equipped kayak on a calm reflective lake with fishing rods, fish finder, and gear bag mounted

Most people shopping in this price range are frustrated before they even start.

You look online and see two completely different opinions:

One person says, “You don’t need to spend much.”

Another says, “Anything under $1,000 is junk.”

Truth?

Both are wrong.

You absolutely can buy a good fishing kayak under $500. But you need to understand one thing first:

At this budget, every kayak comes with a trade-off.

Miss that part and you’ll end up buying twice.

I learned this lesson years ago watching a guy at a lake launch a bargain kayak loaded with optimism and way too much gear.

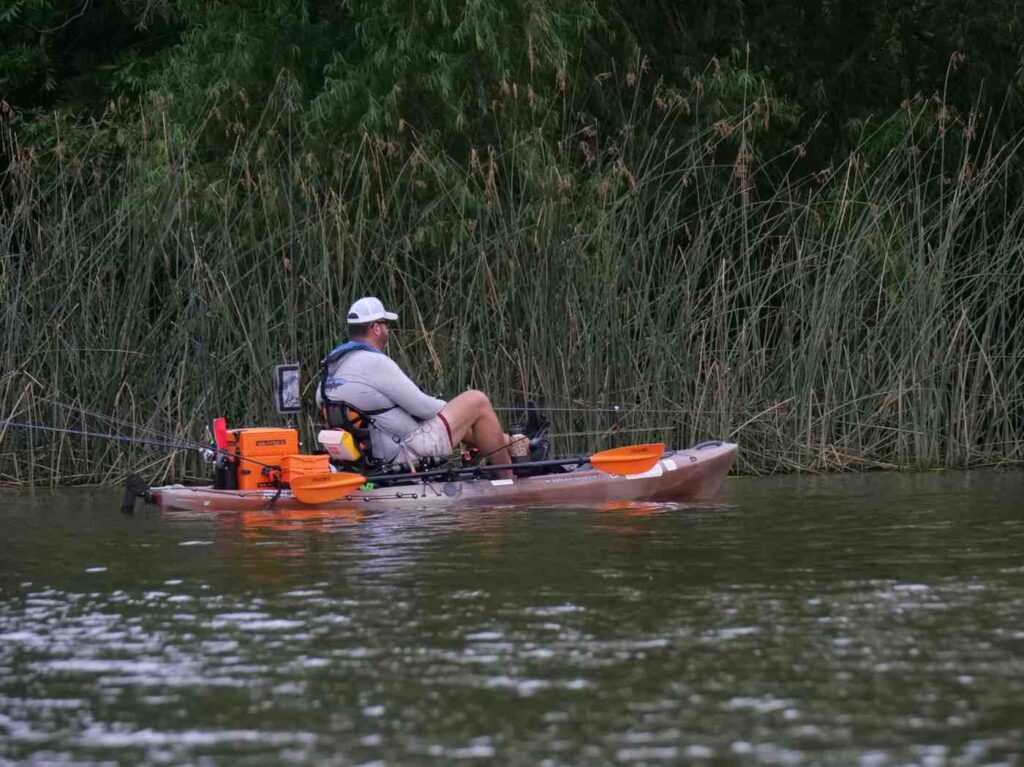
A man fishing from a fully loaded tan kayak near tall reeds with a fish finder, orange crate, cooler, and multiple fishing rods mounted

Rod crate.

Cooler.

Battery.

Three rods.

Coffee.

About twenty minutes later, he paddled back looking annoyed.

The kayak floated fine.

Fishing? Miserable.

Every little movement felt unstable. Storage was awkward. Seat uncomfortable.

His exact words:

“I saved money buying this thing and somehow stopped wanting to fish.”

That stuck with me.

Because cheap kayaks don’t fail dramatically.

They fail slowly.

A bad seat.

Poor tracking.

Weird wobble.

Annoying transport.

Little frustrations that pile up until the kayak starts collecting dust in the garage.

Let’s avoid that.

First Thing to Understand: What $500 Actually Buys You

This is not premium fishing kayak territory.

You’re not getting:

  • fancy pedal drive systems
  • premium stadium seating
  • elite offshore performance
  • massive electronics mounting systems

What you can get?

A stable, fishable kayak that genuinely works for lakes, ponds, calm rivers, and light inshore use.

That’s enough for a lot of anglers.

Especially beginners.

And honestly? Plenty of experienced fishermen still use cheaper kayaks because they know what matters and what’s marketing.

The #1 Mistake People Make Under $500

They buy based on pictures.

Big mistake.

Photos lie.

Every kayak looks stable in a clean product image.

What matters is how it behaves when:

  • you twist to grab a rod
  • wind pushes sideways
  • you lean to land a fish
  • gear weight shifts around

This is the part everyone misses.

Fishing stability matters more than speed.

You’re not training for the Olympics.

You’re trying to stay balanced while handling fish and gear.

Best Fishing Kayaks Under $500 (Real Picks That Actually Make Sense)

Some of these regularly stay below $500.

Others occasionally dip into this price range during sales in the US.

And yes, sales matter. I’ve seen people save hundreds just by waiting for spring promotions.

1. Lifetime Tamarack Angler 100

Typical Price: $350–$450

Length: 10 ft

Weight: ~52 lbs

Capacity: ~275–300 lbs

This kayak shows up everywhere for a reason.

Simple.

Stable.

Forgiving.

If someone asks me, “I’ve never owned a fishing kayak before and don’t want to screw this up,” this is usually where the conversation starts.

Good stuff:

  • stable for beginners
  • built-in rod holders
  • decent tracking for calm water
  • easy learning curve

Where it struggles:

  • seat comfort gets rough after long sessions
  • heavier paddlers may feel cramped
  • wind performance isn’t amazing

Still, for the money?

Hard to beat.

Best for beginners who just want to fish without drama.

The Weird Thing About Stability (Nobody Explains This Properly)

Beginners usually say:

“I want the most stable kayak possible.”

Makes sense.

But extra stability usually means:

  • heavier kayak
  • wider frame
  • slower paddling
  • harder transport

That trade-off matters.

I once watched a guy buy a super stable fishing kayak… then barely use it.

Why?

Lifting it onto roof racks after work became exhausting.That’s when he realized knowing how to transport a kayak properly matters just as much as choosing the right one in the first place.

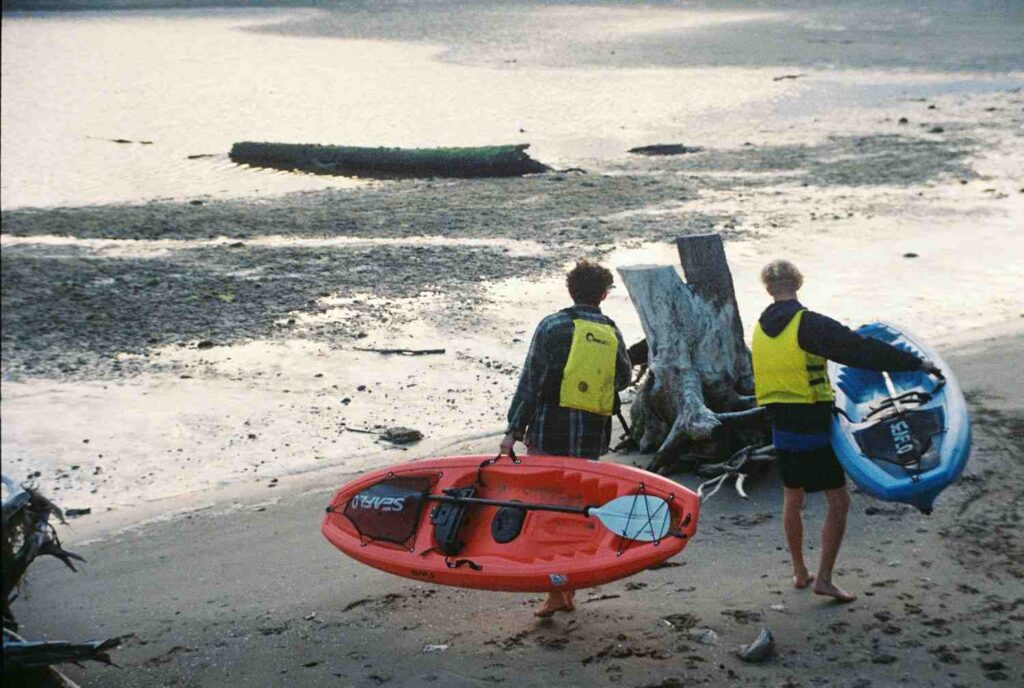
Two people in life vests carrying kayaks across a sandy beach toward the water at dusk, showing the physical effort of kayak transport

Fishing wasn’t the problem.

Transport was.

That’s real life.

2. Pelican Sentinel 100X Angler

Typical Price: $400–$500

Length: 9.5–10 ft

Weight: ~44 lbs

Capacity: ~275–300 lbs

This one wins points for portability.

Not everybody wants to wrestle a heavy kayak after fishing for six hours.

Some people just want:

Park.

Unload.

Fish.

Go home.

A woman solo launching a yellow kayak on a rocky shoreline near calm water, demonstrating easy single-handed kayak transport

This kayak understands that assignment.

Good stuff:

  • lightweight
  • easy solo transport
  • decent beginner stability
  • simple fishing setup

Weak spots:

  • limited gear space
  • smaller paddlers tend to like it more
  • not ideal for heavy loads

Best for solo anglers who hate carrying heavy gear.

3. Sun Dolphin Journey 10 SS

Typical Price: $350–$450

Length: 10 ft

Weight: ~44 lbs

Capacity: ~250–280 lbs

Underrated kayak.

Nobody brags about owning one.

But plenty of people quietly catch fish with it.

And honestly?

That matters more.

Good stuff:

  • built-in rod holders
  • affordable
  • simple fishing layout
  • stable enough for lakes

Not so great:

  • basic seating
  • average storage space
  • not ideal for larger anglers

Best for budget-conscious anglers who value function over hype.

4. Intex Excursion Pro K2 (Inflatable Surprise Pick)

Typical Price: $250–$450

Length: ~12.7 ft

Weight: ~44 lbs

Capacity: ~400 lbs

Yeah.

Inflatable.

I know what some people are thinking.

“Those things feel sketchy.”

Not anymore.

Modern inflatables surprised me years ago.

A buddy brought one fishing because he didn’t have garage space.He went with an inflatable kayak because it was easier to store, transport, and set up without needing extra room at home.

I expected disaster.

Instead?

Stable.

Comfortable.

Shockingly practical.

Especially for apartment living.

Pros:

  • insanely portable
  • no roof rack needed
  • easy storage
  • surprisingly stable

Cons:

  • setup time
  • not ideal in rough conditions
  • puncture anxiety (usually overblown)

Best for people with storage or transport problems.

Quick Comparison Table (The Easy Shortcut)

KayakPriceWeightCapacityBest For
Lifetime Tamarack$350–$45052 lbs300 lbsBeginners
Pelican Sentinel$400–$50044 lbs300 lbsPortability
Sun Dolphin Journey$350–$45044 lbs275 lbsBudget setups
Intex Excursion Pro$250–$45044 lbs400 lbsStorage problems

What I’d Personally Buy at This Budget

Depends on the person.

Beginner with a pickup truck?

Lifetime Tamarack.

Apartment owner?

Intex Excursion Pro.

Smaller angler fishing calm lakes?

Pelican Sentinel.

Trying to stretch every dollar?

Sun Dolphin Journey.

But here’s my honest advice after seeing thousands of setups:

Don’t spend your entire budget on the kayak.

Save money for:

  • paddle upgrade
  • life jacket
  • dry bag
  • anchor system
  • rod holder setup

Once you start adding gear, costs can add up quickly, which is why it helps to plan your kayak accessories ahead of time instead of buying everything at once.

A $400 kayak with good accessories often beats a $500 kayak with nothing else.

That’s experience talking.

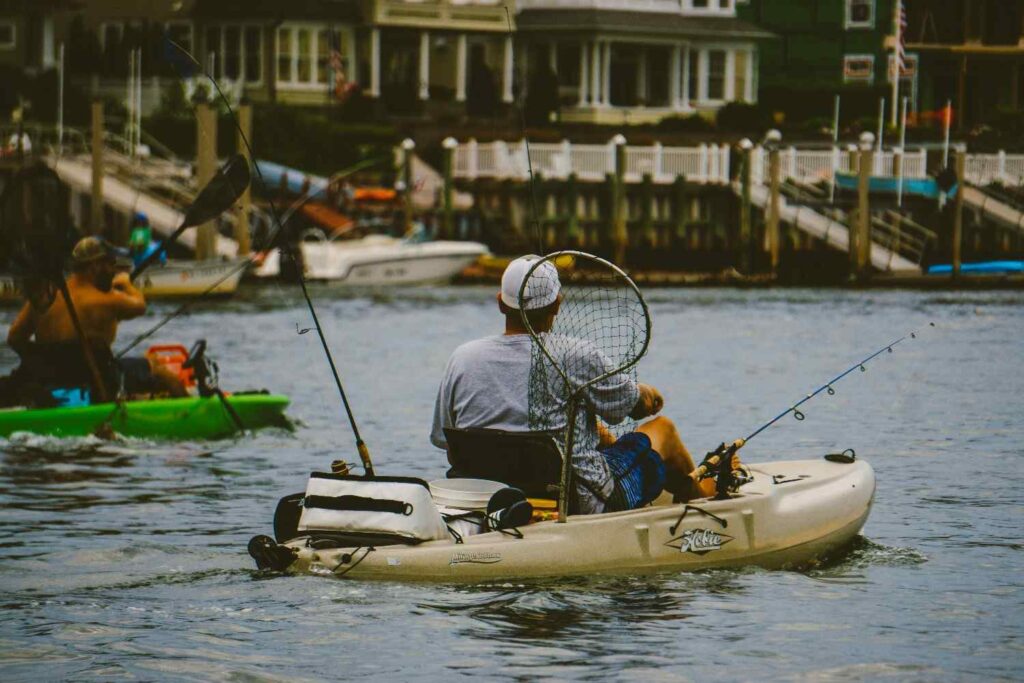
A man sitting in a Hobie Mirage fishing kayak holding a landing net with fishing rods, cooler, and gear on board in a waterway near houses

The One Thing I Wish Everyone Knew Before Buying

Weight capacity numbers lie a little.

Not fake.

Just optimistic.

If a kayak says 300 lbs capacity, don’t plan around 300 lbs.

Think closer to:

70–80% of max capacity for real comfort.

Because gear adds up fast.

Tackle.

Cooler.

Battery.

Extra clothes.

Lunch.

Fish.

Suddenly your “light setup” isn’t light anymore.

Common Mistakes That Waste Money Fast

Buying based on YouTube hype.

Ignoring seat comfort.

Overloading cheap kayaks.

Forgetting transport.It’s also common to overlook electronics early on, which is why planning a proper fish finding setup before upgrading your kayak can save time, money, and frustration later.

A red Volkswagen car with a kayak secured on the roof rack parked in an open area surrounded by dry trees

Choosing speed over stability.

Thinking upgrades will magically fix a bad kayak.

Bad foundations stay bad.

Always.

FAQ

Can you really get a good fishing kayak under $500?

Yes.

You just need realistic expectations.

Calm water fishing? Absolutely.

Heavy offshore setup? Probably not.If you’re still figuring out what type of kayak actually fits your fishing style, it helps to learn how to pick the perfect kayak for fishing before spending money on the wrong setup.

What is the most stable fishing kayak under $500?

Lifetime Tamarack usually wins here.

Wide enough to feel forgiving for beginners.

Are inflatable fishing kayaks actually safe?

Modern ones? Surprisingly yes.

Especially quality models.

Just avoid sharp hooks carelessly tossed around. Common sense helps.

Should beginners buy sit-on-top kayaks?

Usually yes.

They’re easier to enter, easier to fish from, and feel less intimidating.

What matters more: weight or stability?

Depends on lifestyle.

If transport is annoying, you’ll fish less.

Simple truth.

Final Word From Someone Who Has Seen Too Many Regret Buys

The wrong kayak won’t ruin one fishing trip.

It’ll slowly make you stop wanting to go.

That’s the danger.

The right kayak?

You stop thinking about the kayak.

You think about fishing.

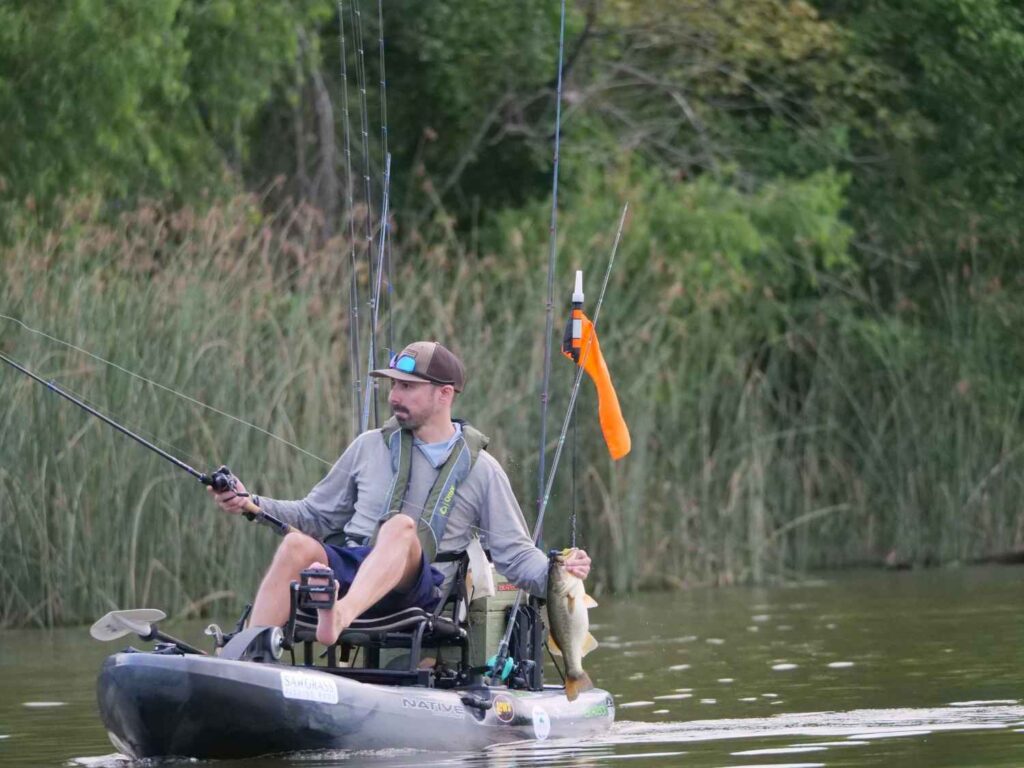
A man holding a caught bass fish while sitting in a fully rigged pedal kayak near reeds with multiple fishing rods and safety flag mounted

That’s when you know you picked well.

Best Fishing Kayak Under $1500 (Real Field Experience, Not Theory)


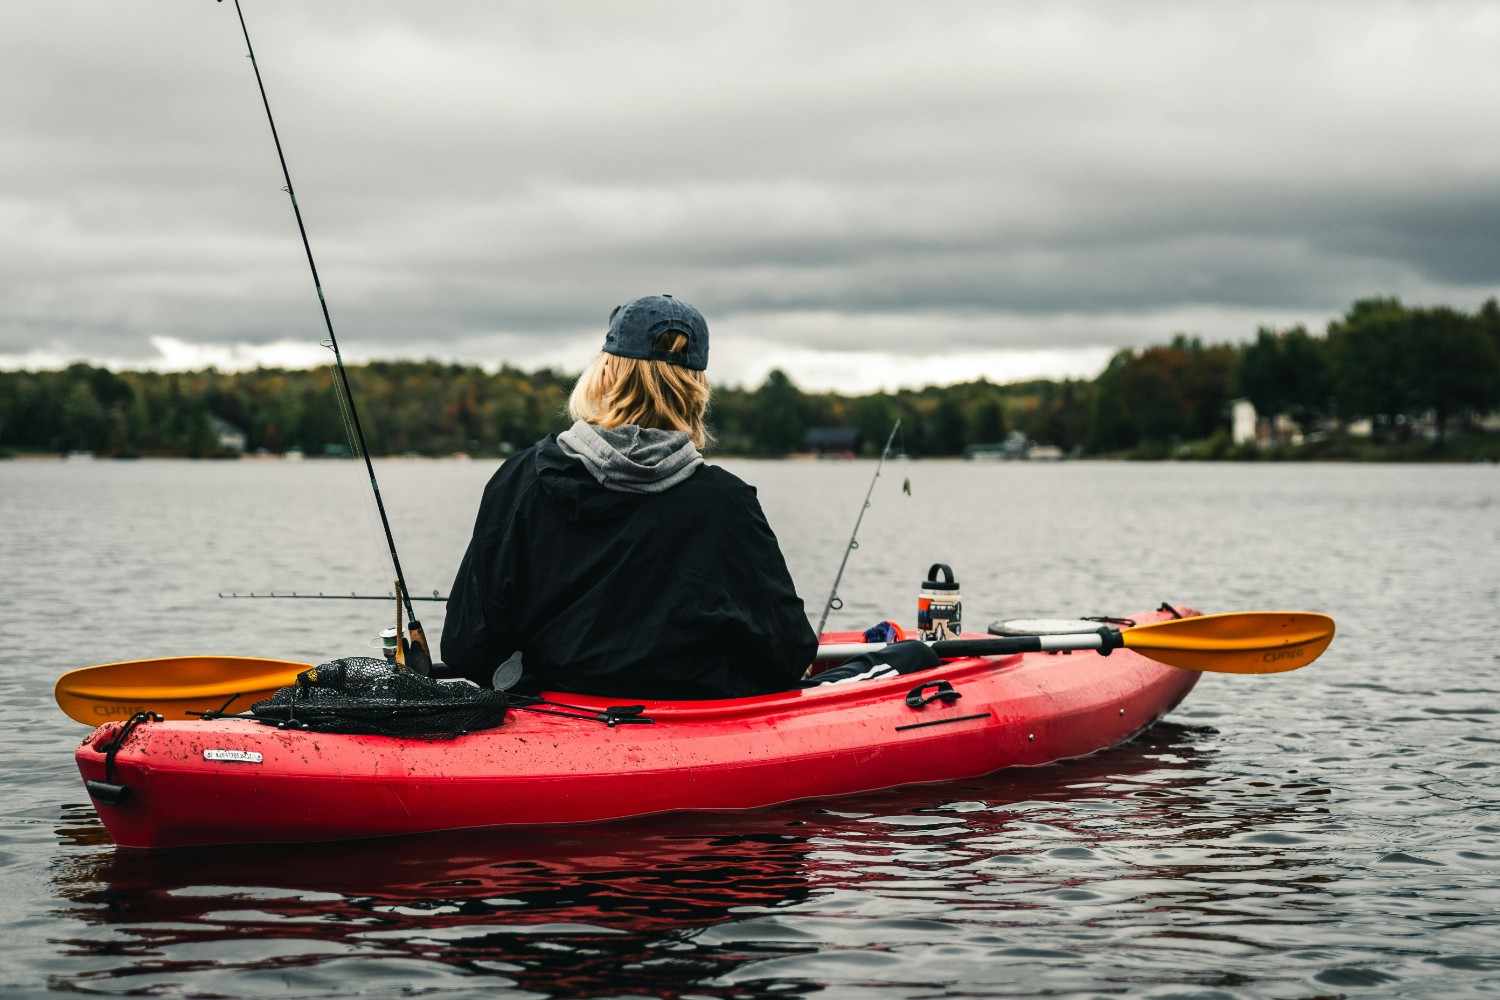
A person sitting in a red fishing kayak on a lake with two fishing rods mounted and gear on board, paddle resting across the kayak

I’ve seen people get this choice wrong more times than I can count.

Not because they didn’t research.

Because they chose based on specs instead of how the kayak actually behaves once it’s loaded, wet, and half a mile away from the car.

Let me show you what actually matters.

A Quick Story From the Water (Why This Matters)

A few summers ago on a small lake in Texas, I watched a guy launch a brand-new “stable fishing kayak.”

Looked perfect on paper.

Then he added:

  • battery
  • fish finder
  • crate
  • cooler

First 10 minutes? Fine.

Then a light wind picked up.

He leaned slightly to grab a rod… and the kayak didn’t flip — but it shifted just enough to spill his tackle box into the water.

He didn’t lose the kayak.

He lost confidence.

And that’s the real problem nobody talks about.

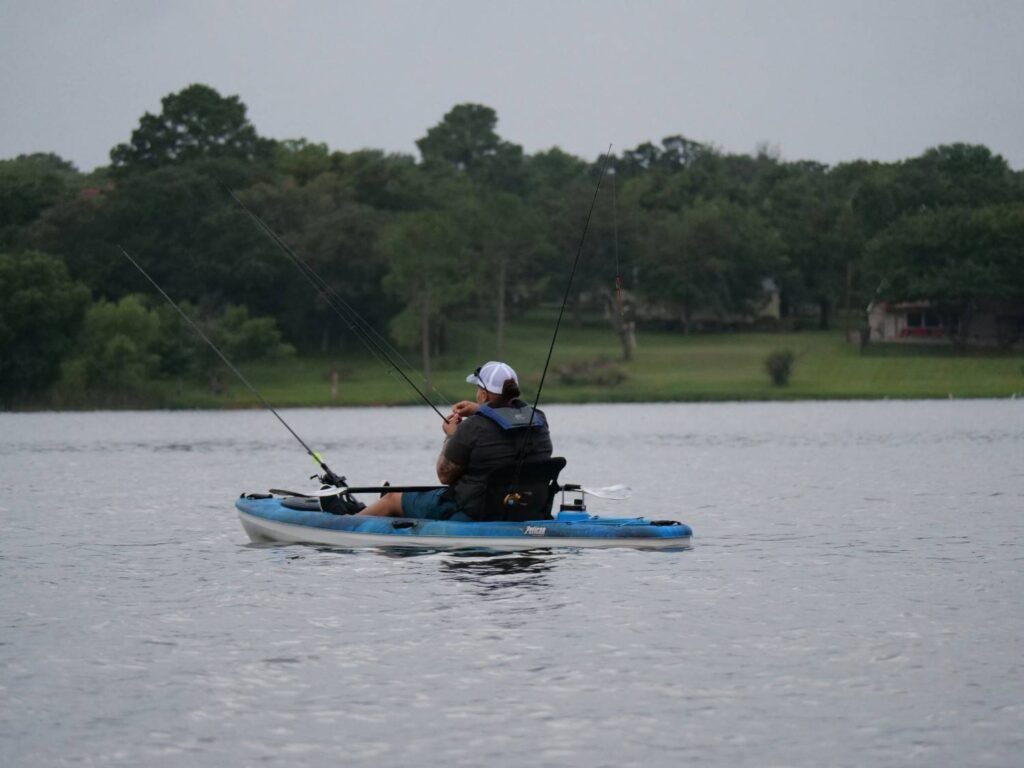
A man sitting in a blue Pelican fishing kayak on a calm lake with multiple fishing rods mounted and life vest on

$1500 Kayak Range — What You’re Actually Buying

This price range is not “budget junk” anymore.

It’s entry-to-mid fishing setup territory where design matters more than brand hype.

You’re basically paying for:

  • stability under real gear load
  • usable seat comfort
  • mounting space
  • weight handling
  • transport practicality

If you plan to add electronics later, setup compatibility matters too. Some kayaks make mounting sonar and wiring much easier than others, so it’s worth understanding a proper fish finder setup before you buy.

Not speed. Not luxury. Not perfection.

A tan fishing kayak resting on a sandy riverbank with a paddle, padded seat, and gear crate mounted at the back

Best Fishing Kayaks Under $1500 (Real US Market Picks)

1. Lifetime Tamarack Angler 100

Price: $300 – $450
Length: 10 ft
Weight: ~52 lbs
Capacity: ~275–300 lbs

This is the most common starter fishing kayak in the US.

It’s stable enough for calm lakes, but once you load gear heavily, you’ll feel its limits.

Good:

  • very stable for beginners
  • cheap entry point
  • easy to modify

Bad:

  • basic seat (your back will complain after 2–3 hours)
  • struggles in wind with gear load

2. Pelican Sentinel 100X Angler

Price: $400 – $600
Length: 10 ft
Weight: ~44 lbs
Capacity: ~300 lbs

Lightweight and easy to move alone.

This is the kayak people buy when transport is a real concern.

Good:

  • easy solo carrying
  • decent lake stability
  • beginner-friendly

Bad:

  • limited rigging space
  • not built for heavy setups

3. Sun Dolphin Journey 10 SS

Price: $350 – $500
Length: 10 ft
Weight: ~44–45 lbs
Capacity: ~250–280 lbs

Simple, no drama fishing kayak.

It does the job without pretending to be premium.

Good:

  • built-in rod holders
  • simple fishing layout
  • affordable

Bad:

  • average seat comfort
  • not very fast or efficient

4. Perception Outlaw 11.5 (Best Overall)

Price: $900 – $1200
Length: 11.5 ft
Weight: ~77 lbs
Capacity: ~425–475 lbs

This one shows up a lot in real fishing setups — especially in US lakes.

Good:

  • extremely stable (you can actually move around in it)
  • wide standing platform feel
  • comfortable seat for long sessions
  • handles heavy gear easily

Bad:

  • heavy to transport
  • slower in water

If you want one kayak that “just works” under $1500, this is it.

The Trade-Off Nobody Tells You

Every fishing kayak forces a decision:

  • lighter kayak → easy transport, less stability under load
  • heavier kayak → stable fishing platform, harder to move

And here’s the truth:

Most people quit kayaking because of transport, not water performance.

If it’s exhausting to load it on the car, you won’t fish as often.That’s why learning how to transport a kayak properly makes a huge difference in how often you actually get on the water.

Real Specs Comparison (Quick View)

KayakLengthWeightCapacityReal Strength
Tamarack 10010 ft52 lbs300 lbsStability
Sentinel 100X10 ft44 lbs300 lbsPortability
Journey 10 SS10 ft44 lbs270 lbsSimplicity
Outlaw 11.511.5 ft77 lbs450 lbsBalance + Comfort

One More Real Story (Transport Problem)

I once helped a guy load a fully rigged fishing kayak after sunset.

He had:

  • fish finder
  • battery box
  • crate full of gear
  • kayak trolling motor

The kayak itself wasn’t the problem.

The problem was lifting it alone onto roof racks after a 6-hour fishing trip.

He said one line that stuck with me:

“Fishing part is easy. Getting it there is the real sport.”

That’s why transport matters more— especially when you’re dealing with heavier setups. If you’re planning to add power assistance, it’s worth understanding how a kayak trolling motor setup actually affects weight and handling before you build your rig.

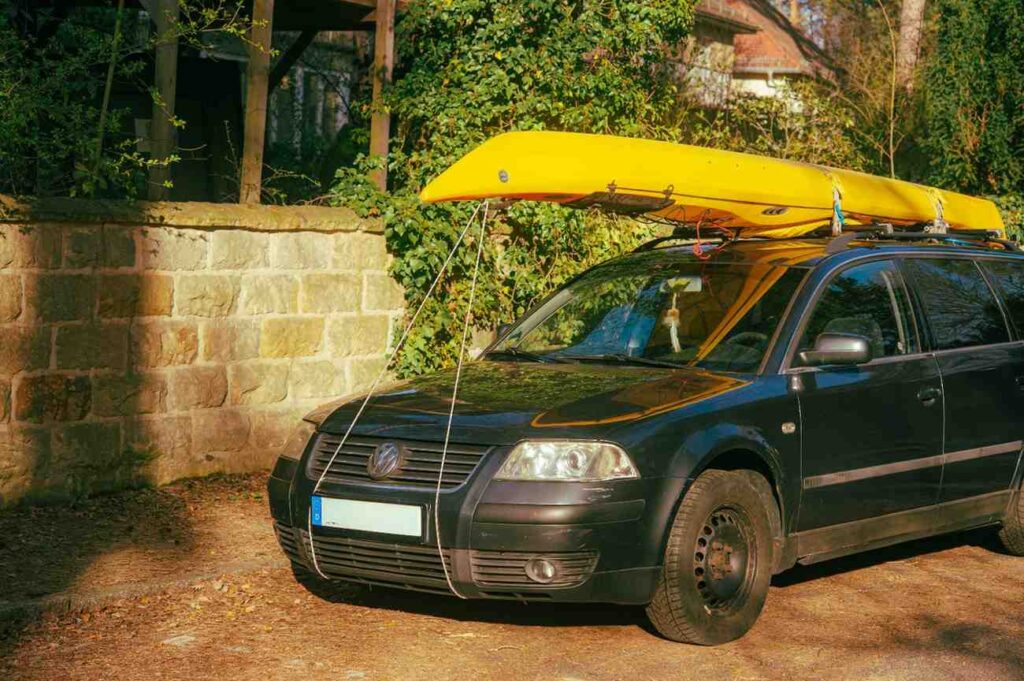
A yellow kayak secured with ropes on the roof rack of a black car parked outside, showing kayak transport setup

Who Should Buy What

Beginners: Tamarack Angler 100
→ cheap, stable, forgiving

Solo transport users: Pelican Sentinel 100X
→ light, easy handling

Budget fishing setup: Sun Dolphin Journey
→ simple, functional

Serious casual anglers: Perception Outlaw 11.5
→ best all-round fishing platform

Common Mistakes People Make

  • buying speed instead of stability
  • ignoring seat comfort
  • underestimating gear weight
  • not thinking about transport
  • overloading cheap kayaks

Not thinking about transport also means you often ignore how your kayak accessories add up in real weight and handling. That’s where most beginners start facing problems later.

A man actively fishing from a heavily rigged kayak on open water with multiple rods, a fish finder, cooler, safety flag, and full gear setup

FAQs

Is $1500 enough for a serious fishing kayak?

Yes. You can get a very solid setup in this range.

Do I need a heavy kayak for fishing?

Not always, but stability usually comes with weight.

Can I install a fish finder later?

Yes, most kayaks in this range support it.Yes, most kayaks in this range support it. If you’re planning to upgrade your setup later, it’s worth checking a proper fish finding setup guide so you understand how sonar placement and wiring work before you start rigging your kayak.

What matters most: length or width?

For fishing — width (stability) matters more.

Final Thought (Real Advice, Not Marketing)

A fishing kayak is not a product decision.

It’s a lifestyle decision.

If transport is easy, you’ll go out more.
If seating is comfortable, you’ll stay longer.
If stability is right, you’ll fish without thinking about balance.

And under $1500, you don’t need perfect.

You just need something that doesn’t fight you every time you use it.

That’s the real win.

A lone kayaker silhouetted against a beautiful golden sunset paddling across calm open water

Best Kayak Fish Finding Setup 2026: Stop Guessing and Start Finding Fish


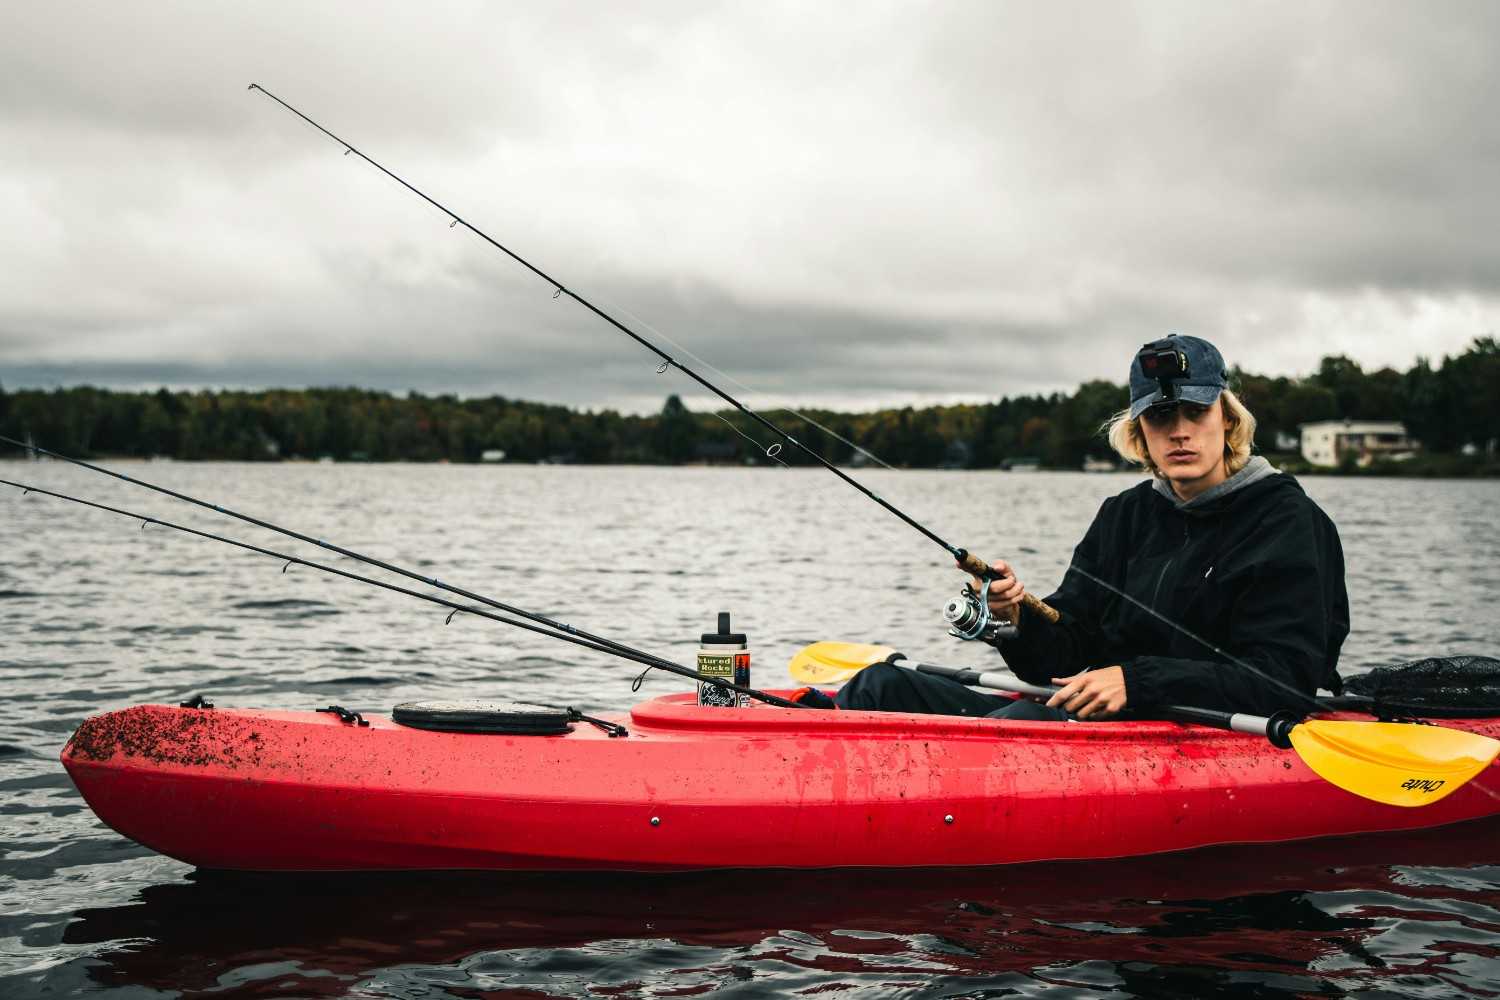
Young angler sitting in red kayak holding fishing rod on cloudy lake

You bought a fish finder for your kayak. Mounted it. Turned it on. Maybe even spent a decent chunk of money.

Then you hit the water and… nothing makes sense.

The screen looks like a video game from 2007. Fish symbols everywhere one day, empty water the next. Depth jumping around. Weird lines. False readings. And somehow the guy fifty yards away keeps catching fish while you’re staring at electronics wondering what exactly you paid for.

Yeah. This frustrates almost everyone at first.

Here’s the thing nobody tells beginners: the best kayak fish finding setup isn’t about buying the most expensive electronics. It’s about balance. Screen placement, battery, transducer mount, sonar settings, and the way your kayak actually fishes — those matter more than chasing fancy features.

I’ve seen people catch limits using a cheap 5-inch unit because it was dialed in properly. I’ve also watched anglers waste thousands on premium gear mounted so badly it became useless.

Let’s fix that.

The #1 Mistake Most Kayak Anglers Make Right Away

People think a fish finder finds fish.

It doesn’t.

That’s the first mental shift.

A fish finder helps you find fish-holding areas.

Big difference.

You’re reading structure, bait movement, drop-offs, weed edges, submerged timber, rock piles, temperature shifts, and depth changes. Fish show up because food and protection are nearby.

Think of it like hunting. Tracks matter more than seeing the animal immediately.

The best kayak setup helps you understand what’s under you without turning your small fishing platform into a tangled mess of wires and batteries.

Because space matters. A lot.

Green fishing kayak with Garmin fish finder and fishing rods at riverbank

The Best Overall Kayak Fish Finding Setup (Simple and Proven)

If someone stopped me at a boat ramp and said:

“Give me the best setup that actually works without overcomplicating my kayak.”

This is where I’d start.

ComponentBest Setup
Fish Finder Screen5–7 inch display
Sonar TypeCHIRP + Down Imaging
Battery10Ah–20Ah lithium
MountAdjustable rail mount
TransducerArm mount or scupper mount
Screen PlacementNear knees, easy glance access
WaterproofingDielectric grease + sealed wiring

Notice what’s missing?

No giant screen.

No crazy dual-battery setup.

No twenty accessories hanging off the kayak.

Simple beats complicated on a kayak. Every time.

Why a 5–7 Inch Fish Finder Is the Sweet Spot

Bigger sounds better until you’re actually paddling.

A massive screen looks cool online. Then reality hits.

Suddenly:

  • Paddle hits the mount
  • Rod gets tangled
  • Screen blocks visibility
  • Weight shifts awkwardly
  • Battery drains faster

A 5-inch screen works for most anglers. A 7-inch screen feels luxurious if you have space.

Anything larger? Usually overkill unless you’re running a pedal kayak built like a mini bass boat.

This is the part everyone misses:

Screen readability matters more than screen size.

Bright sunlight destroys cheap displays.

You’ll want something readable with polarized sunglasses on. Otherwise you’re squinting all day.

Nobody enjoys that.

CHIRP Sonar vs Down Imaging: What Actually Matters?

Marketing makes this confusing.

Simple explanation?

CHIRP Sonar: Your Main Tool

This is your workhorse.

It helps with:

  • Water depth
  • Bottom hardness
  • Suspended fish
  • Bait schools
  • General underwater picture

If you only had one feature, this would be it.

Down Imaging: Your Underwater Camera

Not a real camera. But close enough.

It helps separate structure.

Instead of a messy blob, you can see:

  • Fallen trees
  • Brush piles
  • Rock transitions
  • Weed edges

Imagine regular sonar as blurry eyesight.

Down imaging? Putting on glasses.

If budget allows, get both.

Side imaging sounds exciting too, but on kayaks it becomes a mixed bag.

Why?

You’re moving slower. Coverage angles get weird. Smaller water often doesn’t need it.

Useful? Sure.

Necessary? Usually no.

The #1 Reason Fish Finders Give Bad Readings

Bad transducer placement.

Hands down.

I’ve watched anglers blame their unit for months when the transducer was mounted crooked.

The transducer is basically your underwater eye.

If it tilts, vibrates, catches turbulence, or sits too high in the water, readings become junk.

You’ll see:

  • Random depth spikes
  • False fish marks
  • Signal loss
  • Broken bottom lines
  • Screen clutter

The Best Transducer Mount for Kayaks

Three common options exist.

Mount TypeBest ForProblem
Scupper MountClean setupCan scrape shallow areas
Arm MountEasy adjustmentCan catch weeds
Hull MountProtectedSignal loss sometimes

For most anglers?

A transducer arm mount wins.

Why?

Easy access.

Hit shallow rocks? Pull it up.

Need adjustment? Simple.

Testing new placement? No drilling required.

Trust me on this. Permanent drilling before testing usually ends badly.

Close-up of fishing kayak bow with transducer mount near calm lake

Battery Problems Ruin More Fishing Trips Than Bad Fishing

Nothing hurts worse than a dead screen halfway through a good bite.

You finally locate fish.

Boom.

Battery dead.

Cheap batteries are notorious for this.

What Battery Size Actually Works?

A small fish finder usually runs great on:

  • 10Ah lithium battery for short trips
  • 20Ah lithium battery for full-day fishing

Skip bulky sealed lead acid batteries if possible.

Heavy.

Slow charging.

Annoying in kayaks.

Lithium costs more upfront but weighs dramatically less.

And on kayaks, weight matters.

A heavy rear tankwell changes balance more than people realize.

Ever notice your kayak sitting weird in water?

Often battery placement.

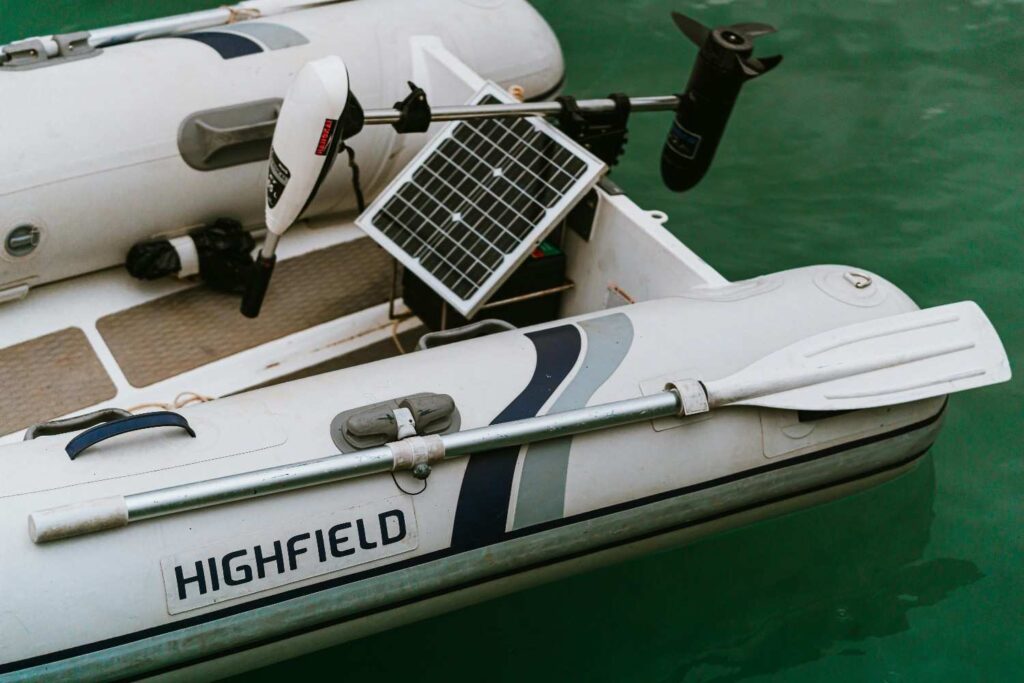
Inflatable boat with solar panel and trolling motor battery setup on water

The Screen Placement Mistake Everyone Regrets

Mounting the screen too far forward.

Looks clean.

Terrible for fishing.

Why?

You stop checking it.

Every glance becomes awkward.

You lean.

Lose balance.

Miss casts.

Eventually you ignore it completely.

The ideal spot?

Close enough to glance at naturally without moving your body.

Usually near your knees or slightly off-center.

Quick glance. Back to fishing.

Done.

No gymnastics required.

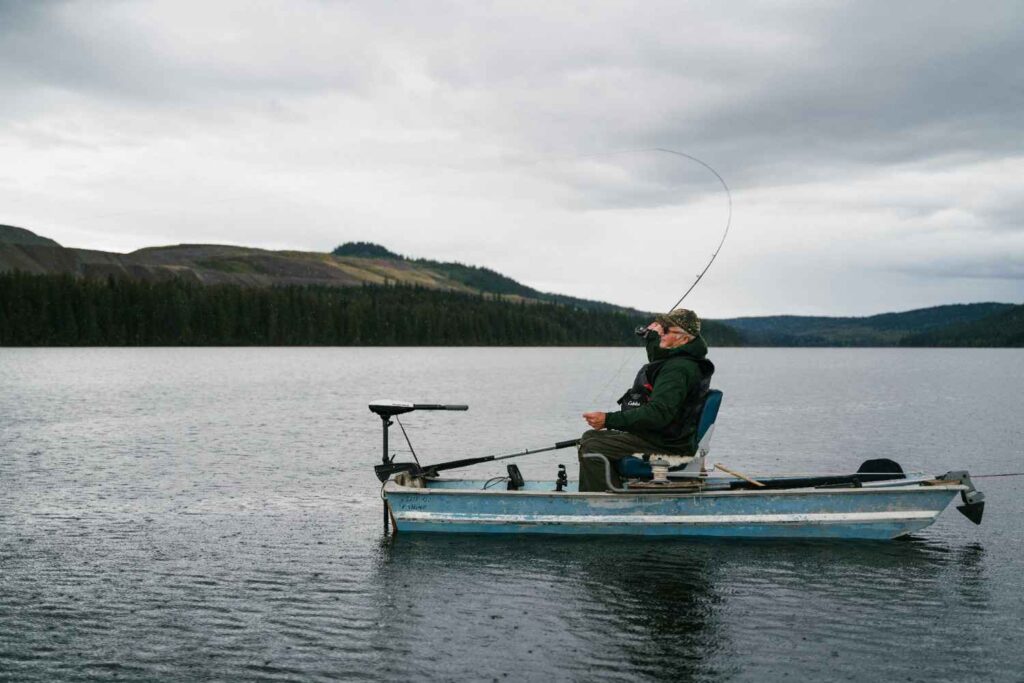
Angler fishing from small boat with fish finder and trolling motor mounted on lake

Settings Matter More Than Expensive Equipment

Here’s an uncomfortable truth.

Most people never learn their settings.

They leave factory defaults on forever.

Then wonder why the screen looks terrible.

Sensitivity: The Setting Most People Fear

Too low?

You miss fish.

Too high?

Screen looks like television static.

Start around 70–80% sensitivity and adjust based on water clarity and depth.

Dirty water often needs tweaking.

Deep water changes things too.

Experiment.

This isn’t “set once forever.”

Fish Icons? Turn Them Off

I know.

This surprises people.

Those cartoon fish symbols?

Usually misleading.

A fish finder guesses.

Sometimes structure becomes fish.

Sometimes weeds become fish.

Sometimes bubbles become fish.

Learn arches instead.

You’ll become dramatically better at reading water.

And yes — confusing at first.

Worth it.

Absolutely.

The Weird Edge Case Nobody Talks About

Shallow weedy lakes.

This messes with people constantly.

You paddle through vegetation and suddenly your fish finder becomes chaos.

Random marks everywhere.

Messy screen.

Looks broken.

It’s not.

Your sonar is bouncing off vegetation.

Lower sensitivity slightly.

Slow down.

Use down imaging to separate weeds from actual fish.

Not every blob is a fish.

That’s expensive wishful thinking.

Cable Management: The Boring Thing That Saves Headaches

Nobody gets excited about wires.

“Until something snags mid-cast, which is why the right kayak accessories matter“

Or pulls loose.

Or gets soaked.

Keep cables:

  • Tight
  • Secured with clips
  • Away from paddle movement
  • Clear of foot pedals
  • Protected from hooks

Hooks love fish finder wires.

For reasons nobody understands.

Add waterproof connectors if possible.

A little dielectric grease on connections prevents corrosion too.

Especially saltwater anglers.

Salt destroys electronics quietly.

Then suddenly.

Tangled messy cables and wires showing poor cable management

Freshwater vs Saltwater Setup: Small Changes Matter

Different water. Different headaches.

FreshwaterSaltwater
Standard wiring okayExtra corrosion protection needed
Less screen glare issuesBright glare often worse
Fewer corrosion concernsWaterproofing matters more
Simpler maintenanceRinse everything afterward

Saltwater anglers ignore maintenance once.

Usually only once.

Corrosion teaches lessons fast.

Stop Chasing Fish — Find Structure Instead

This mindset changes everything.

Beginners hunt fish.

Experienced anglers hunt places fish want to live.

Look for:

  • Drop-offs
  • Weed edges
  • Bait schools
  • Rock piles
  • Points
  • Channels
  • Temperature changes
  • Submerged timber

Fish move.

Structure stays.

Find structure first. Fish follow.

Always.

A Setup That Actually Makes Sense for Most Kayak Anglers

If you want a practical recommendation without overspending:

Fish Finder: 5–7 inch CHIRP + Down Imaging unit
Battery: 10Ah or 20Ah lithium
Mount: Adjustable rail mount
Transducer: Swing arm mount
Placement: Knee-level easy glance position
Settings: Fish icons OFF, sensitivity adjusted manually

Simple.

Reliable.

Easy to troubleshoot.

Most important? It keeps your kayak fishable.

Because that gets forgotten.

You still need room for rods, tackle, paddle, net, and your own legs.

Crazy complicated setups look impressive online.

Then become annoying after three trips.

FAQ: Best Kayak Fish Finding Setup

What size fish finder is best for a kayak?

For most anglers, 5 to 7 inches hits the sweet spot. Big enough to read clearly without turning your kayak into a floating electronics store.

Do I really need side imaging on a kayak?

Usually no.

Nice feature? Sure.

Necessary? Not for most fishing situations. CHIRP and down imaging handle almost everything kayak anglers need.

Where should I mount my fish finder on a kayak?

Near knee level or within easy glance distance. Too far forward and you’ll stop checking it.

What battery lasts all day for a kayak fish finder?

A 20Ah lithium battery usually covers full-day trips comfortably. Smaller setups often do fine with 10Ah.

Are fish symbols accurate?

Not really.

Helpful for total beginners? Maybe.

Reliable long-term? No. Learning sonar arches gives better results.

Can I install a fish finder without drilling holes?

Absolutely.

Rail mounts and transducer arm systems work great and let you test placement before committing.

Why does my fish finder show fish but I catch nothing?

Classic problem.

Often you’re seeing bait, debris, or inactive fish. Structure, depth, season, water temperature, and lure choice still matter.

Fish finders help you make smarter decisions.

They don’t force fish to bite.

One last thing I wish every kayak angler knew from day one:

A clean, reliable setup beats an expensive complicated one.

You don’t need a floating command center.

You need gear that works quietly while you focus on fishing.

That’s when things finally start clicking.

Silhouette of angler fishing from kayak on calm lake at sunset

Inflatable Kayaks: What Nobody Tells You Before You Buy One


inflatable kayaks paddling on calm mountain lake

The kayak comes out of the bag looking… small.

Wrinkled. Folded up. Honestly? First-time buyers usually stare at it thinking:

“There is no way this thing feels safe on water.”

Fair concern.

I’ve seen people inflate one halfway, sit in it wrong, drift 20 feet, and immediately decide inflatable kayaks are unstable junk.

Usually, the kayak wasn’t the problem.

Setup was.

And expectations.

Inflatable kayaks can be ridiculously fun and surprisingly capable. But there are a few things people need to know before they trust one on water.

The #1 Mistake People Make With Inflatable Kayaks

Most problems start before the kayak even touches water.

Underinflation.

This is the part almost everyone gets wrong.

People pump it up until it “looks full.”

Bad move.

An inflatable kayak that’s slightly soft feels sluggish, unstable, and weirdly difficult to paddle.

You want the kayak inflated to the recommended PSI.

Not “feels okay.”

Not “looks about right.”

Check the pressure recommendation printed on the kayak itself.

Simple fix. Huge difference.

inflatable kayak on shore ready for inflation pressure check

Why Some Inflatable Kayaks Feel Stable and Others Feel Terrible

Not all inflatables are built the same.

Some are designed for calm lakes.

Others can handle rivers, fishing, even mild rapids.

TypeBest ForBiggest Limitation
Recreational InflatableCalm lakesSlower tracking
Touring InflatableLonger distanceCosts more
Fishing InflatableStabilityHeavier setup
Whitewater InflatableRapidsLess speed

Buying the wrong inflatable for your water conditions is where frustration starts.

yellow inflatable kayak on calm lake recreational type

“Will This Thing Pop?” The Fear Everyone Has

Short answer?

No — not easily.

Modern inflatable kayaks use reinforced PVC or drop-stitch material.

They’re tougher than they look.

But still:

  • Sharp fishing hooks
  • Broken glass near shore
  • Rocks
  • Dog claws

These are the real risks.

And yes, keep a repair patch kit with you. Not because it’s fragile. Because accidents happen.

Setup Takes Longer Than You Think the First Time

First time inflating feels confusing.

Valves don’t make sense.

Seats feel like they go the wrong way.

Totally normal.

After a few trips, you’ll hit a rhythm.

Most people reach 5–10 minute setup time after practice.

Electric pump helps, but manual pump is fine too once you get used to it.

Why Inflatable Kayaks Feel Slower

Nothing broken here.

It’s just water physics.

Inflatables sit slightly higher and wider than hard-shell kayaks.

That means:

More drag = less speed

You’ll still move comfortably.

Just not fast like a touring hard kayak.

For relaxed paddling and fishing, it’s completely fine.

Storage Is Where Inflatable Kayaks Win Hard

This is where inflatables quietly beat hard-shell kayaks.

No roof racks.

No lifting issues.

No garage space problems.

Just:

  • Deflate
  • Dry
  • Fold
  • Store

That’s it.

Small apartments? Easy win.

solo kayaker paddling inflatable kayak on calm lake with forest background

The Mistake That Causes Mold and Bad Smell

This one ruins more kayaks than people realize.

Packing it wet.

Then forgetting it.

Then opening it weeks later.

Always dry the kayak fully before storing.

Especially seams and folds.

Otherwise:

  • Mold starts forming
  • Smell builds up
  • Material slowly degrades

Simple habit. Big difference.

First-person view of a yellow inflatable kayak on a calm green river

Wind Is the Real Hidden Challenge

Inflatable kayaks catch wind more than hard-shell ones.

So suddenly:

  • Straight paddling feels harder
  • You drift sideways
  • Steering feels “off”

It’s not your skill.

It’s wind resistance.

Early mornings usually feel much easier.

Budget vs Premium: What You Actually Feel

Cheap inflatable kayaks:

  • Softer structure
  • Less tracking stability
  • Basic seats

Premium inflatable kayaks:

  • Stiffer feel
  • Better control
  • Stronger materials
  • Better seat comfort

Most people only notice the difference after a few trips.

The Weirdest Beginner Mistake

Everything ready.

Kayak inflated.

Paddle packed.

But…

Seat left at home.

And yes, it happens more than you’d think.

Always do a quick gear check before leaving.

Quick Pre-Water Checklist

Before launching:

  • Check full inflation pressure 
  • Make sure the Seat is properly installed before getting into the kayak.
  • Paddle secured
  • Patch kit packed
  • Life jacket on
  • Weather checked

Five minutes of checking saves the whole trip.

Inflatable Kayak Ready to Launch on Mountain Lake

FAQs

Are inflatable kayaks safe?

Yes. When properly inflated and used in suitable water, they’re very stable and safe.

How long do inflatable kayaks last?

With proper care, several years of regular use.

Can inflatable kayaks go in rivers?

Yes, but only models designed for river or whitewater use.

Do inflatable kayaks puncture easily?

Not easily. They’re built from tough materials, but sharp objects should still be avoided.

How long does inflation take?

Around 5–10 minutes once you’re used to it.

Are inflatable kayaks good for beginners?

Yes, they’re often easier to start with due to stability and portability.

How to Transport a Kayak (Without the Stress)


loading kayak on car roof rack for transport

The kayak looked secure. Straps felt tight. Everything seemed fine.

Then you hit 50 miles per hour and suddenly there’s a sound from the roof that makes your stomach drop.

That little wobble? That humming noise? Yeah, this is where people start gripping the steering wheel and wondering if the kayak is about to become someone else’s highway problem.

Happens more than you’d think.

First thing I wish every kayak owner knew? Transporting the kayak is often harder than paddling it. Not because it’s complicated. Because small mistakes turn into big headaches fast.

The #1 Reason Kayaks Shift During Transport

Most loading problems come down to one thing:

Loose tie-down technique.

Not weak straps. Not bad luck.

Bad technique.

People pull straps tight and think they’re done. But tight doesn’t always mean secure.

Here’s the real test:

Grab the kayak near the middle and shake it firmly.

The whole car should move a little.

The kayak itself shouldn’t.

If the boat wiggles separately from the vehicle, something is wrong.

This is the part everyone misses.

kayak strapped on truck bed secured for transport

Roof Rack vs Bare Roof: One Choice Makes Life Much Easier

You can technically transport a kayak without a roof rack.

Would I recommend it? Only if you absolutely have to.

Here’s the difference:

MethodStabilityDifficultyBest For
Roof Rack CrossbarsHighEasyRegular kayaking
Foam Blocks on RoofMediumMediumOccasional transport
Truck BedHighEasyPickup owners
Small TrailerVery HighEasyMultiple kayaks

Crossbars make everything easier with an inflatable kayak — Loading, strapping, stability, peace of mind.

Foam blocks work. But they shift. Especially in wind.

And wind is where things get interesting.

car roof rack crossbars loaded for kayak transport

Why Highway Driving Feels Terrifying the First Time

Because your brain keeps thinking:

“Is that thing moving?”

Sometimes it is.

But often, what people hear is wind vibration.

Here’s the quick check:

Pull over after the first 10–15 minutes of driving.

Touch every strap.

Not glance. Touch.

Straps loosen slightly after movement. Happens all the time.

Especially when:

  • Weather changes
  • Rain hits
  • Temperatures shift
  • Wet straps dry out

Small adjustment. Big difference.

Loading a Kayak Alone Without Throwing Out Your Back

This frustrates a lot of people.

The kayak feels awkward. Too long. Hard to balance.

And suddenly loading becomes the worst part of the trip.

Here’s what works.

The Towel Trick Most People Discover Too Late

Put a thick towel or loading mat on the back of your car roof.

Lift the front of the kayak first.

Rest it on the towel.

Then move to the rear and slide it forward instead of lifting the whole thing.

Way less strain.

Your shoulders will thank you later.

Especially with fishing kayaks. Those things get heavy fast.

solo loading kayak on car roof alone without help

The Strap Mistake That Creates Weird Highway Noise

Ever hear humming or vibration while driving?

Usually this.

Loose strap ends flapping in the wind.

Simple fix:

Twist the straps once before tightening.

That small twist disrupts airflow and kills the buzzing sound.

Weird little trick. Works ridiculously well.

Bow and Stern Lines: Do You Actually Need Them?

Short answer?

Sometimes.

For smaller kayaks on local roads, probably not.

But longer kayaks or highway travel?

Use front and rear tie-down lines.

They stop front-to-back movement during:

  • Hard braking
  • Sudden wind gusts
  • Emergency turns

Think of them like backup insurance.

You hope you don’t need them.

Still glad they’re there.

kayak straps and tie down lines secured on car roof rack

When Your Car Feels “Weird” After Loading

You know the feeling.

Steering feels lighter.

Braking feels slightly off.

Car sounds different.

What’s happening?

Usually one of these:

  • Weight positioned unevenly
  • Kayak sitting crooked
  • Too much gear loaded on one side
  • Wind resistance affecting handling

Don’t ignore that feeling.

Cars talk to you. Just not with words.

If driving suddenly feels strange, pull over and check.

Soft Rack or J-Cradles? Here’s the Honest Difference

SetupBest ForBiggest Problem
Soft RackBudget setupLess stable
J-CradlesSide loadingSlight wind drag
Saddle MountsMaximum supportMore expensive

Most beginners do perfectly fine with soft racks.

Frequent kayakers usually move to J-cradles pretty quickly.

Why?

Less hassle.

And less roof wrestling.

The Weirdest Thing I’ve Seen Go Wrong

Guy loaded a kayak perfectly.

Straps looked great.

Everything solid.

Problem?

He forgot to remove the cockpit cover.

Highway wind turned it into a parachute.

Destroyed the cover halfway through the drive.

Little stuff matters.

Always do a quick walk-around before leaving.

Thirty seconds saves hours.

Quick Pre-Drive Check (Don’t Skip This)

Before the wheels move:

  • Push the kayak side to side
  • Check strap tightness
  • Secure loose strap ends
  • Test front and rear tie-downs
  • Make sure nothing blocks mirrors
  • Double-check roof rack locks

Simple checklist.

Zero drama later.

kayak loaded on truck checking straps before driving

Why Loading Gets Easier Fast

First trip feels stressful.

Second trip feels awkward.

By the fourth or fifth?

You’ll load the kayak without even thinking about it.

That nervous feeling disappears once the process becomes muscle memory.

And then something funny happens.

Transport stops being the annoying part.

It becomes the thing standing between you and water.

That’s it.

Load it right. Strap it tight. Drive without worrying.

FAQs

Can I transport a kayak without a roof rack?

Yes. Foam blocks or soft racks work for occasional trips, but a roof rack is much more stable.

How tight should kayak straps be?

Tight enough that the kayak doesn’t move independently from the car. Don’t over-tighten to the point of deforming the hull.

Do I need bow and stern tie-downs?

For highway driving or longer kayaks, yes. They add extra stability and safety.

Why is my kayak making noise on the highway?

Usually loose straps vibrating in the wind. Twist the straps once before tightening.

Can one person load a kayak alone?

Yes. Use the towel-slide method or a loading assist to avoid straining your back.

Why does my car feel unstable with a kayak on top?

Uneven weight, poor positioning, or wind resistance are usually the reason. Pull over and recheck the setup if something feels off.